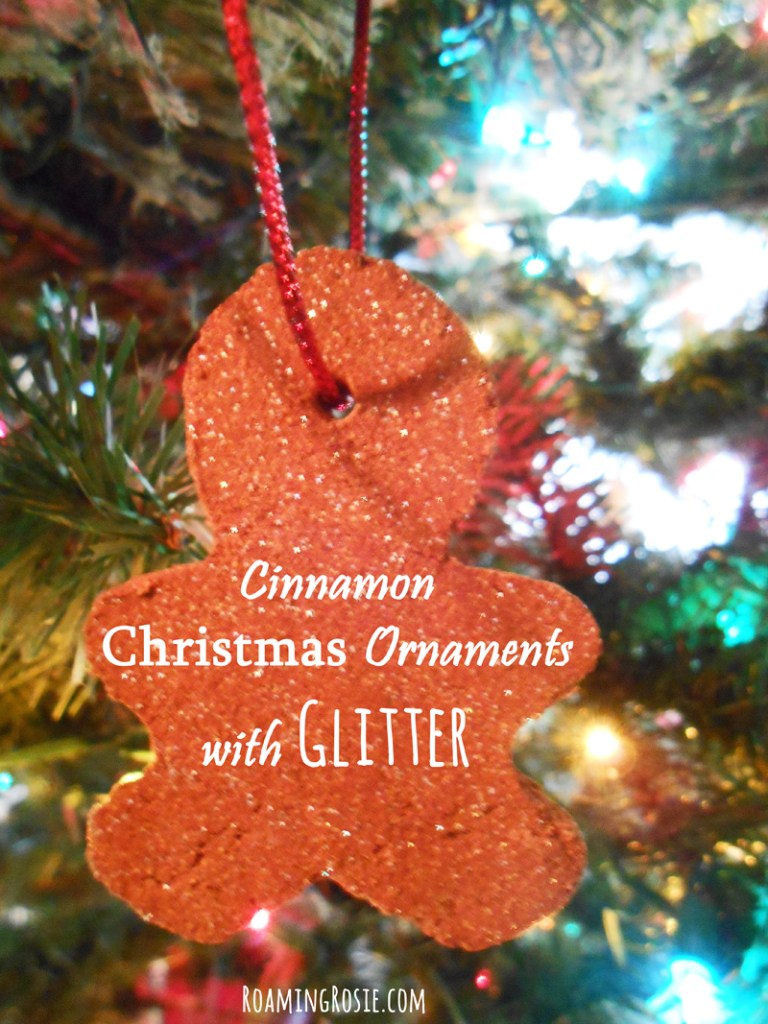
We make a new batch of these Cinnamon Christmas Ornaments every few years. They last quite a while, but I love the way the house smells when they’re baking! Plus, we try out new shapes each time.
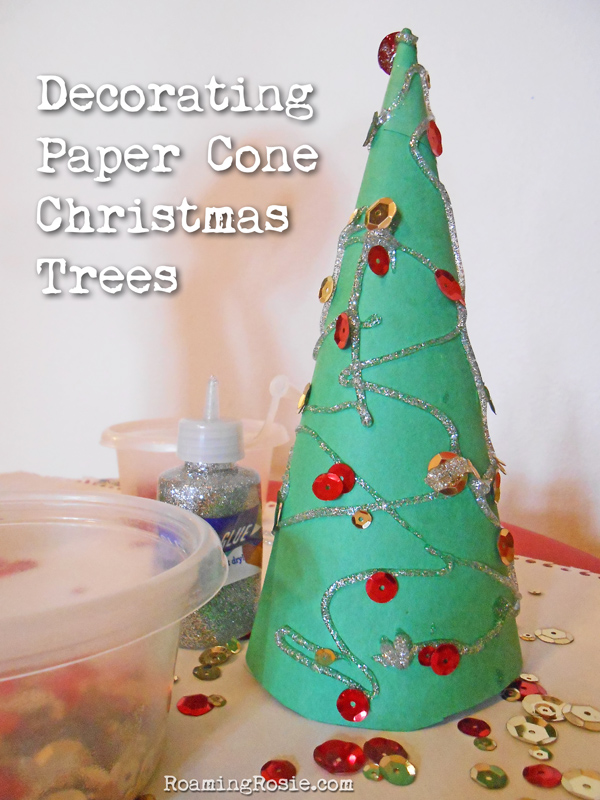
These Paper Cone Christmas Trees are perfect for little hands to keep busy with something you can proudly display!
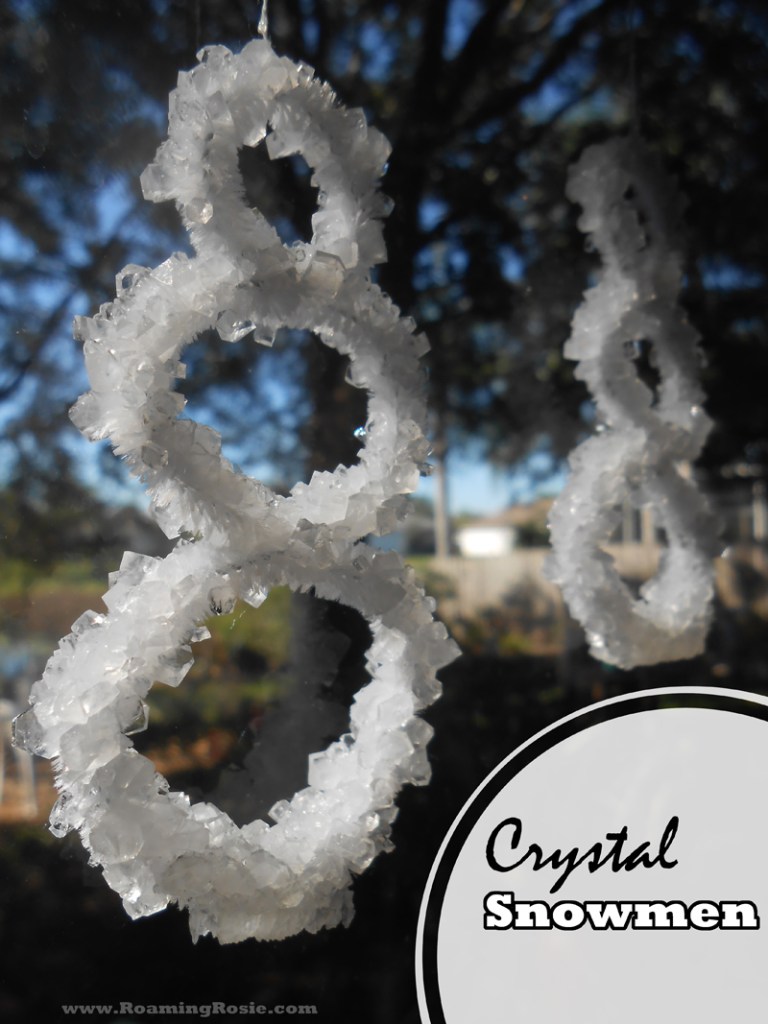
You could also make snowflakes instead of Crystal Snowmen – or sparkly circular ornaments.
Strictly speaking, this is something that I do for my kids as a surprise, but if you prefer, you could involve your littles in making their own Snowy Reindeer Feet.
This has always been one of my favorite Christmas crafts.
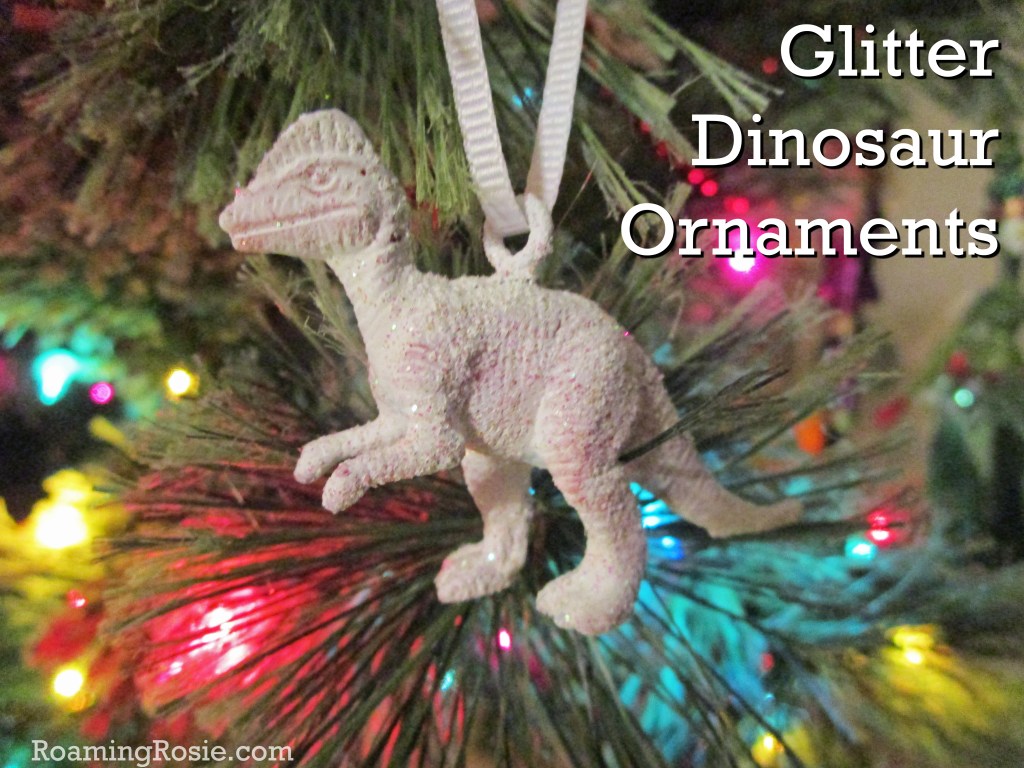
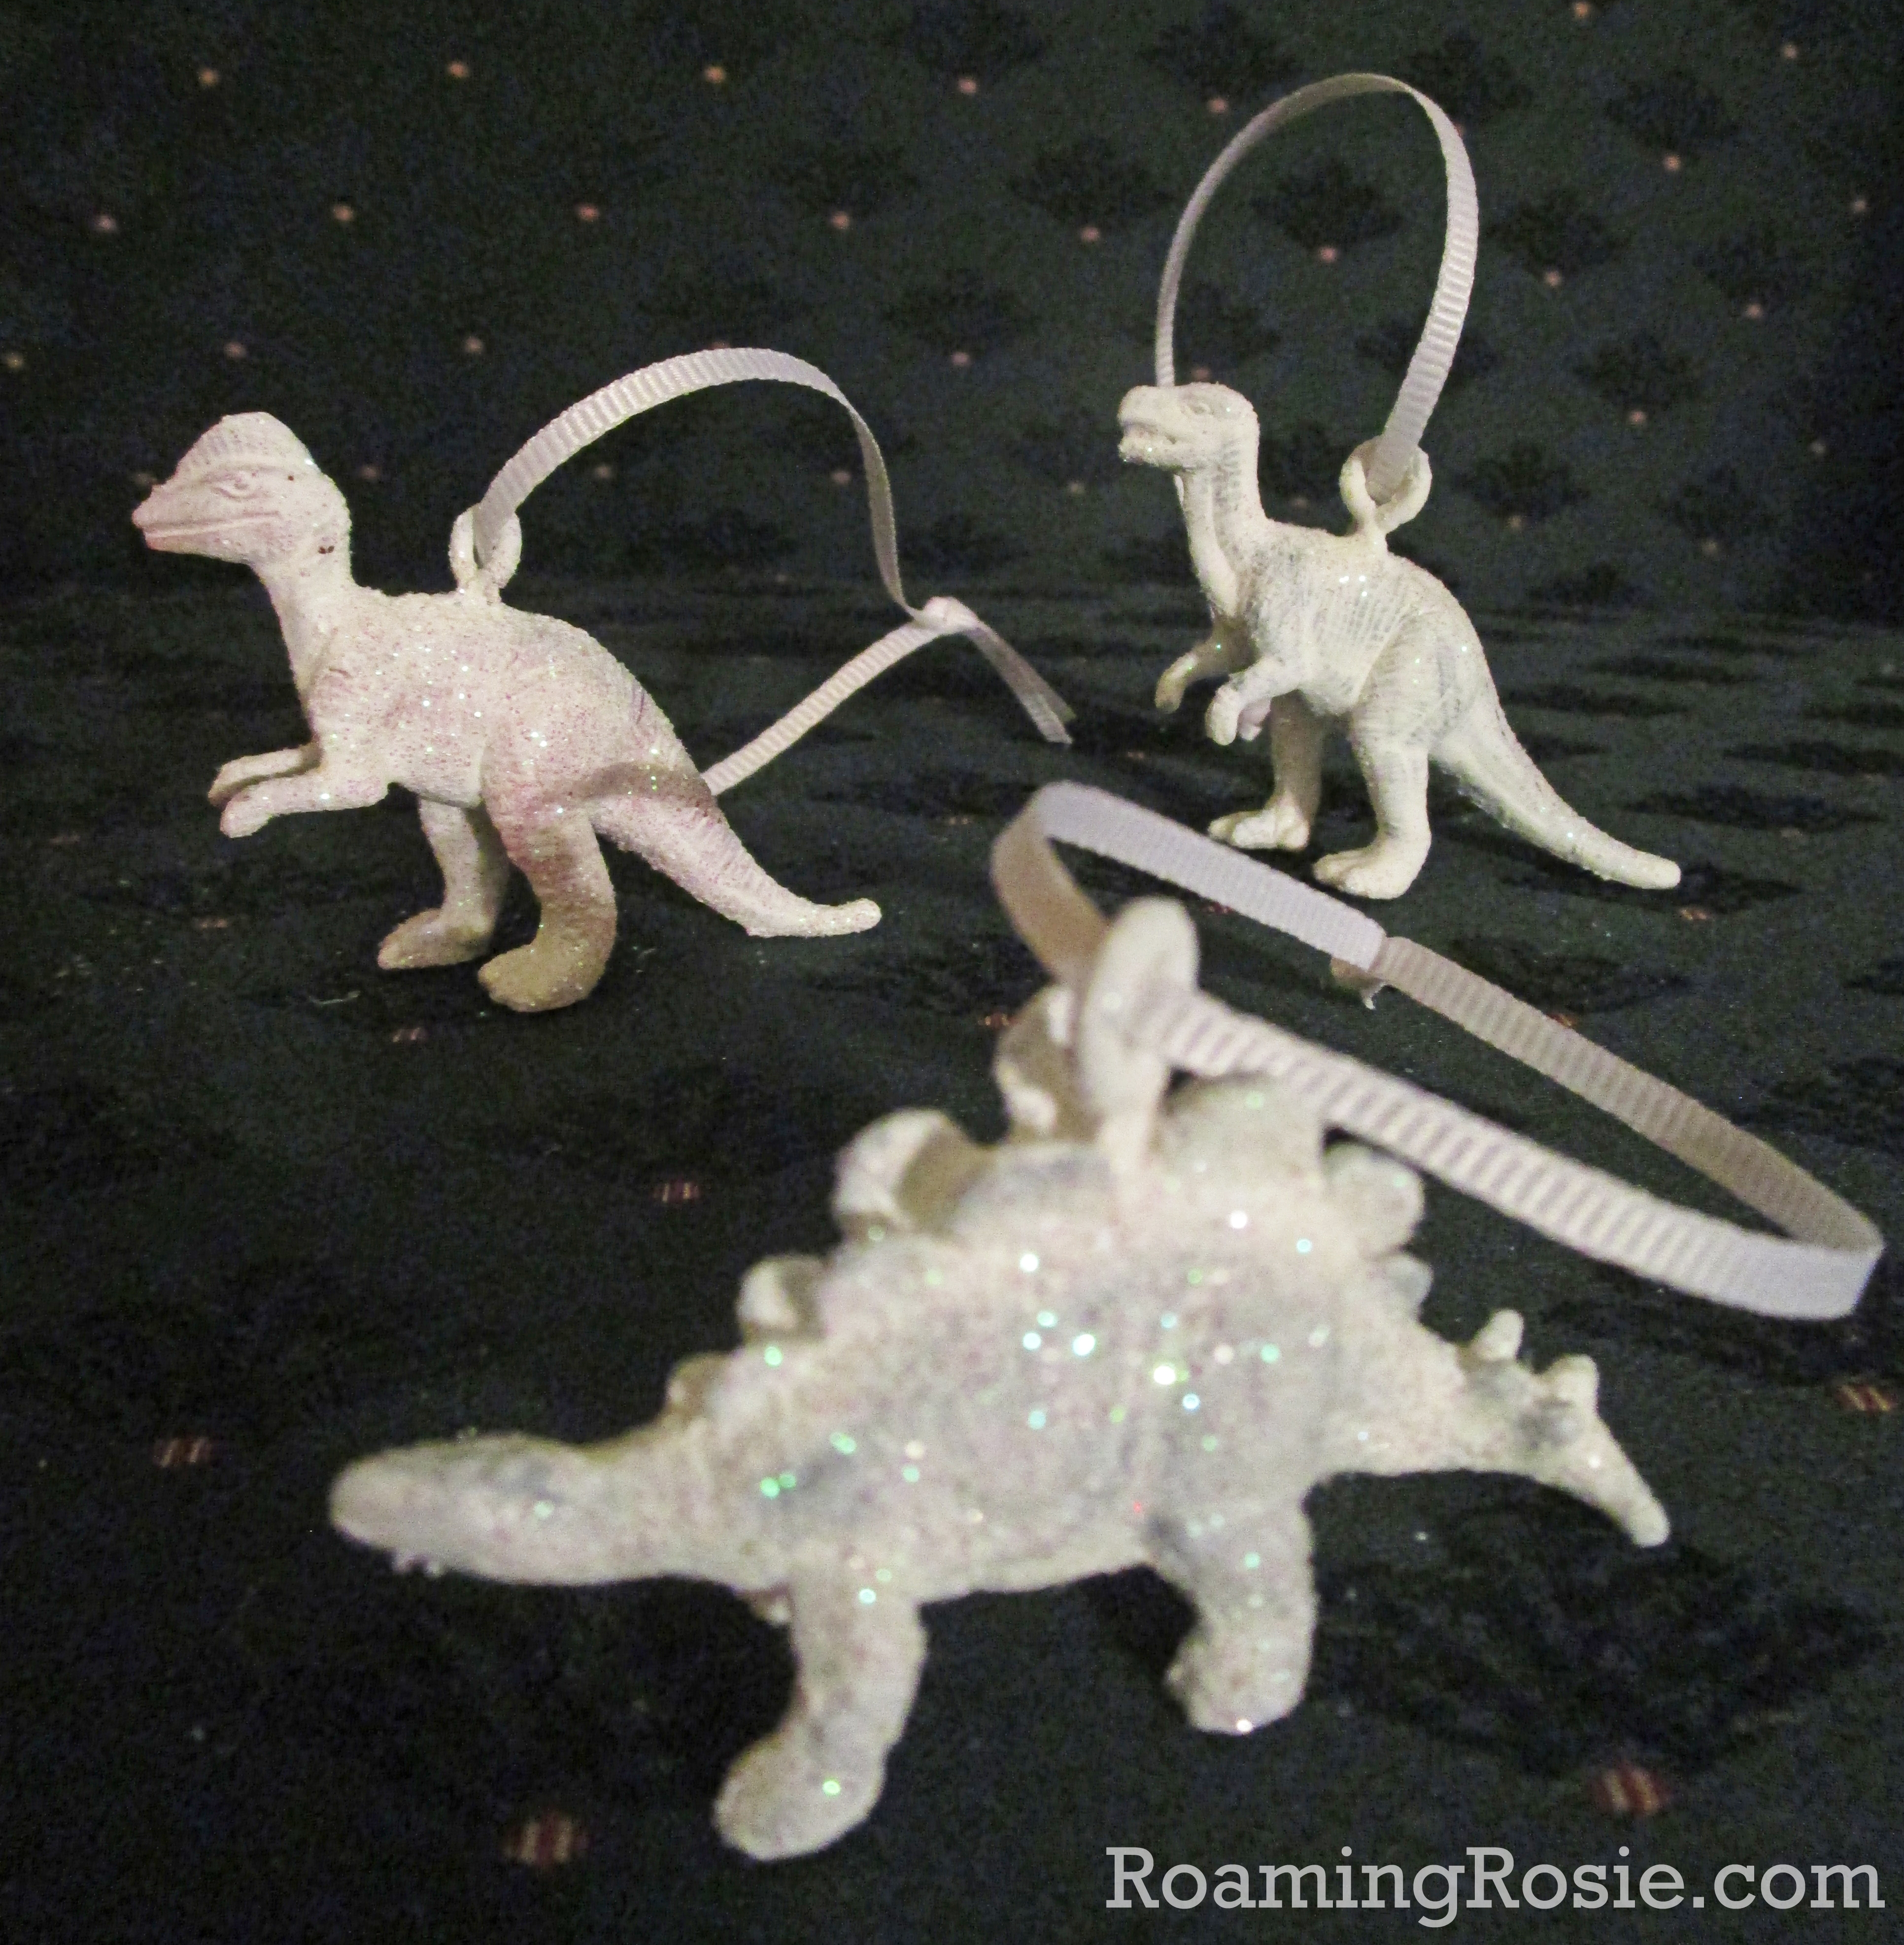
I mean, who doesn’t love dinosaurs covered in glitter??
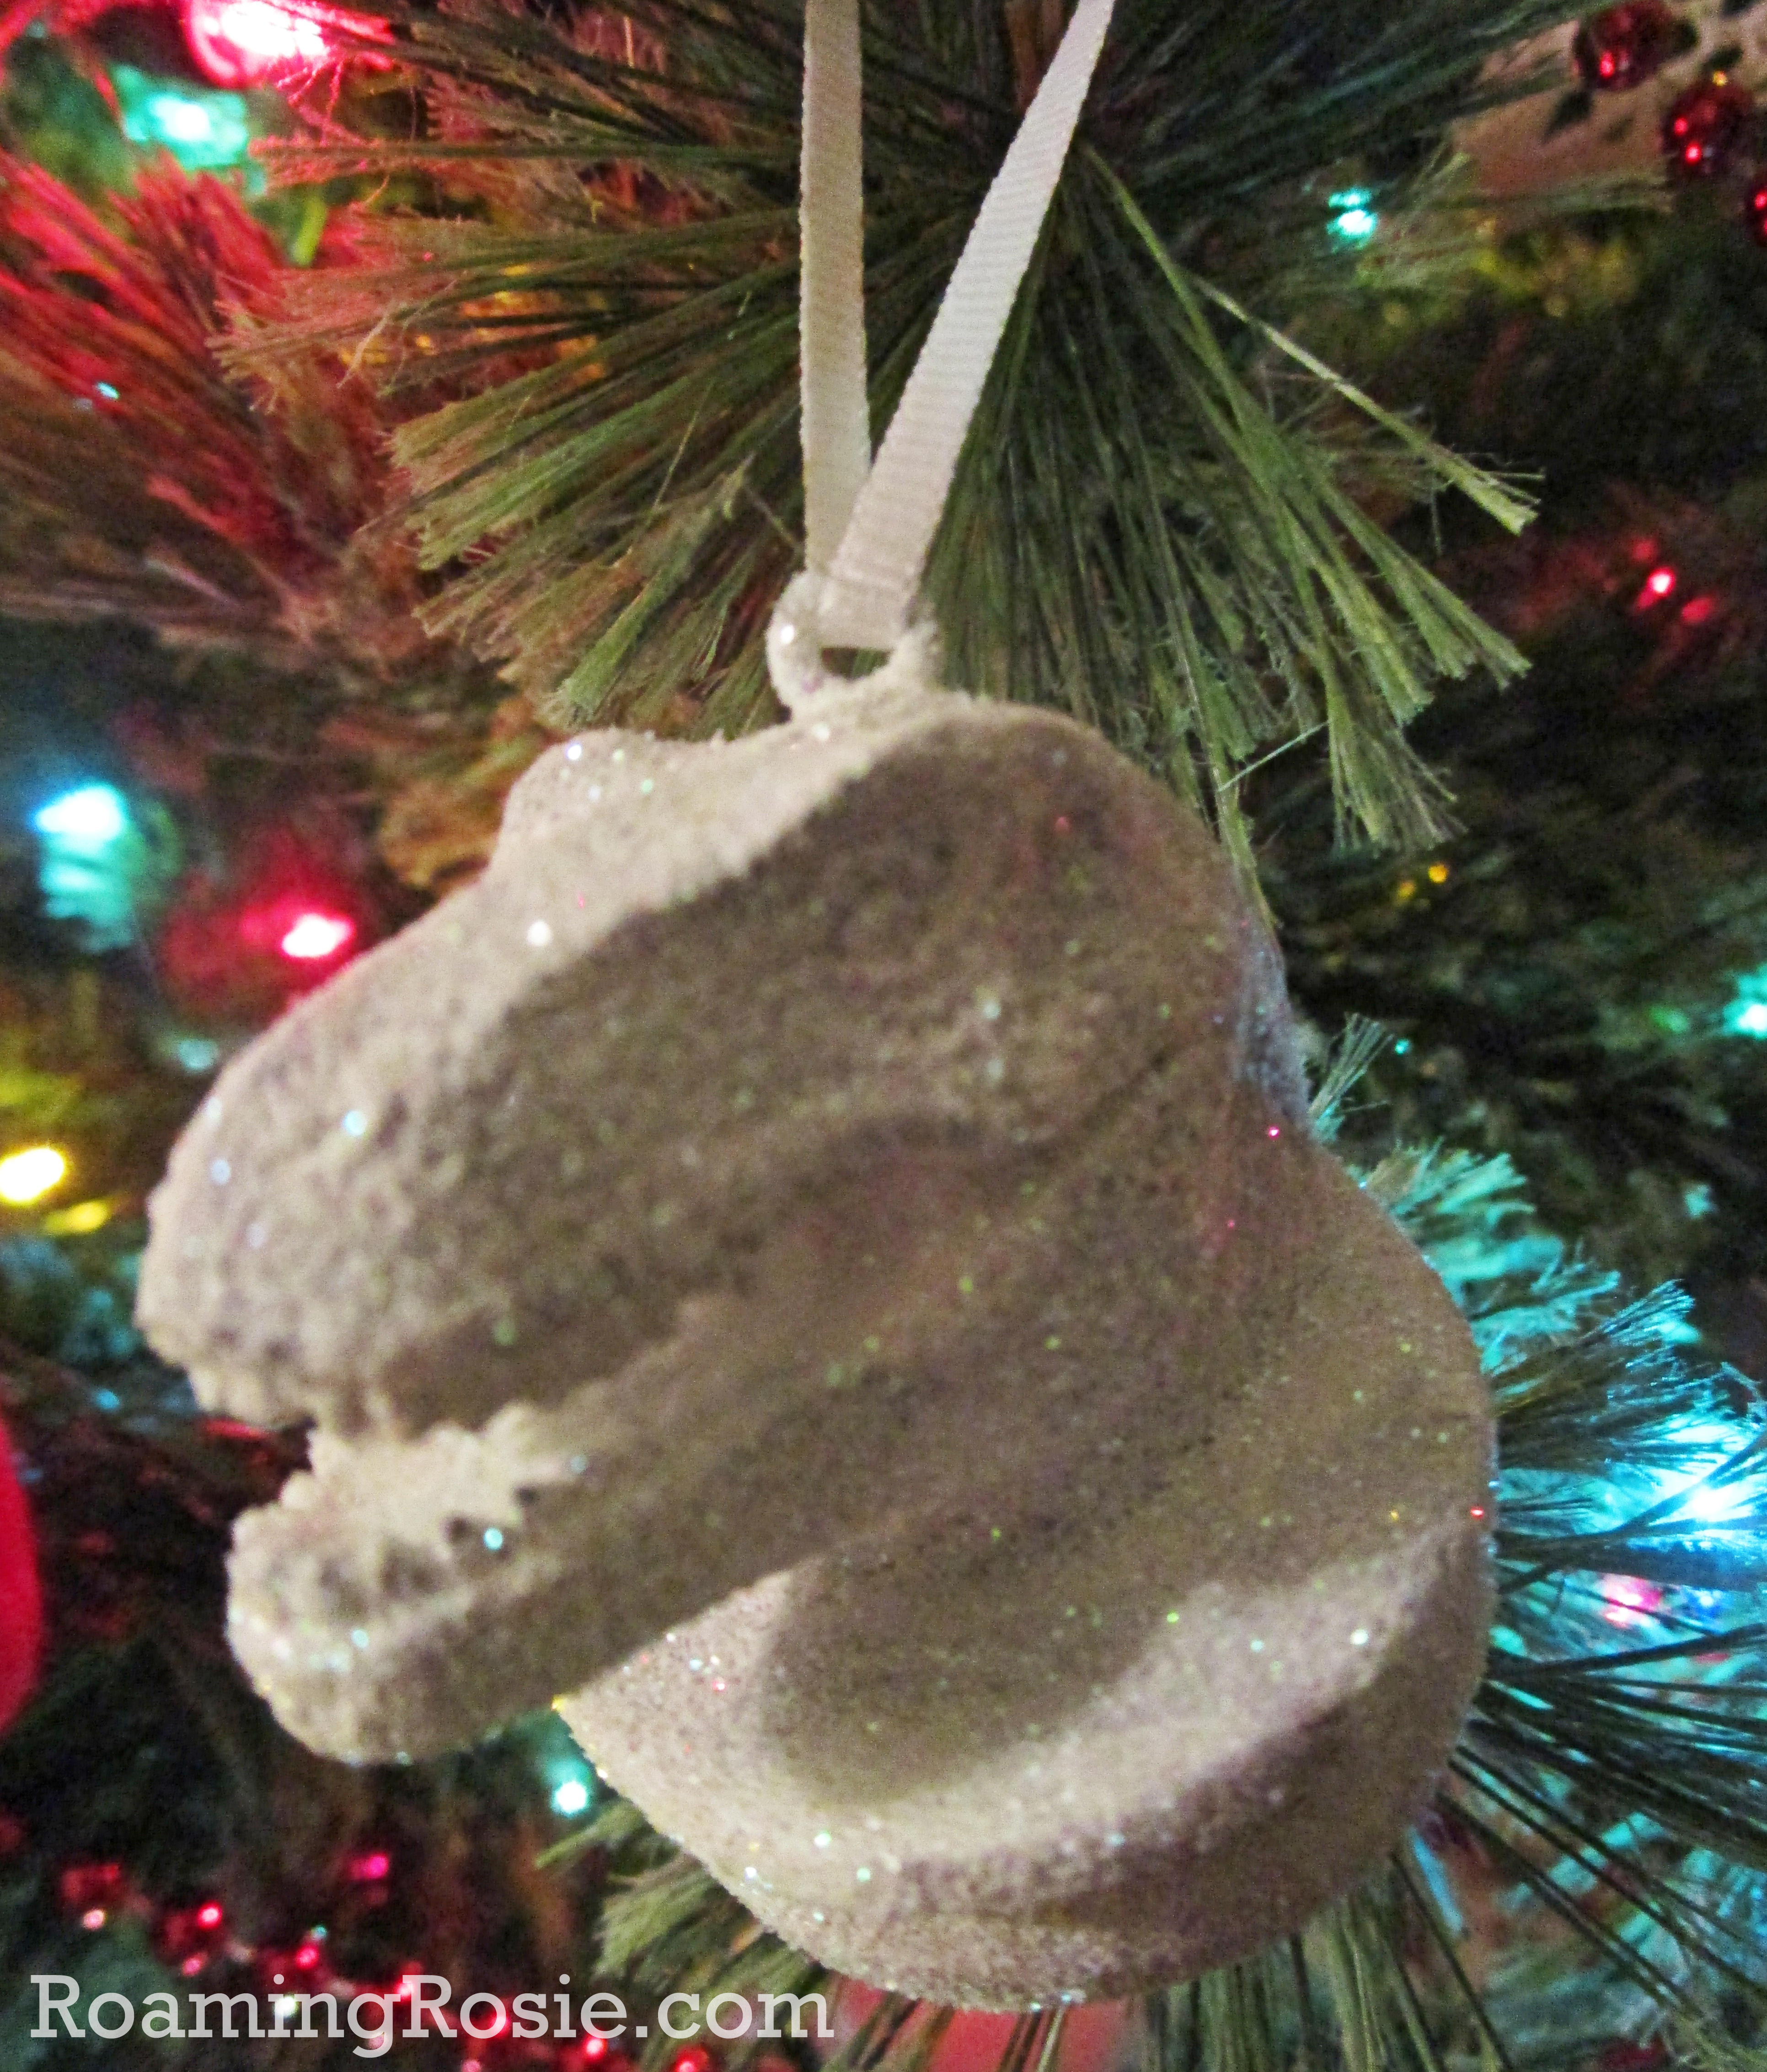
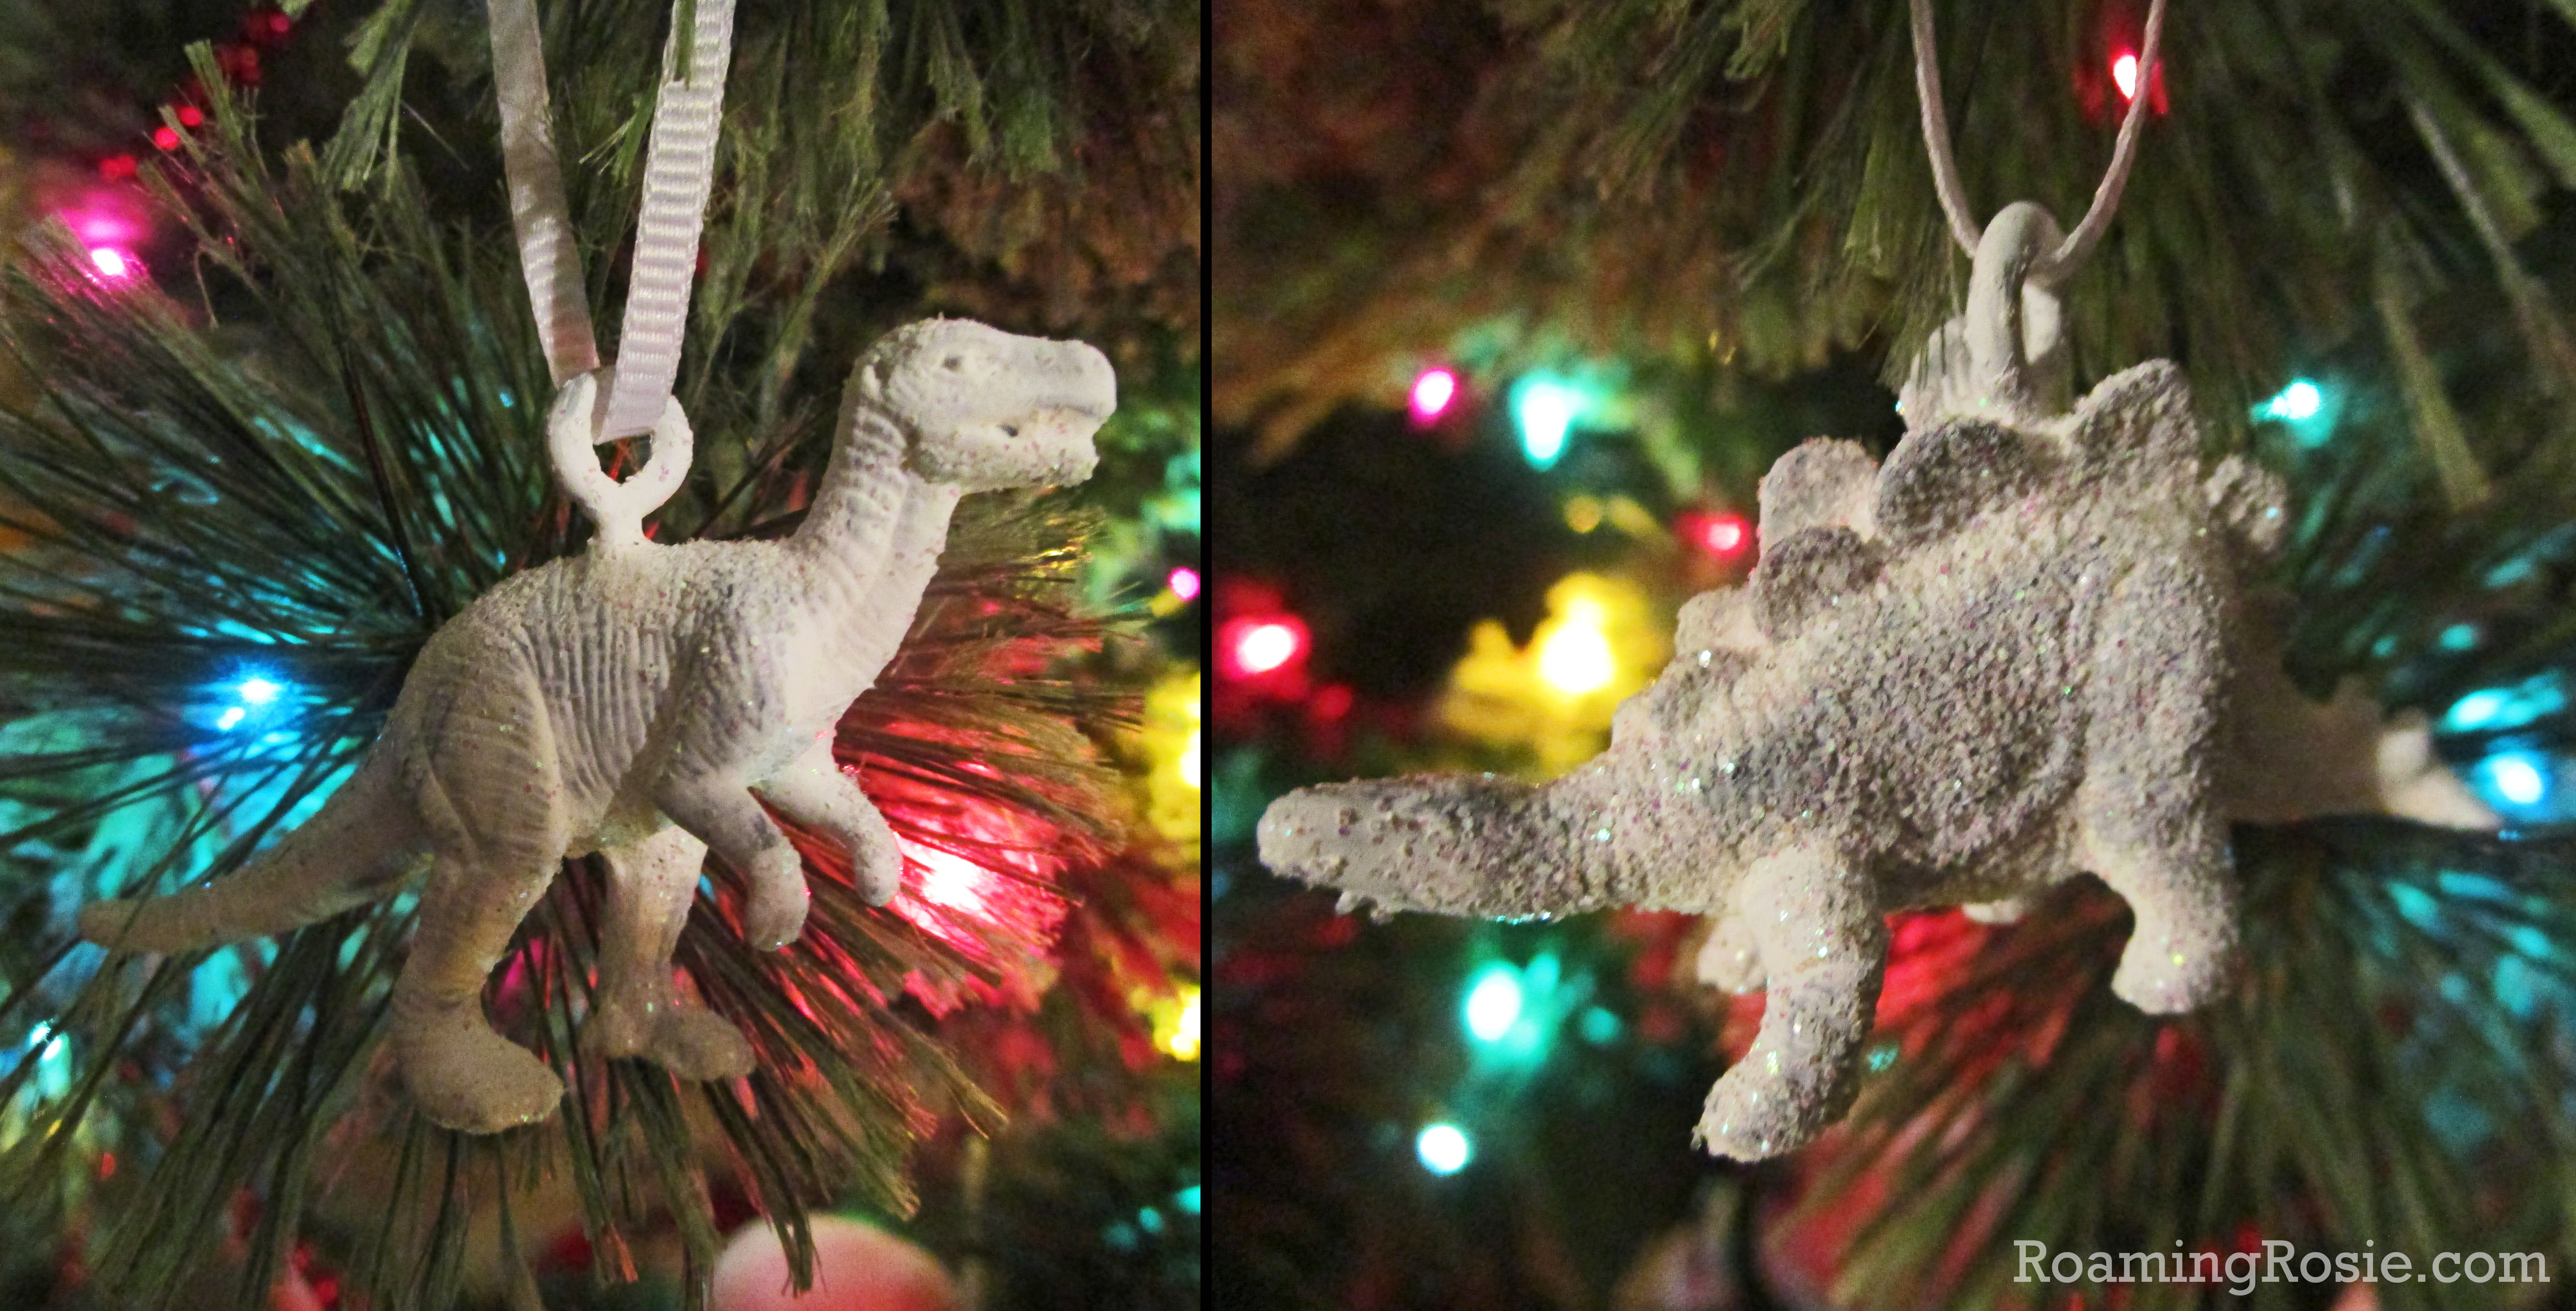
Seriously, though, hanging these Glitter Dinosaur Ornaments on my tree each year is always a joy!
Of course, I didn’t realize until afterwards that most of my photos were blurry, but you get the idea.
Essentially I picked up a tube of dinosaurs, my kids painted them, and we dumped glitter on top.
It was so much fun to do with them.
Mostly here, you’ll see the photos of the ones we painted all white – that was my preference for ultimate sparkle. But my kids did decide to paint a couple blue as well. You can really do whatever suits you.
Before you decorate them, you’ll want to attach tiny hooks.
I used eye hooks like these. The screw right into the toys with just a little elbow grease.
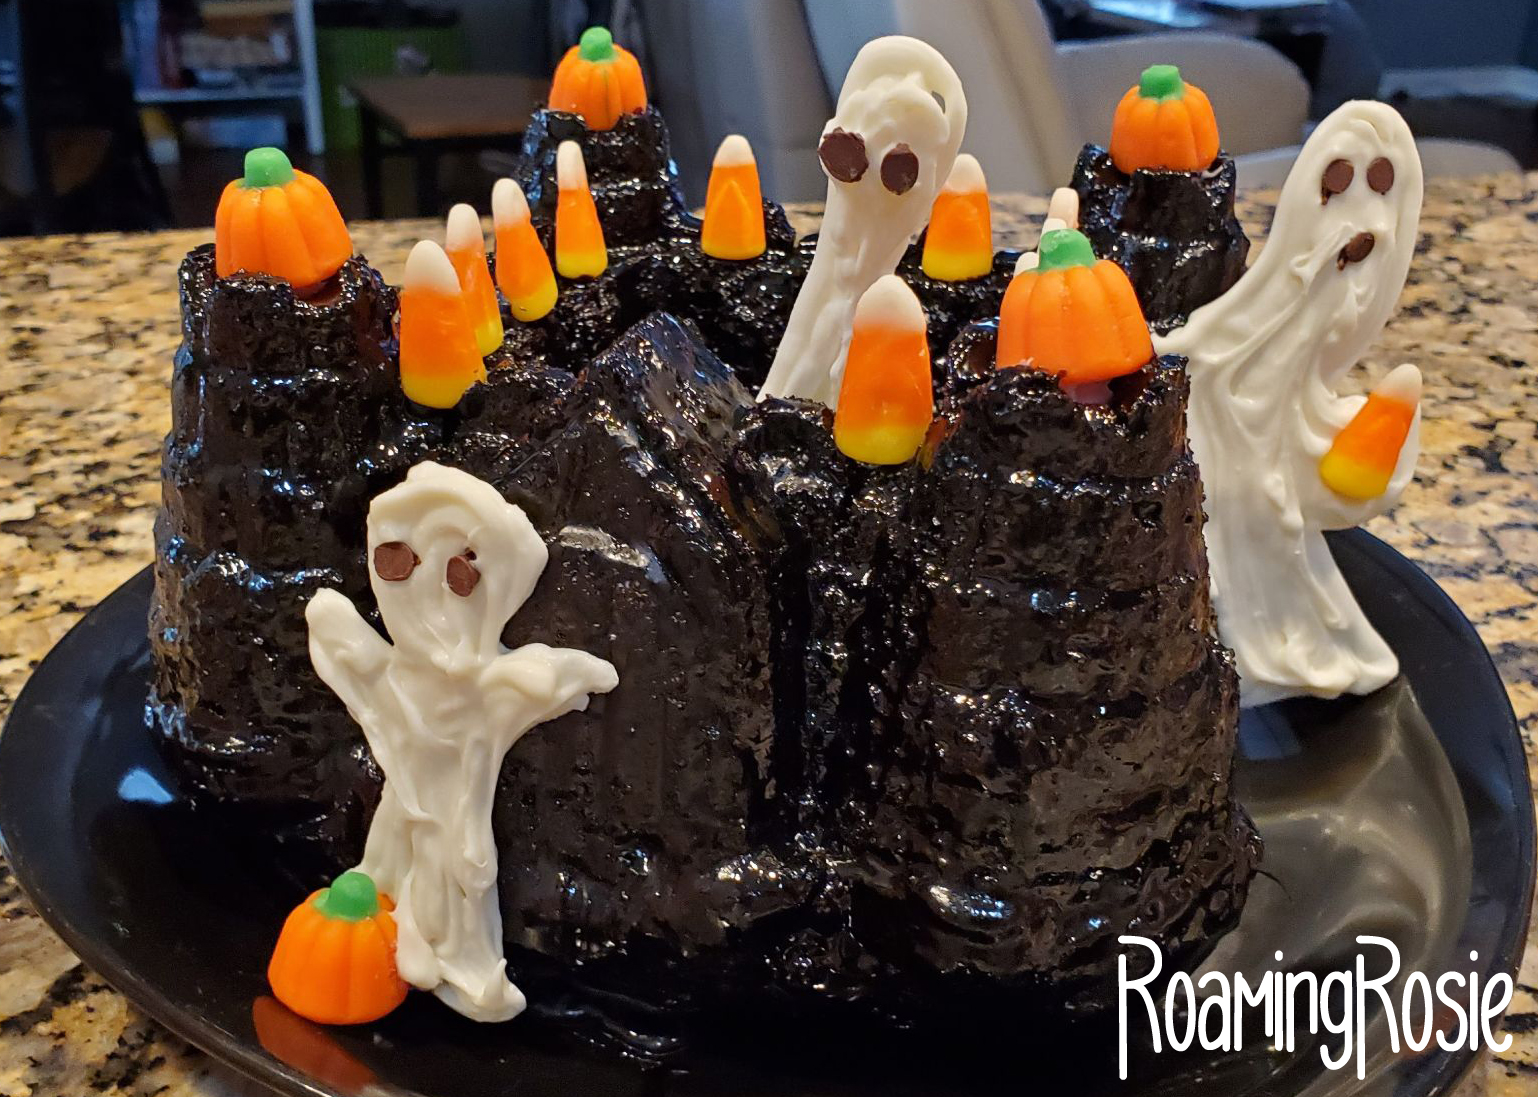
Today I’m sharing the Haunted Castle Halloween Cake we made this year.
The mold is from the princess party I threw the girls years ago. It’s the Nordic Ware Pro Cast Castle Bundt Pan. I’d kind of forgotten about it and we recently discovered it in the back of a cabinet.
Well, it’s October, right? So now it’s officially no longer a castle cake pan, but a HAUNTED castle cake pan!
But how should we go about it?
I had a hard time covering it with icing last time I used it, and besides, I wanted it spooky this time.
So I did some research and put together a pourable icing with a fudge-like consistency. AND I used Hershey’s Special Dark Cocoa Powder. The dark chocolate adds a great flavor, plus it makes it a darker color – almost black.
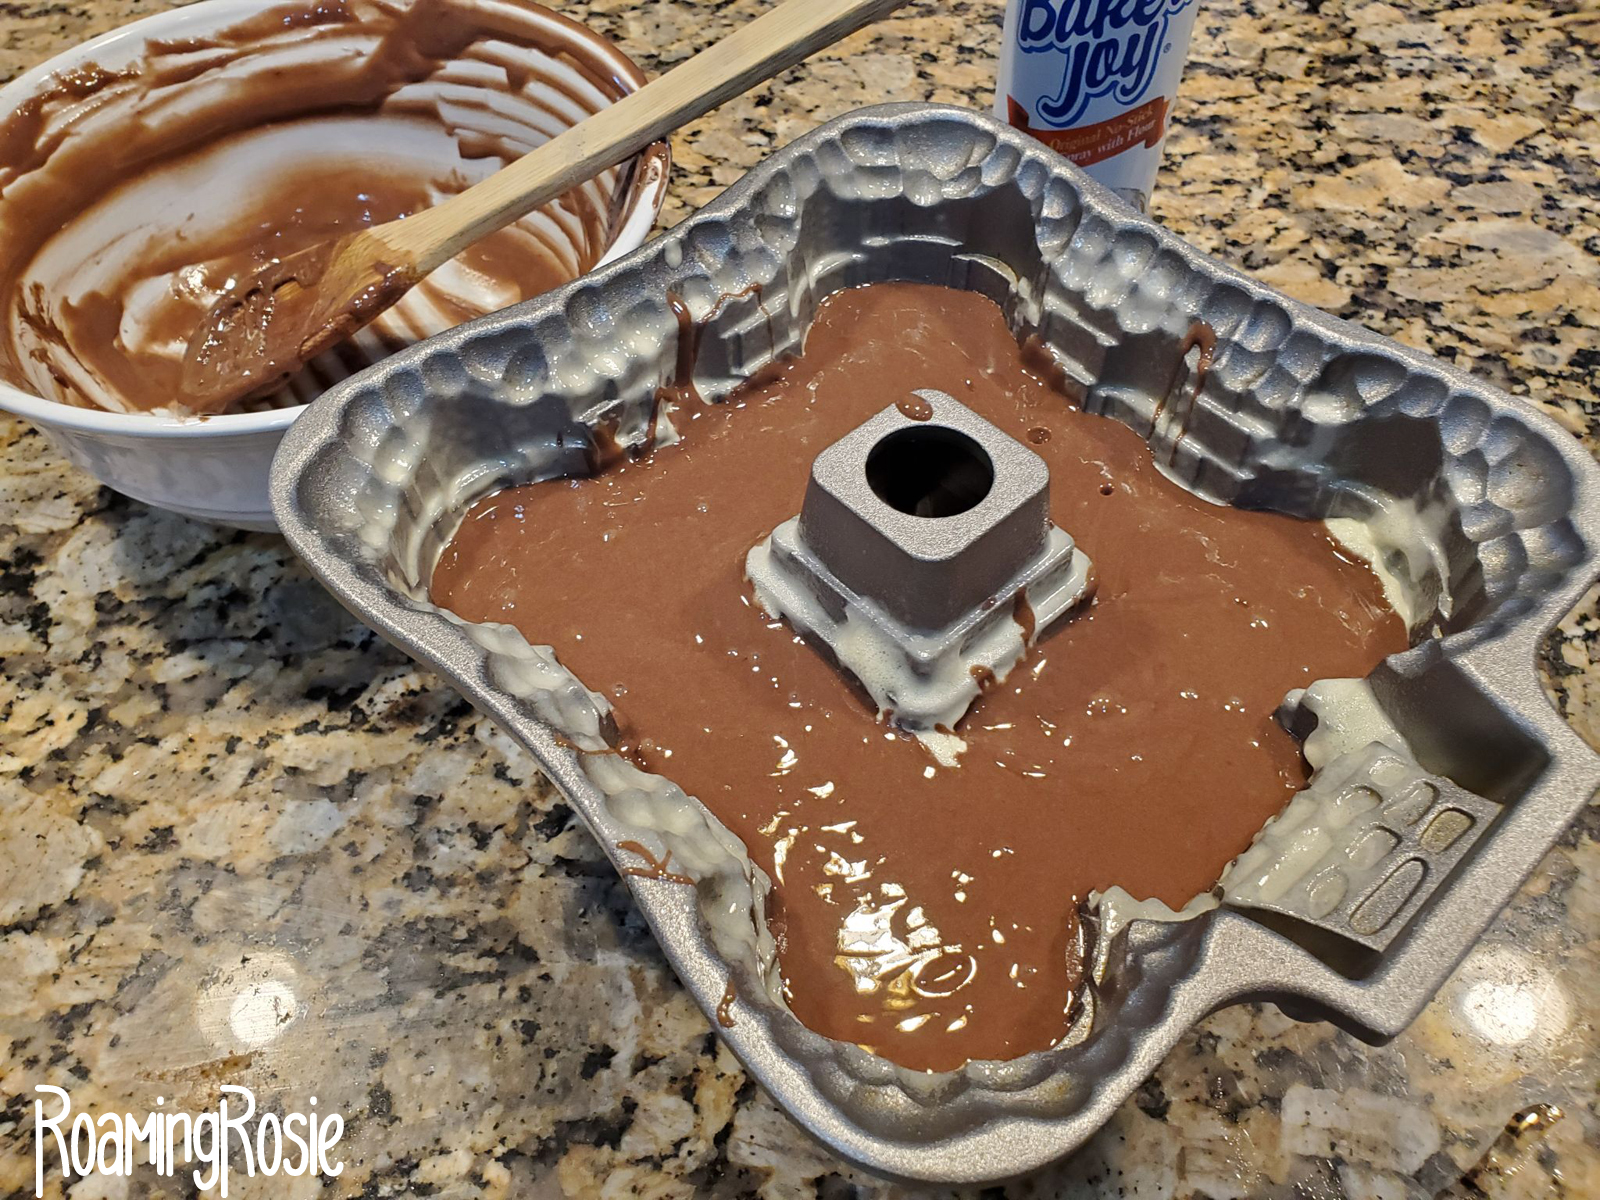
For the cake itself, I went with chocolate.
A regular box mix, ’cause hey – I don’t have time to make everything from scratch, amiright?
Just make sure you spray down the cake pan with a non-stick spray first.
Preferably one with flour already in it, like Baker’s Joy.
Following the directions on the box, we wound up with just enough from one box to almost fill the mold. Two boxes would have been way too much.
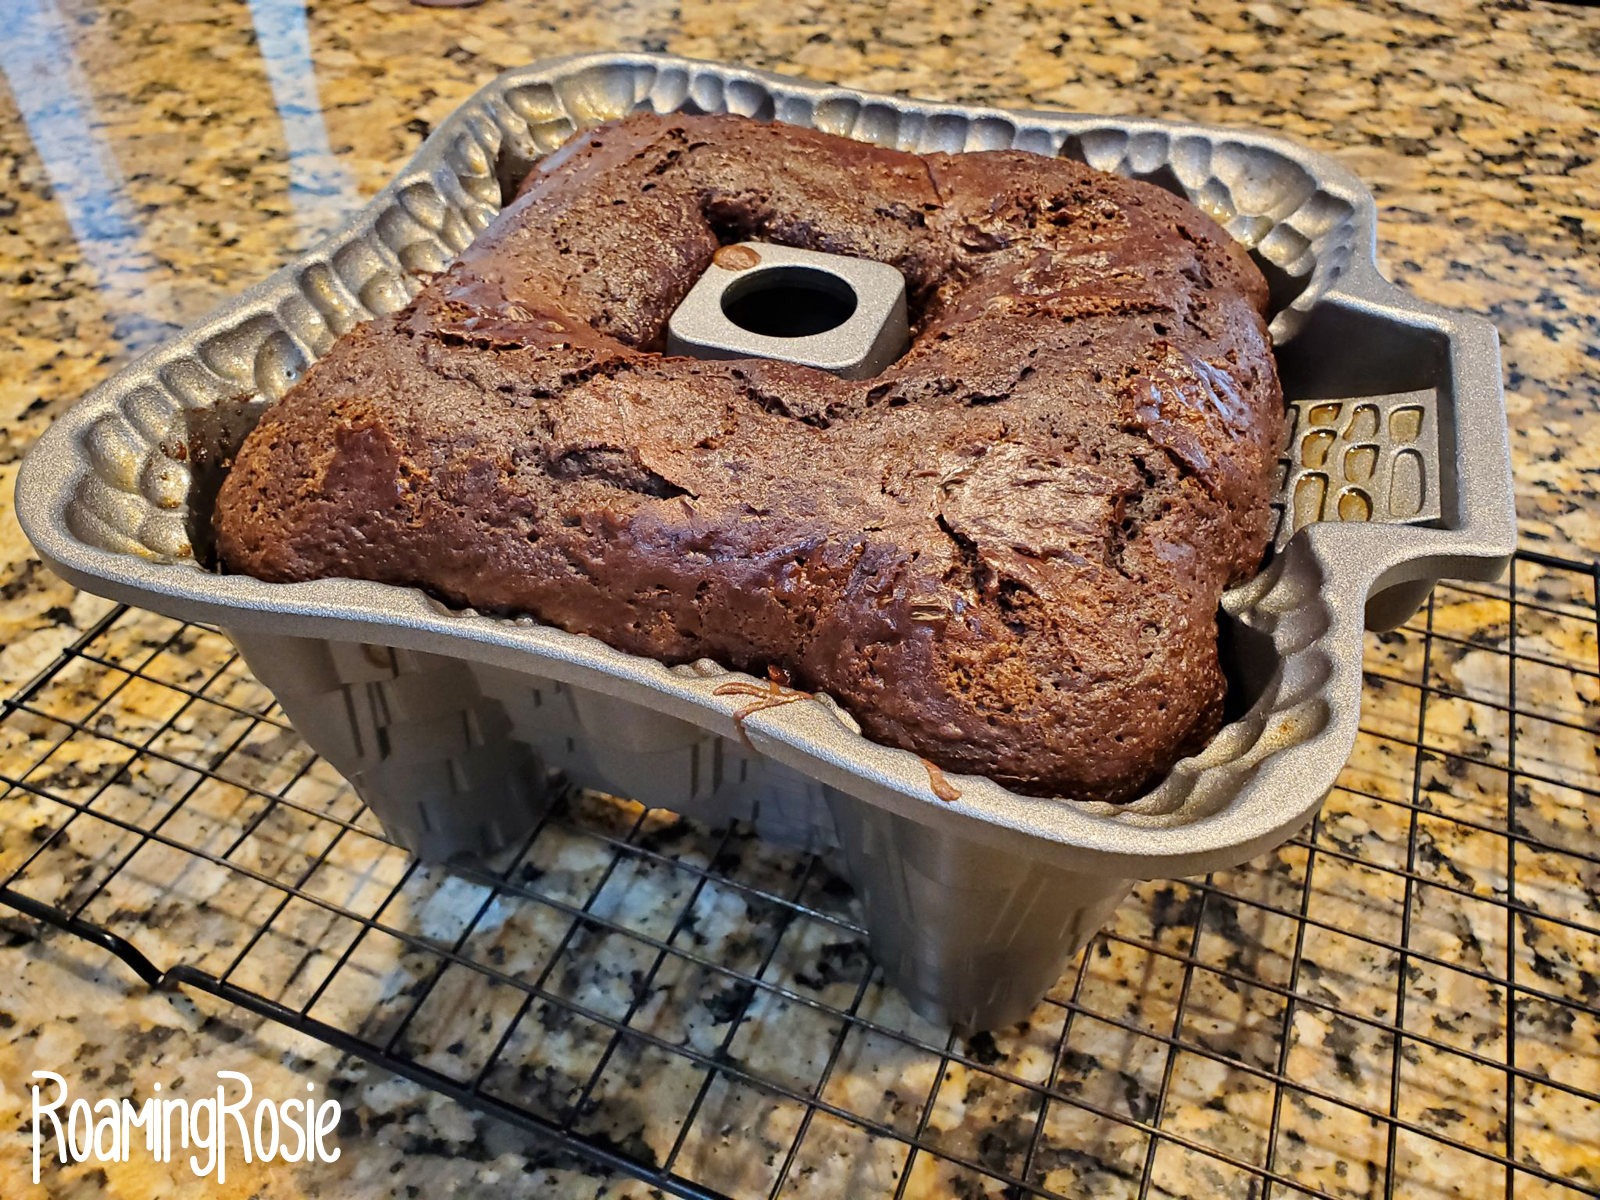
You can see that the cake batter rose plenty high enough.
True, we didn’t get the detail around the bottom, like that ramp up to the gate, but it was honestly not noticeable once the cake was turned upright.
After cooling in the pan for about 5 minutes, if you sprayed it well, it should pop out with minimal effort.
A bit of tapping and poof! Cake.
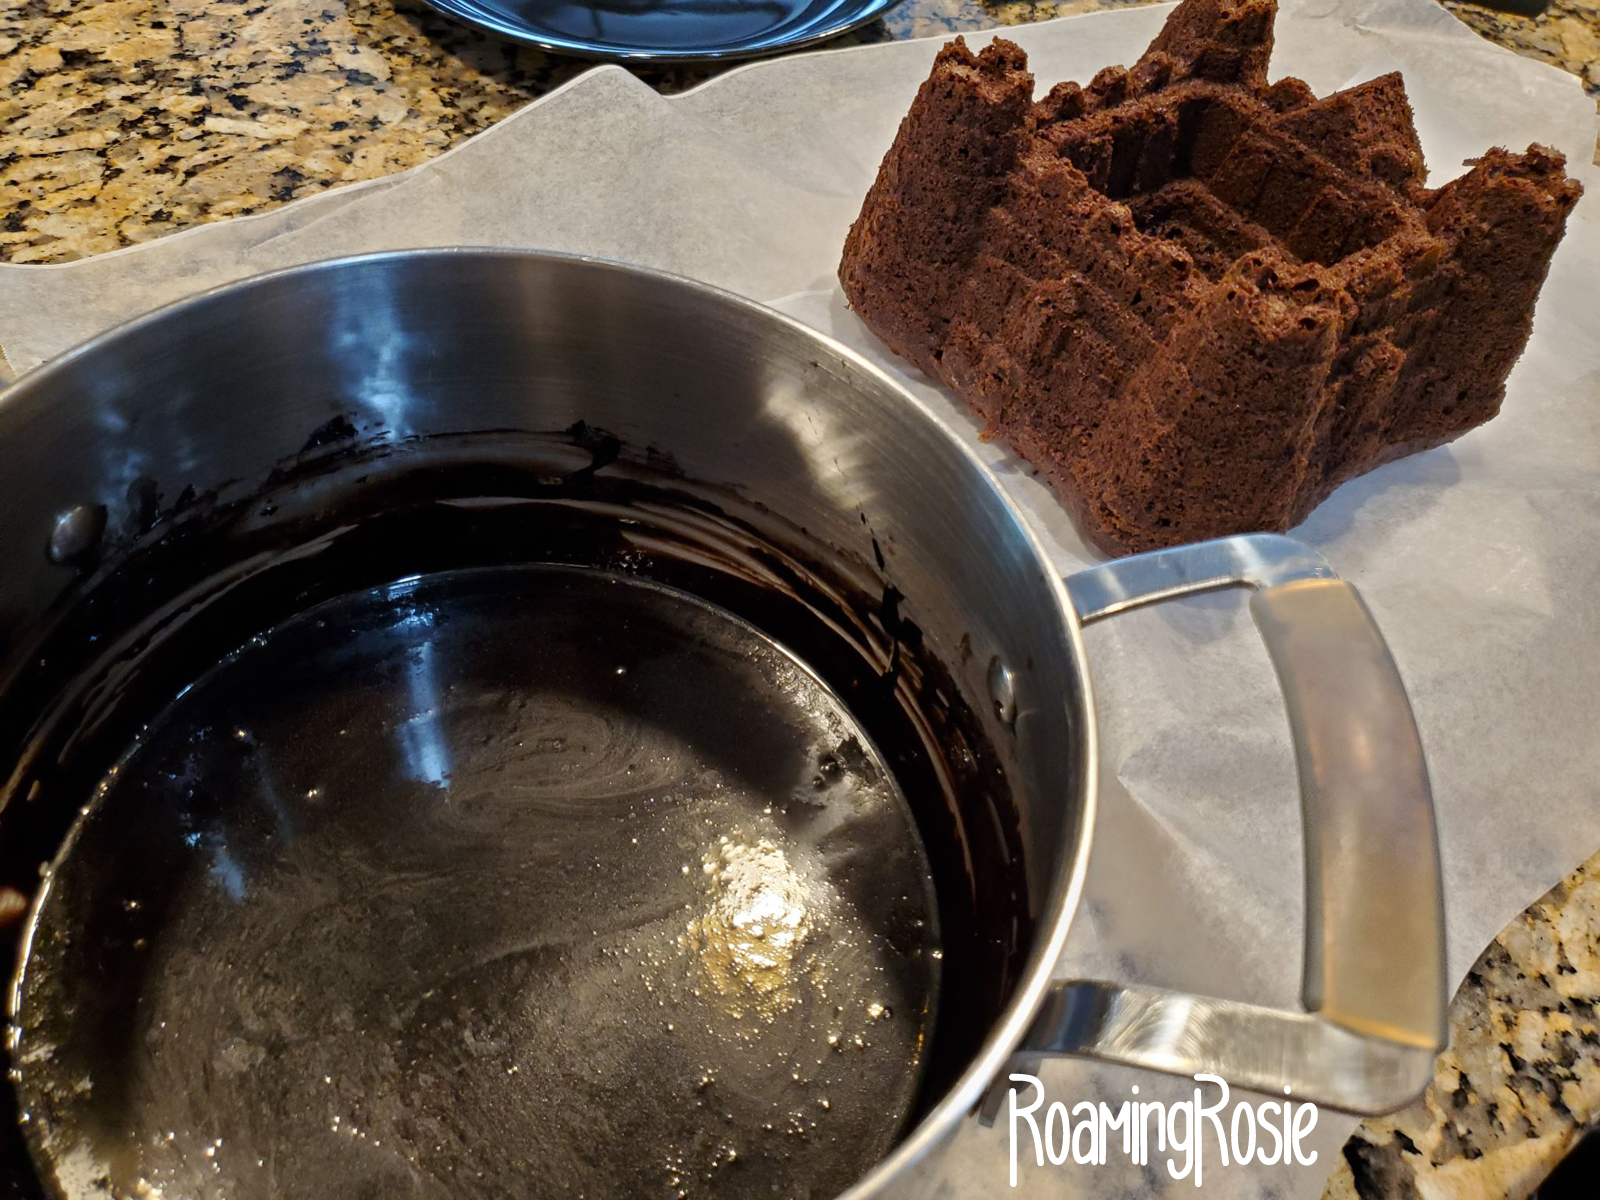
Sure, a few turrets suffered some damage, but overall it looks pretty darned nice to me.
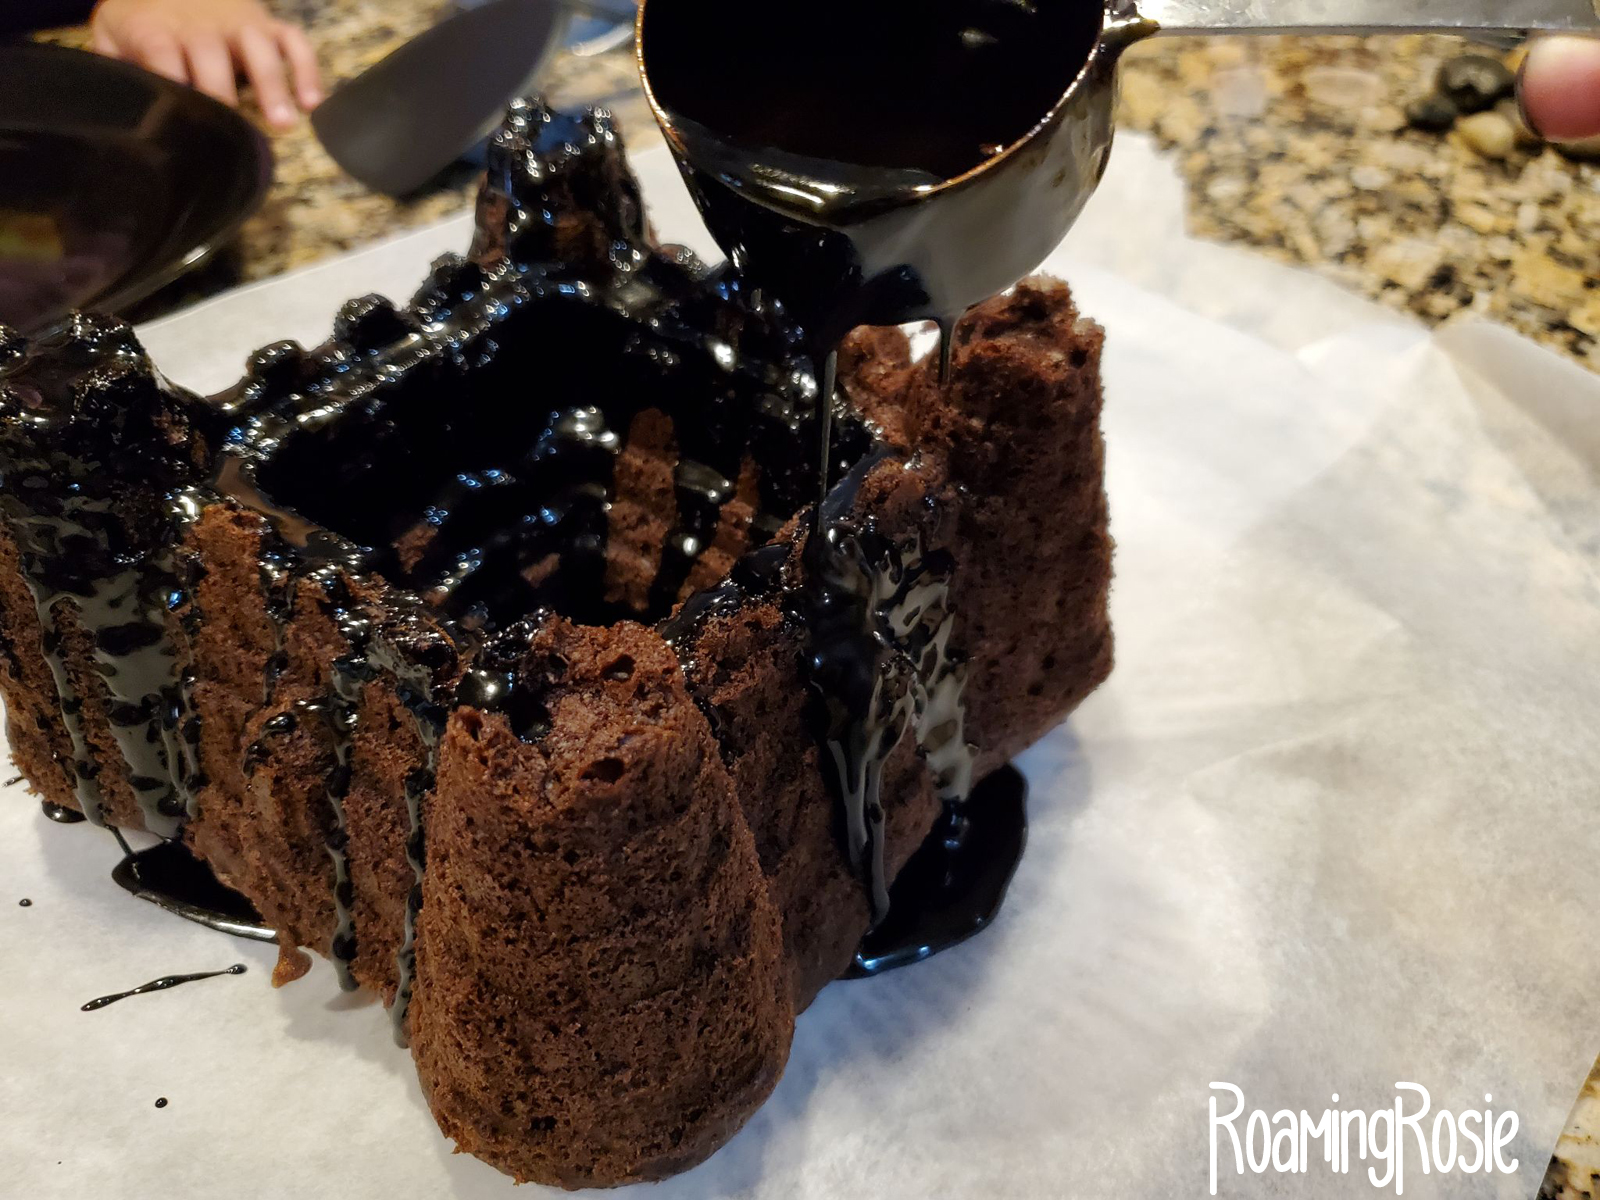
For the icing, we went with a pourable fudge sauce.
And like I mentioned above, the dark chocolate makes the most amazingly spooky color!
And my pot is pretty big. I made extra so we would have it, but there was a LOT left over. You can just follow the recipe and you’ll have plenty.
Use a small measuring cup or a spoon to drizzle the icing slowly over your dessert, stirring the icing from time to time. It does harden fairly quickly.
As you go, be sure to scoop the icing out of the center. It will pool there.
It’s best to drizzle it over waxed paper. Then, once the cake is fully coated, you can move it with two spatulas onto your serving platter.
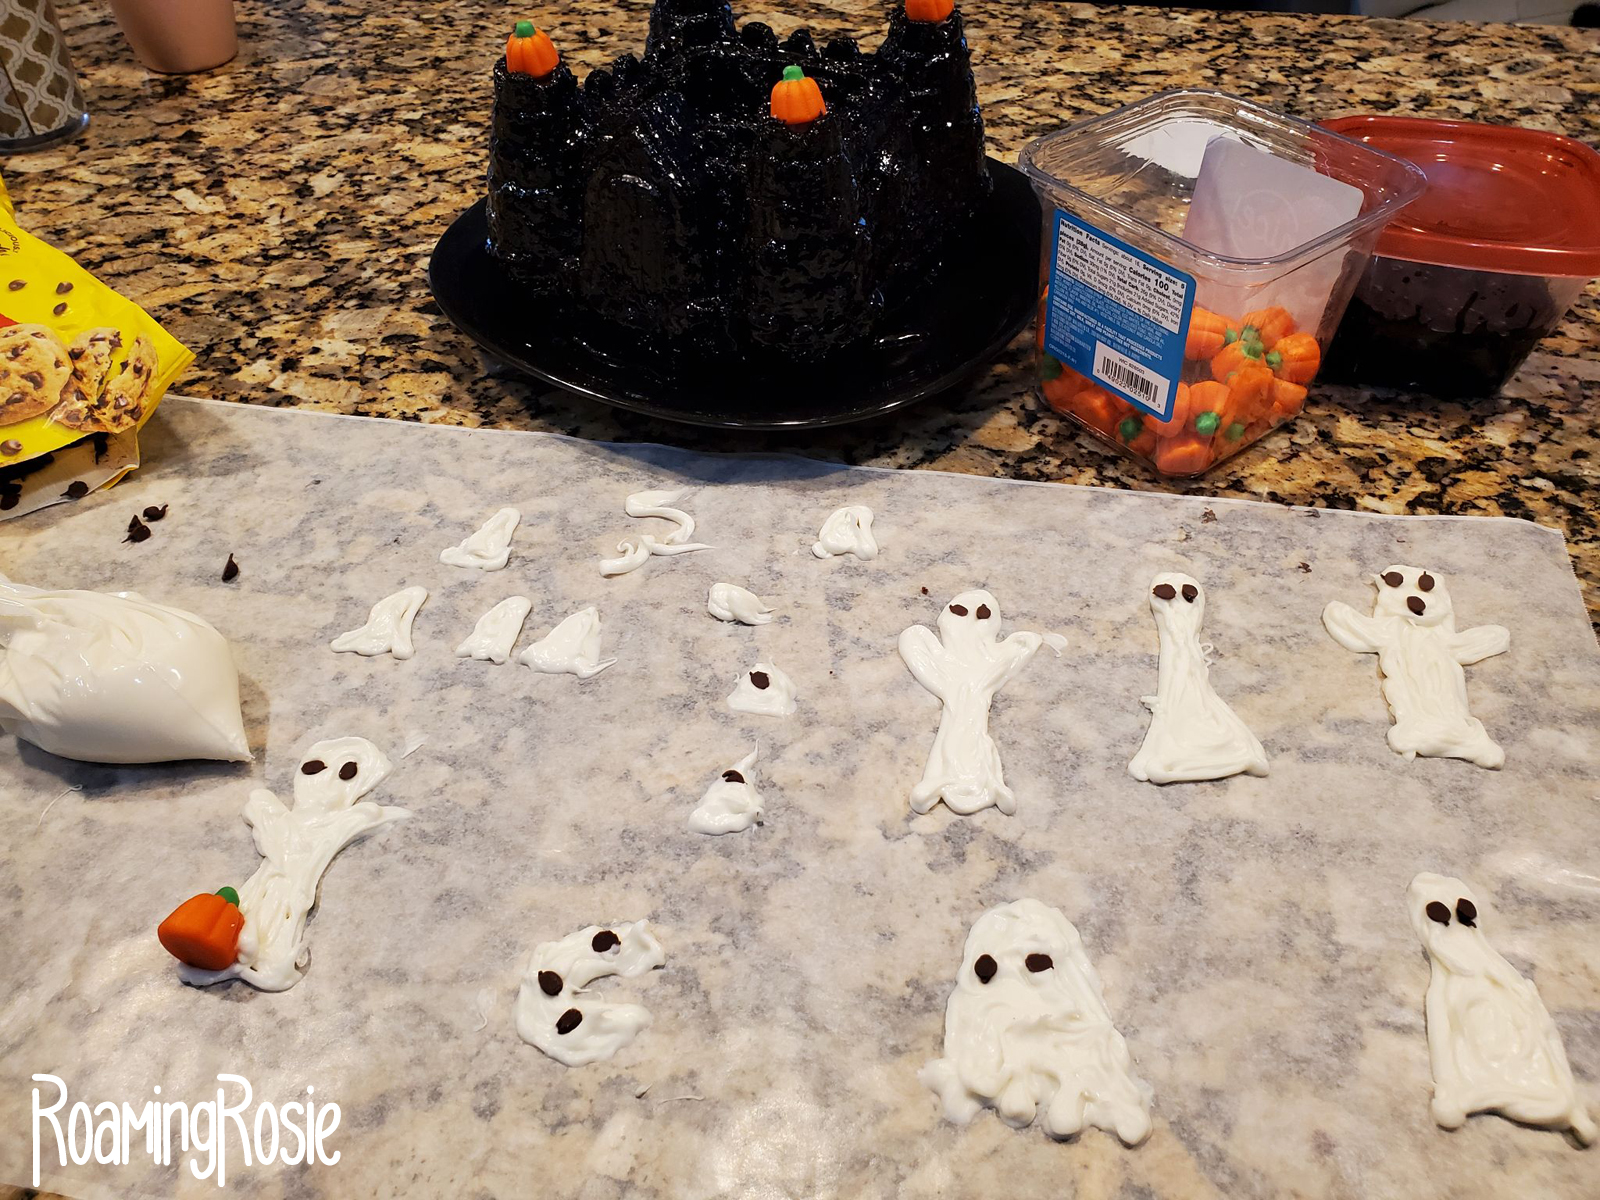
Our final step was decorating!
We drew some ghosts by hand with melted white candy melts and added miniature chocolate chips for eyes and mouths.
Those only take a few minutes to harden, then you can add them to the cake by squeezing some of the melted chocolate onto the cake to act as glue.
This is the type of Halloween dessert I love – satisfyingly spooky but quick to put together. Because let’s face it, I make a lot of Halloween-themed meals all month long, and I can’t spend hours and hours on each one!
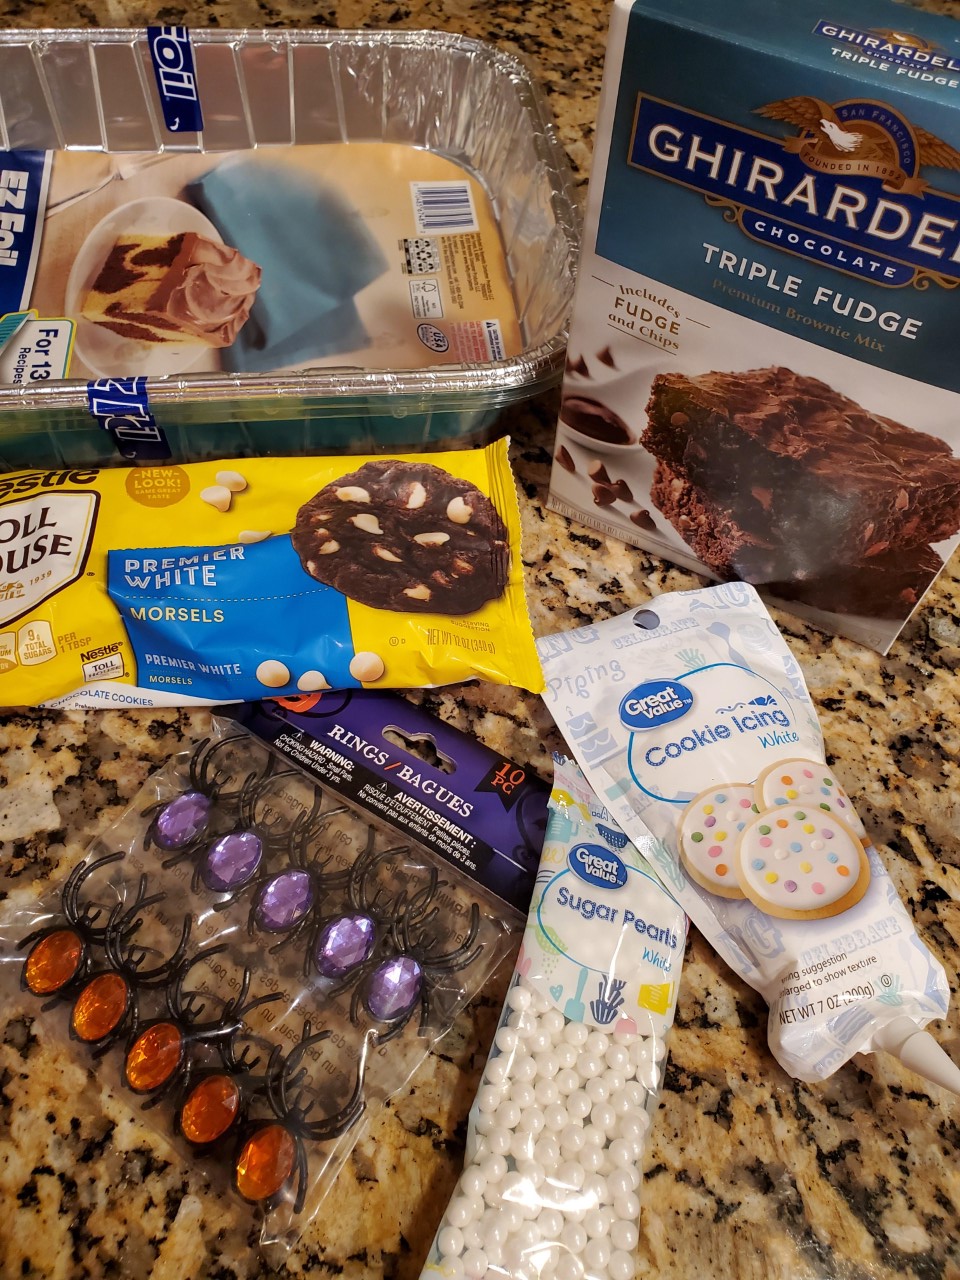
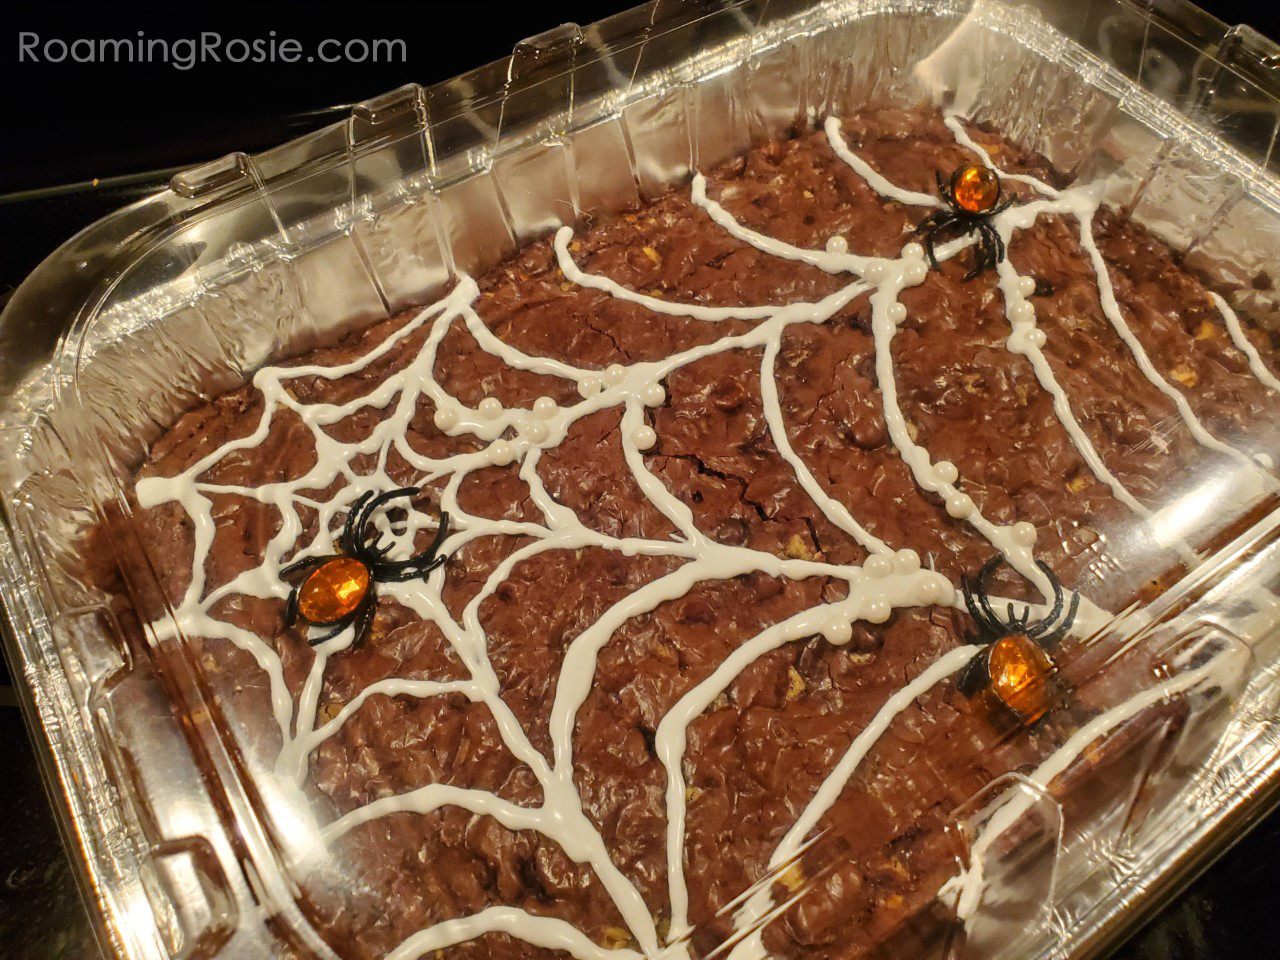
These Spider’s Eggs Brownies were constructed with an easy shopping list and can be made ahead of time. In this case, I brought these brownies to a potluck. They’re really easy to travel with (don’t forget something to cut them!) but you could always make them in a more permanent pan just as easily.
(These items should be readily available in your local grocery/big box/dollar store around Halloween, but if they’re not, try the links posted above.)
As you can see from the photos above, I wanted to fill these brownies full of delicious spider eggs! Mixing in those white chocolate chips really helps to highlight this.
Instructions:
Make the brownies according to the instructions on the box.
Mix the white chocolate chips into the batter.
Pour batter into pan of choice and bake according to instructions on the box.
Allow cooked brownies to cool completely.
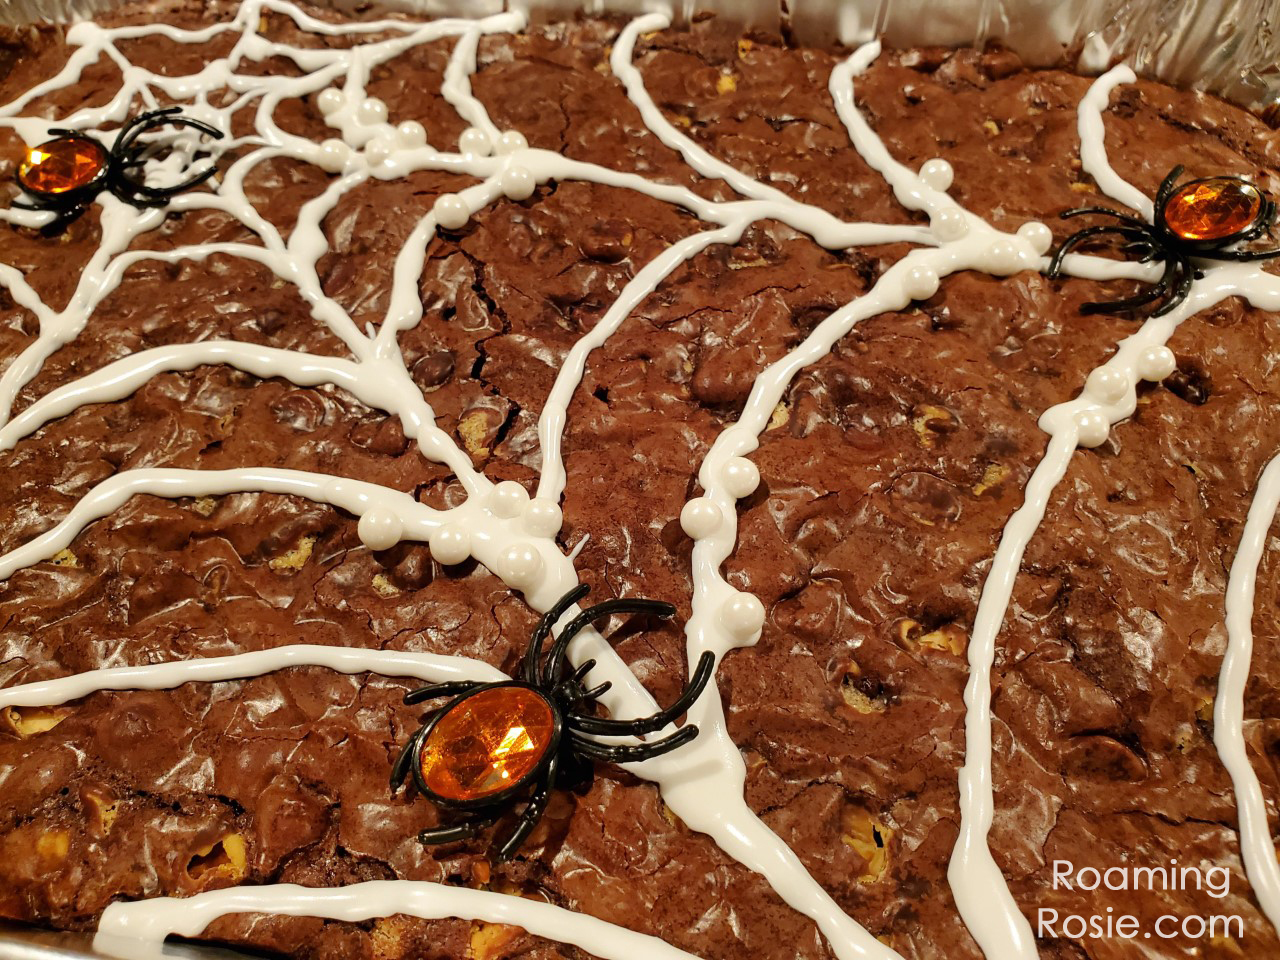
Draw a spider web on top of cooled brownies with cookie icing.
Before icing dries, sprinkle sugar pearls over the icing so they stick.
Add in a few spider rings by pressing them into the top.
Freak out your friends and coworkers!
I’ve found brownies to be a pretty safe bet for satisfying the greatest amount of people at a party. I do have a tried-and-true homemade brownie recipe, but if I’m in a rush, I mix a few chocolate chips into a box mix.
And, if it’s Halloween, I spookify it.
Share some of your brownie creations with me on Facebook!
This is one of those recipes that’s so stinkin’ cute but also super easy.
Halloween is a time of year when we eat a lot of “fun” foods.
(Yeah I said “time of year.” It ain’t just a single day in this family – we celebrate for at least a month … but I’m always up for something spooky.)
So I like to spruce up meals and snacks when I can. Which means some are quite elaborate and others… well, are like this!
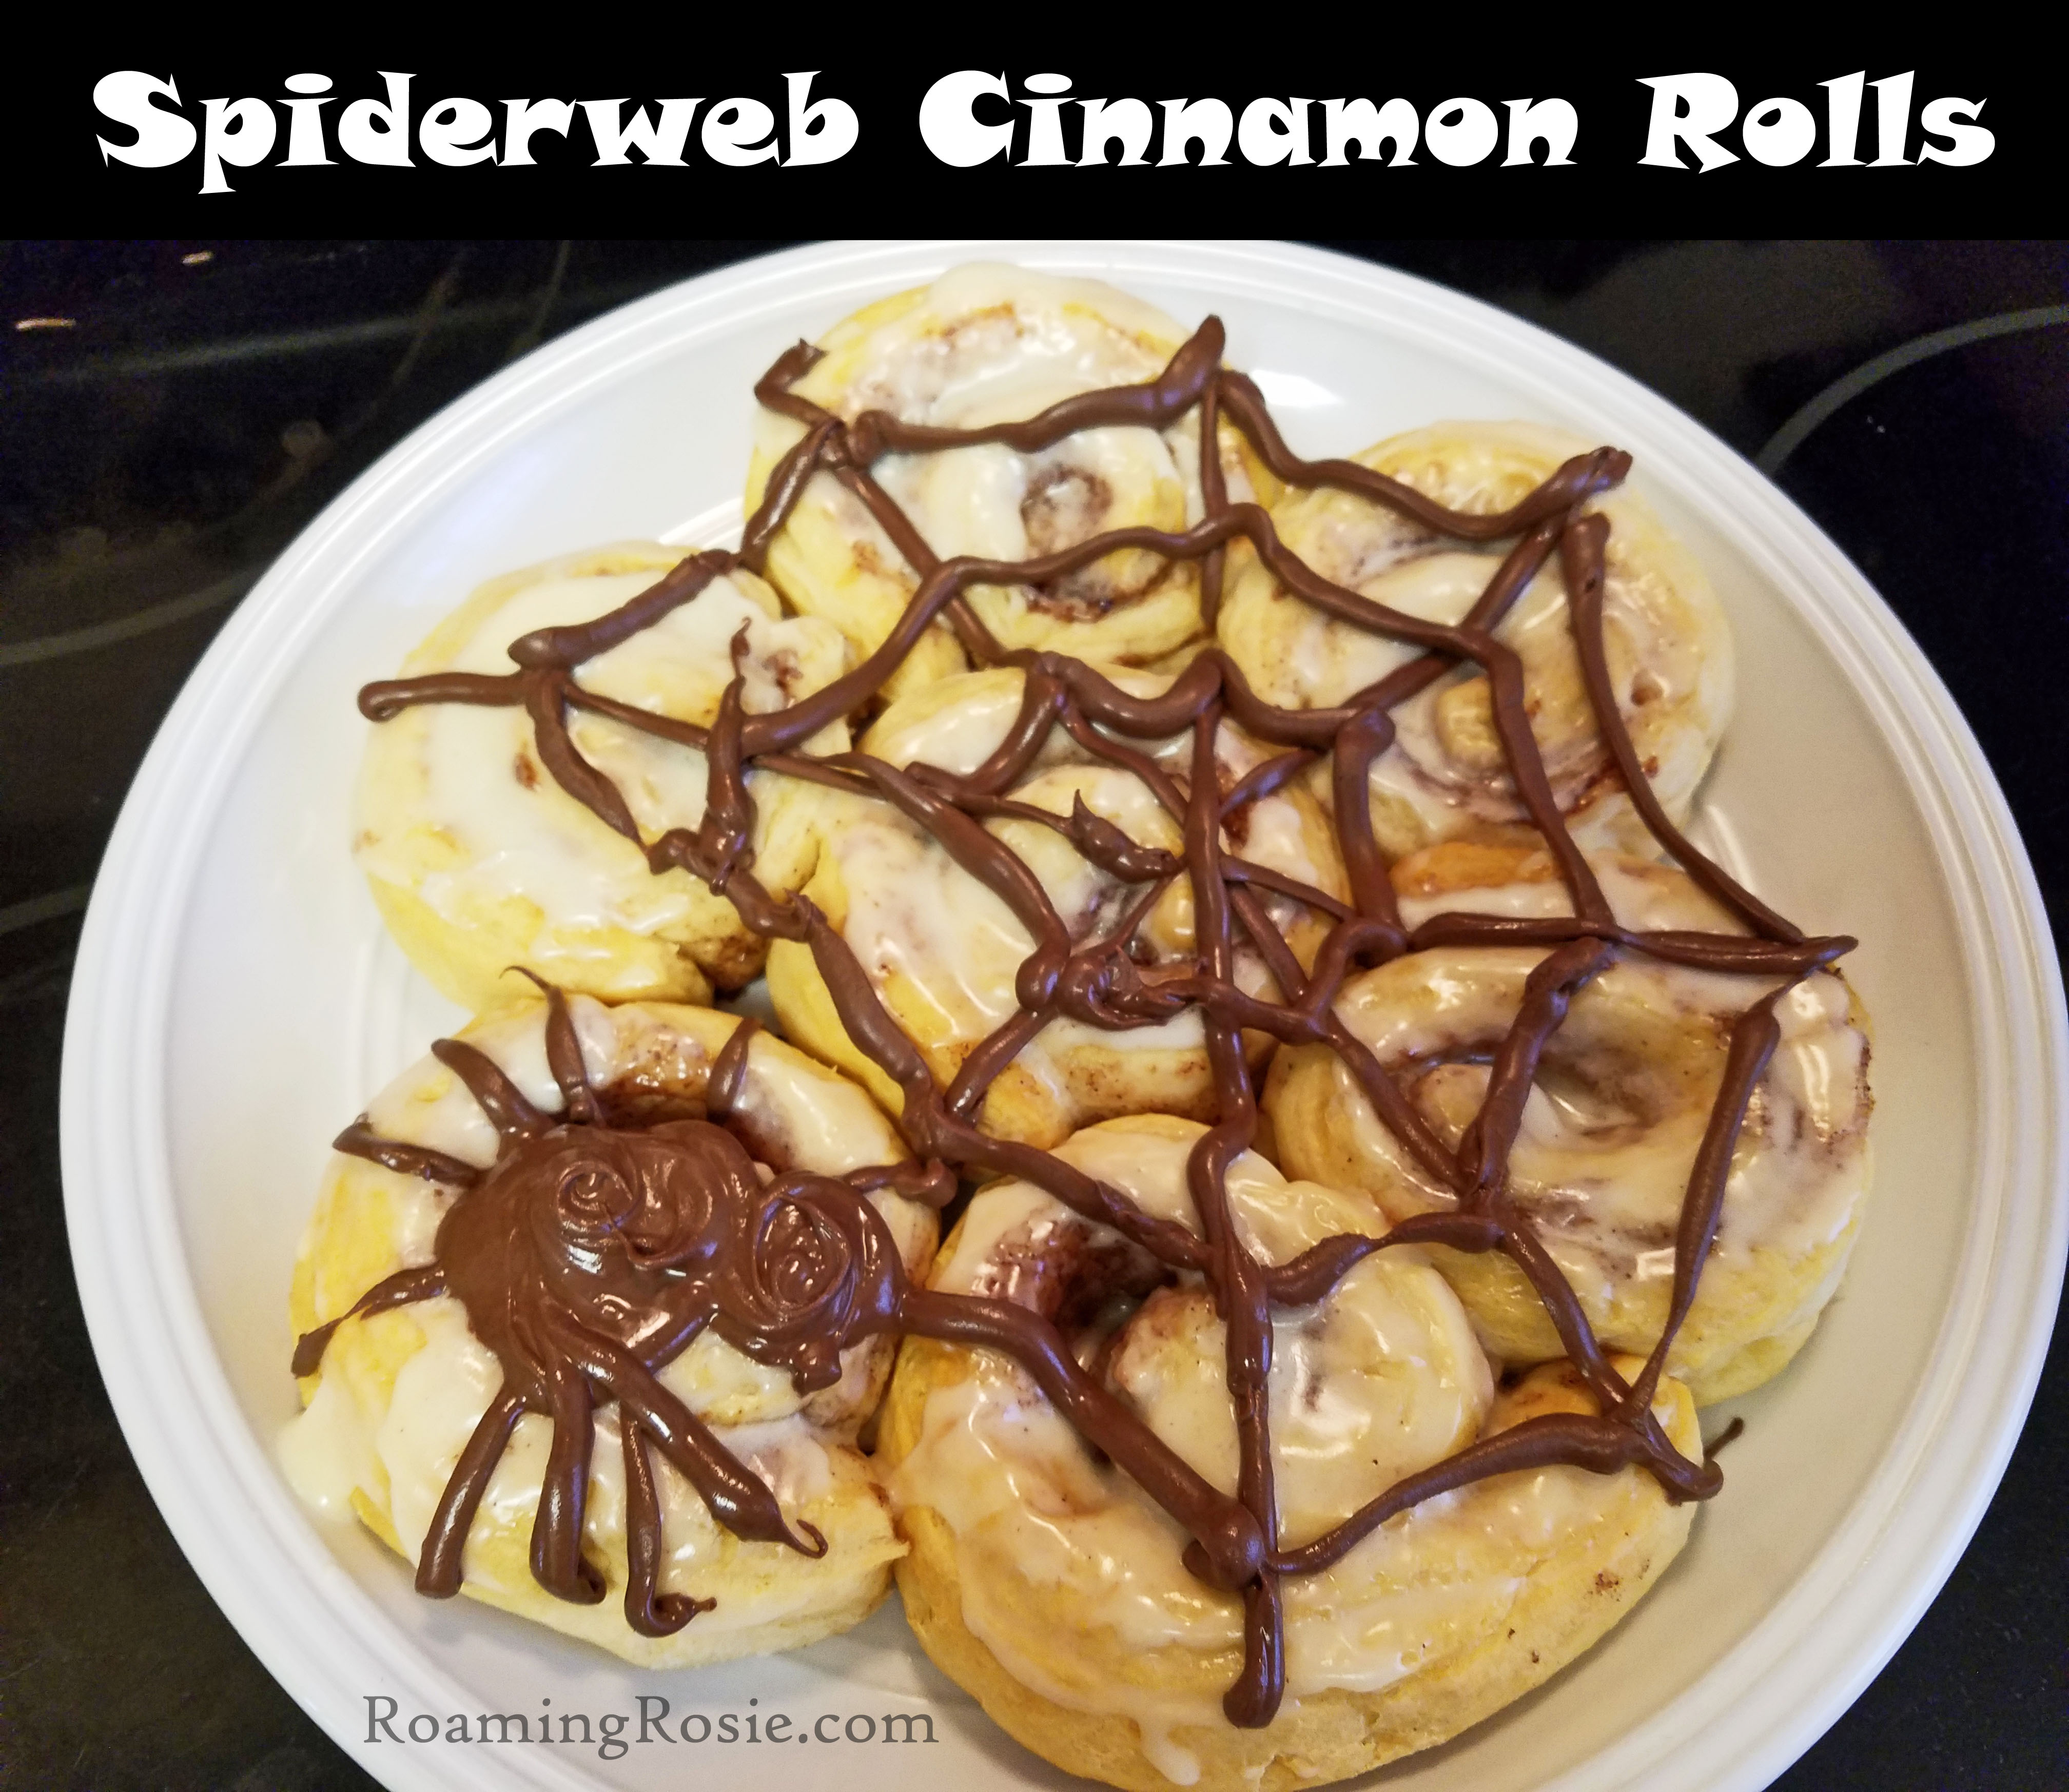
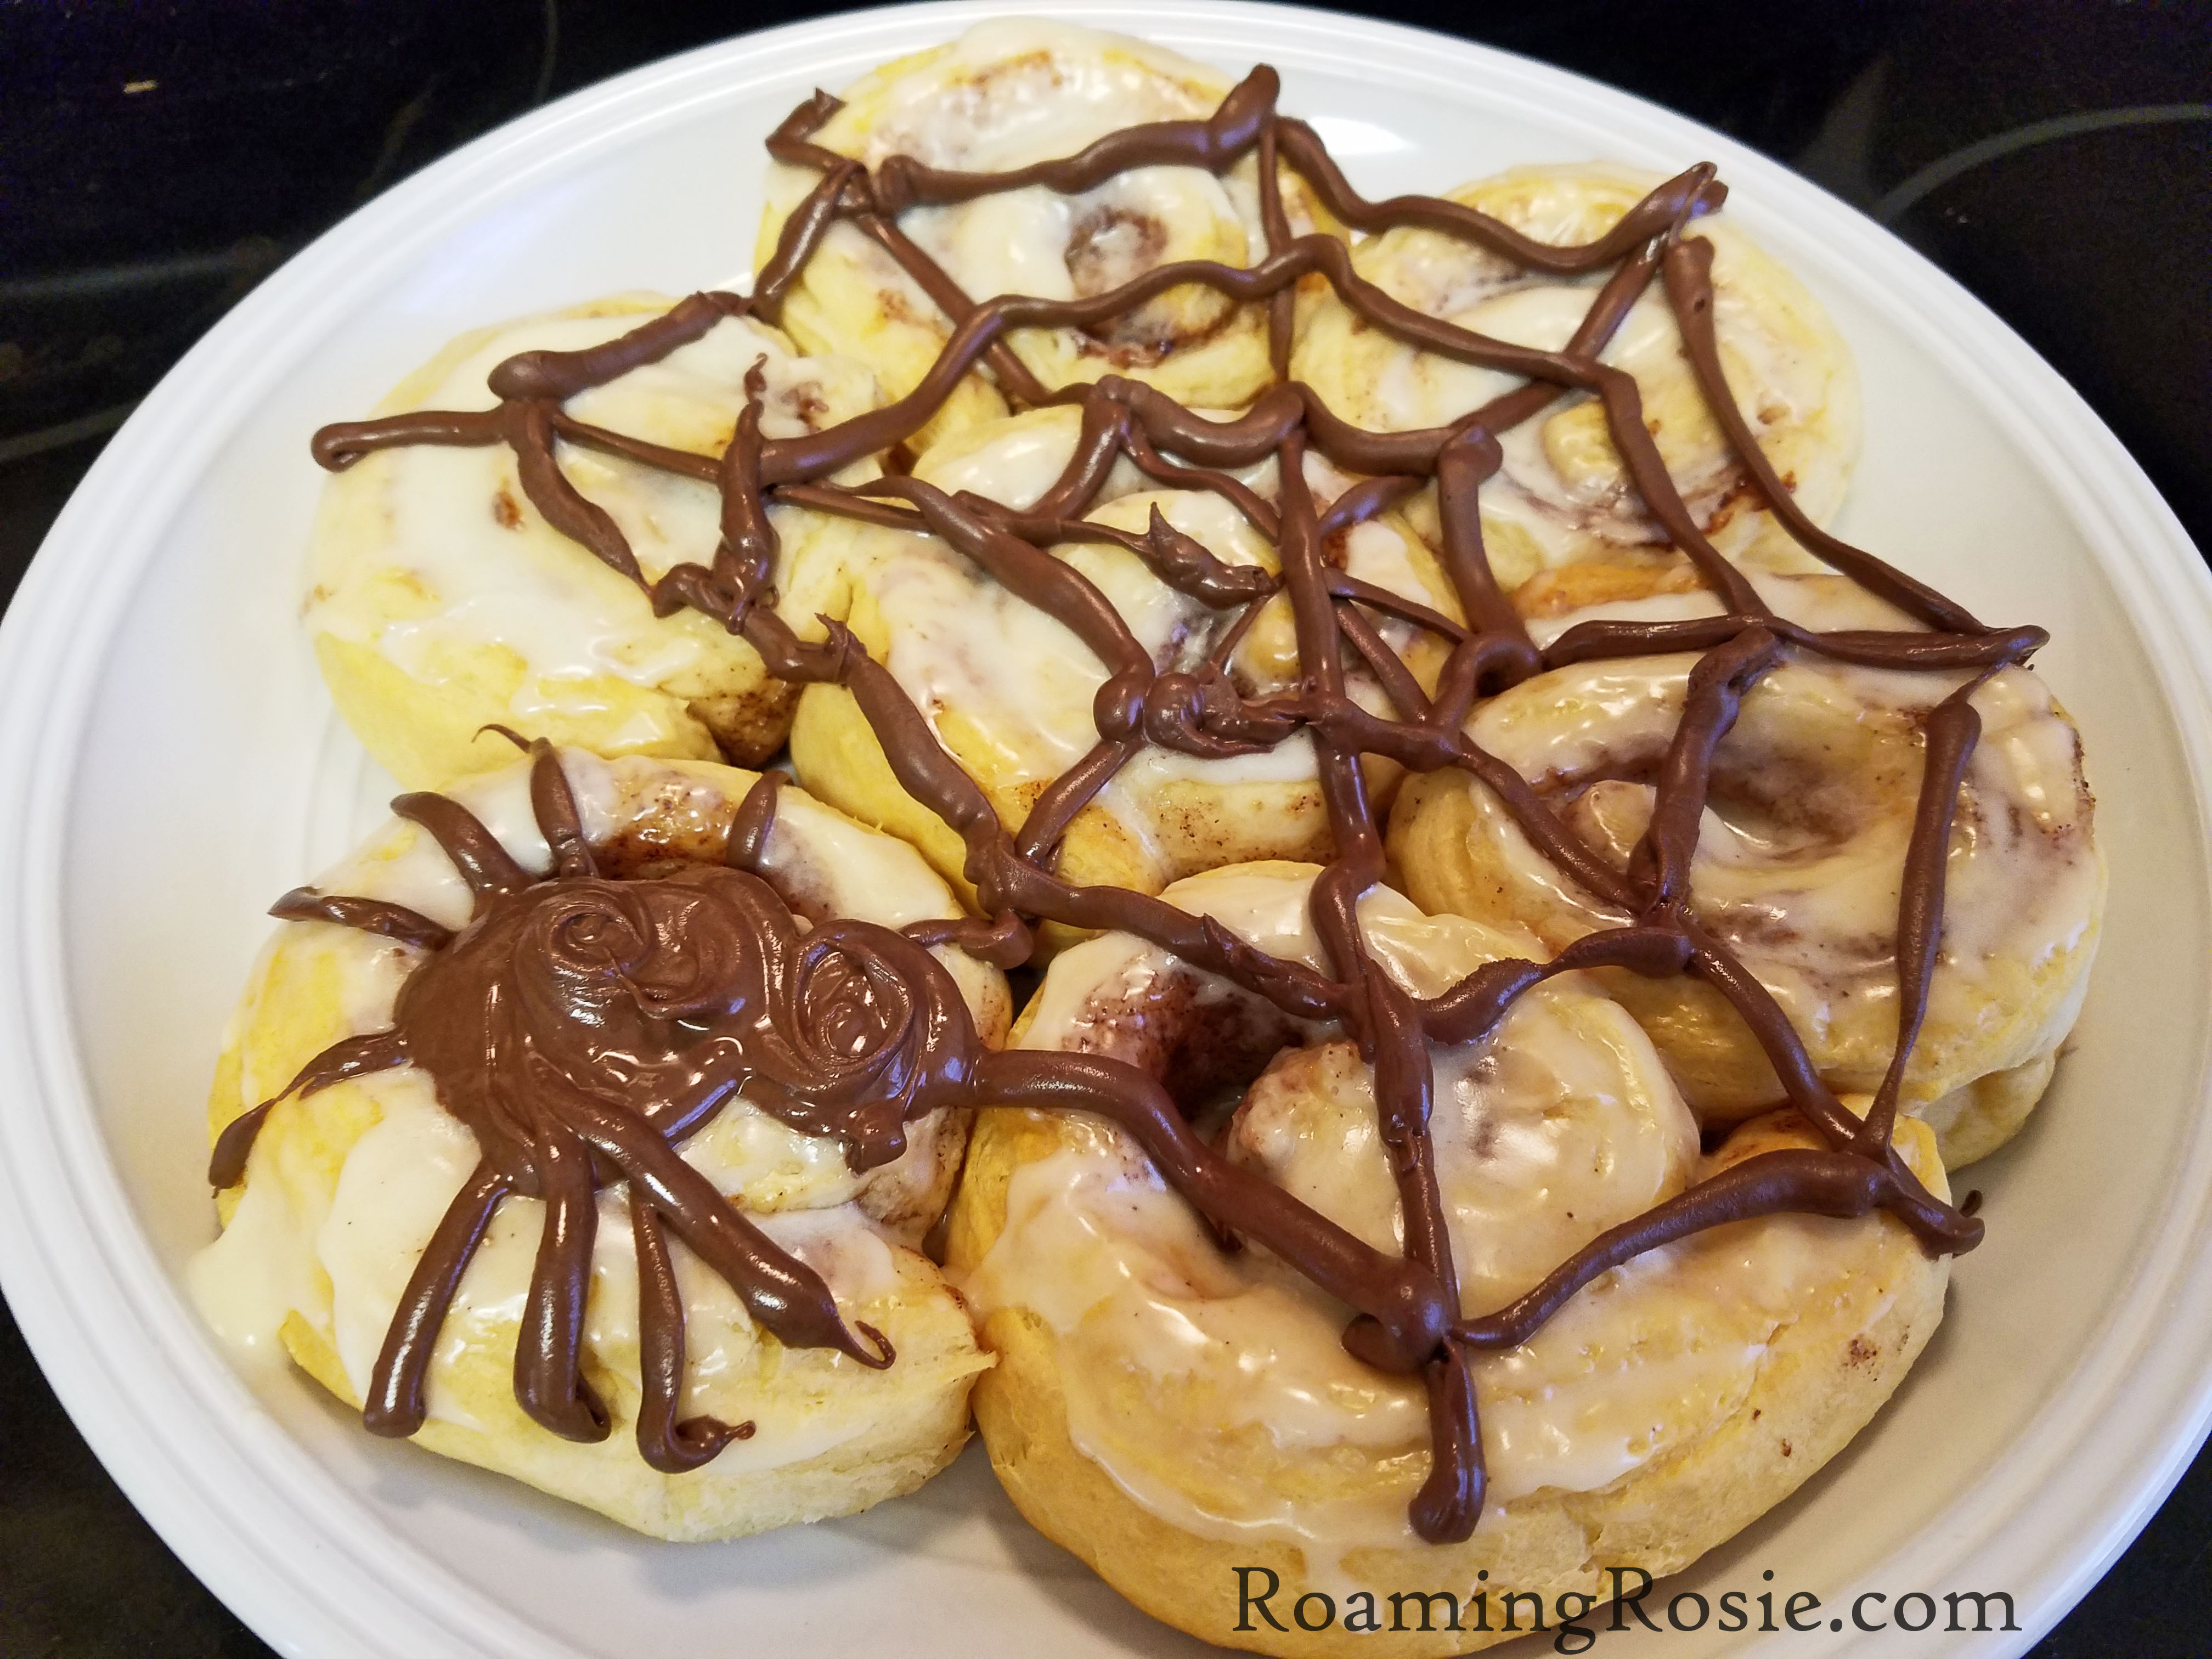
This dish that has essentially two ingredients: a can of cinnamon rolls and a bag of chocolate chips.
To get this platter of spookiness, bake the cinnamon rolls according to package directions and place the finished rolls in a circle on a plate.
Melt some candy melts or chocolate chips. Candy melts are smoother but I didn’t have any on hand. If you melt the chocolate chips in the microwave, do it at half power 30 seconds at a time.
Put the melted chocolate into a piping bag or a baggie with the corner cut off, and squeeeze out the chocolate into a big and little circle for a spider’s body, along with eight legs, onto one of the rolls.
Then draw a web over the rest. I did this with the straight lines first and then spiraled around to make it look like a web. And don’t worry if it doesn’t look perfect – it’ll be gobbled up soon anyway!
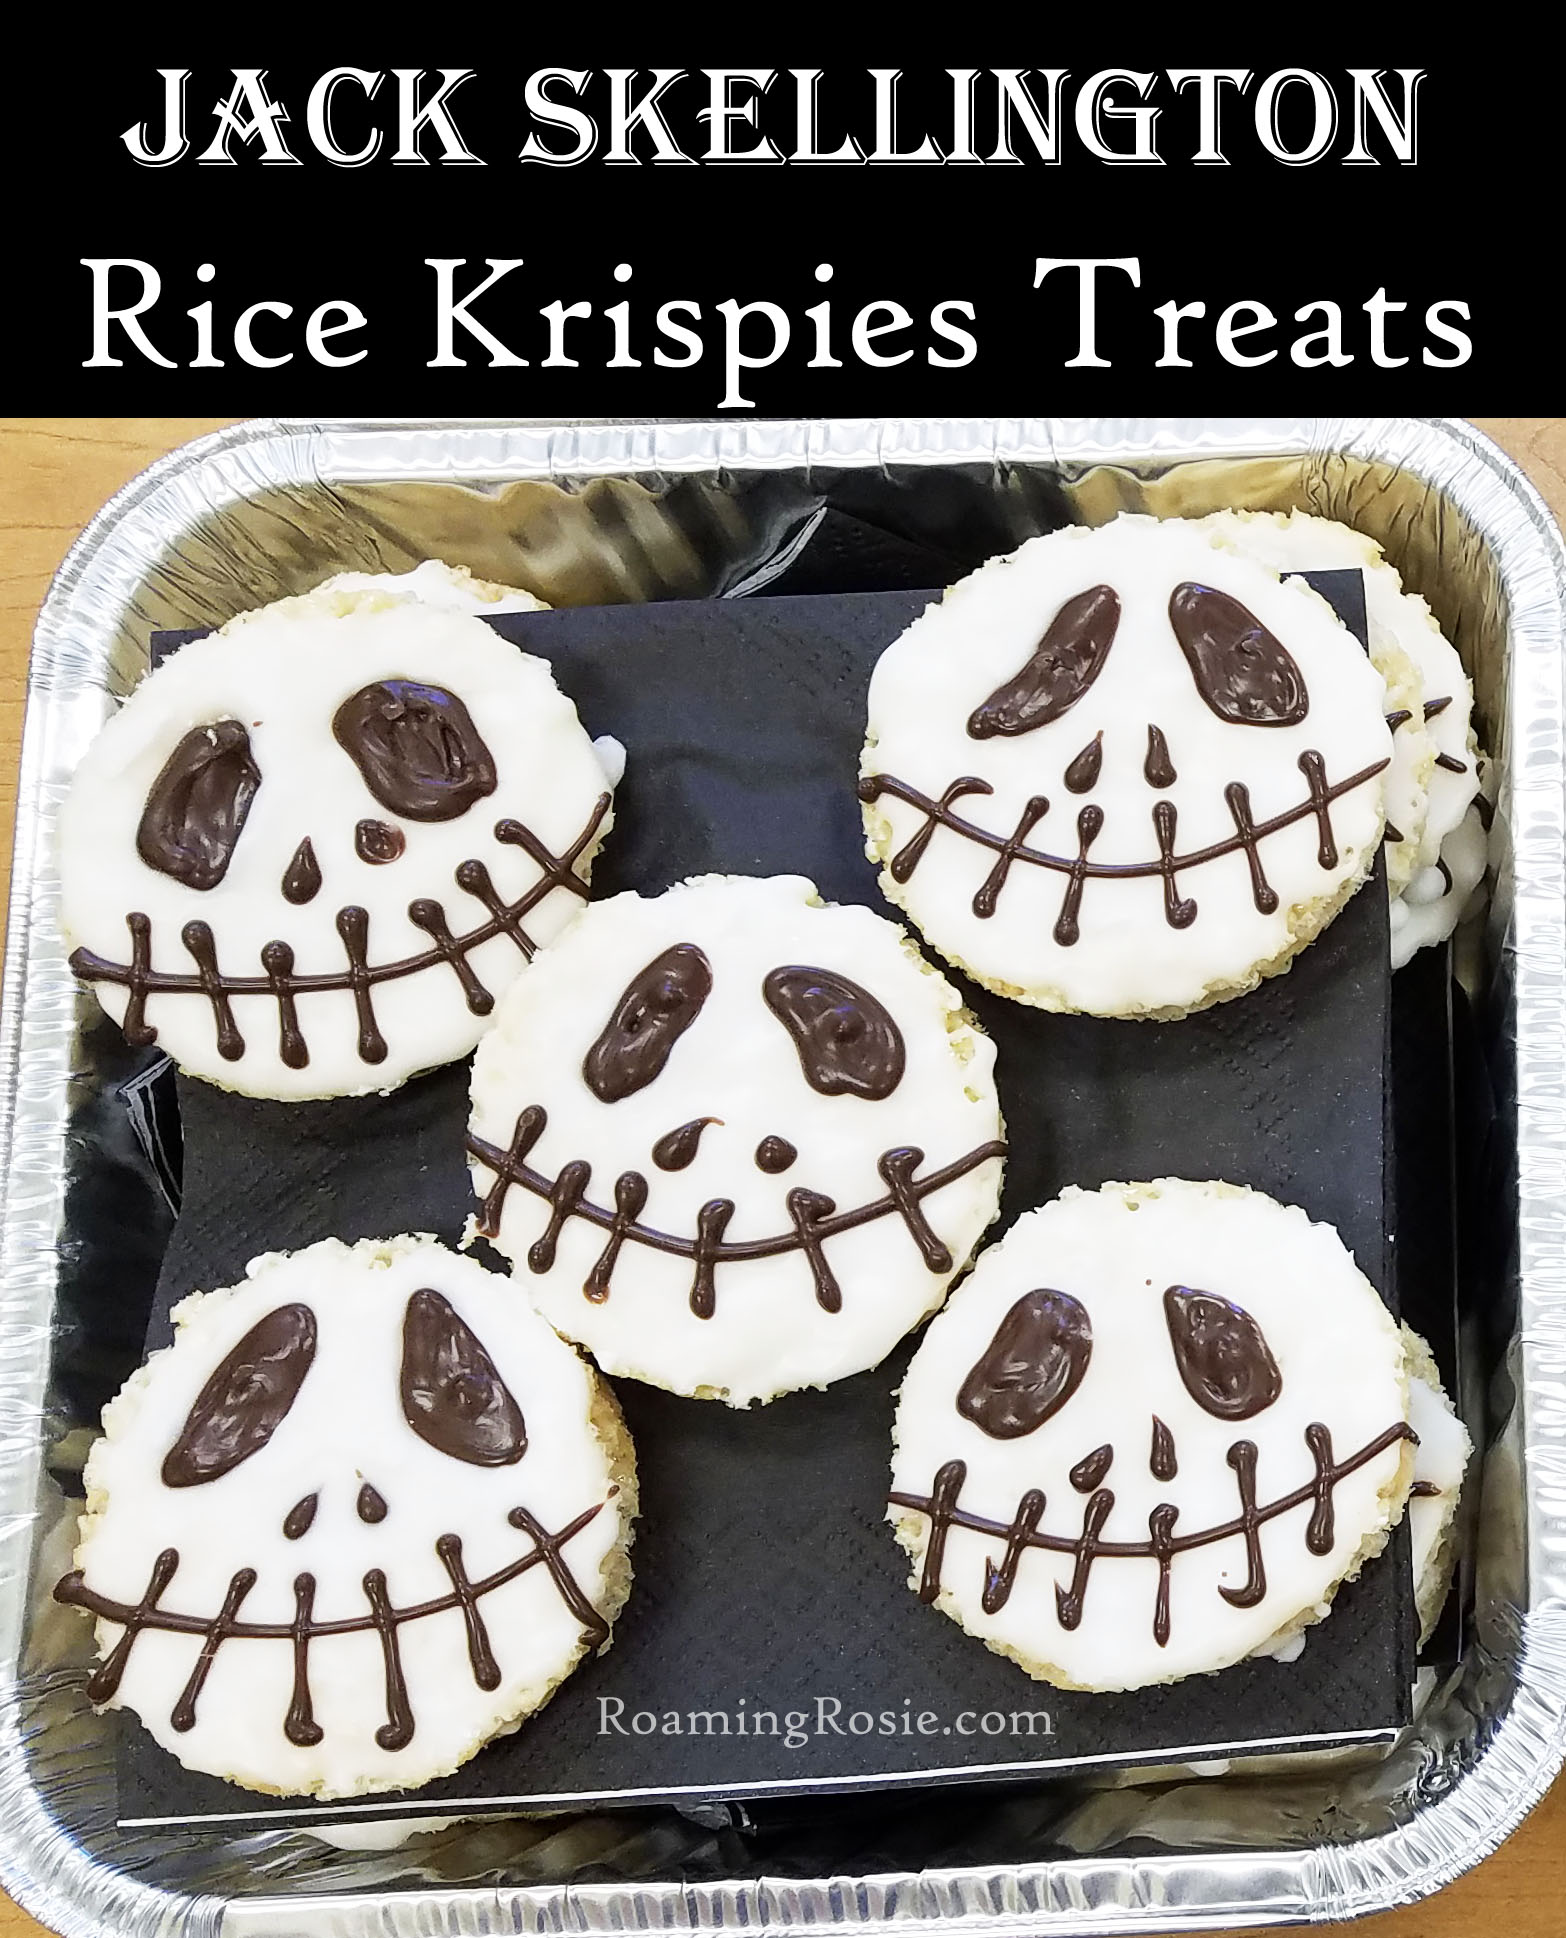
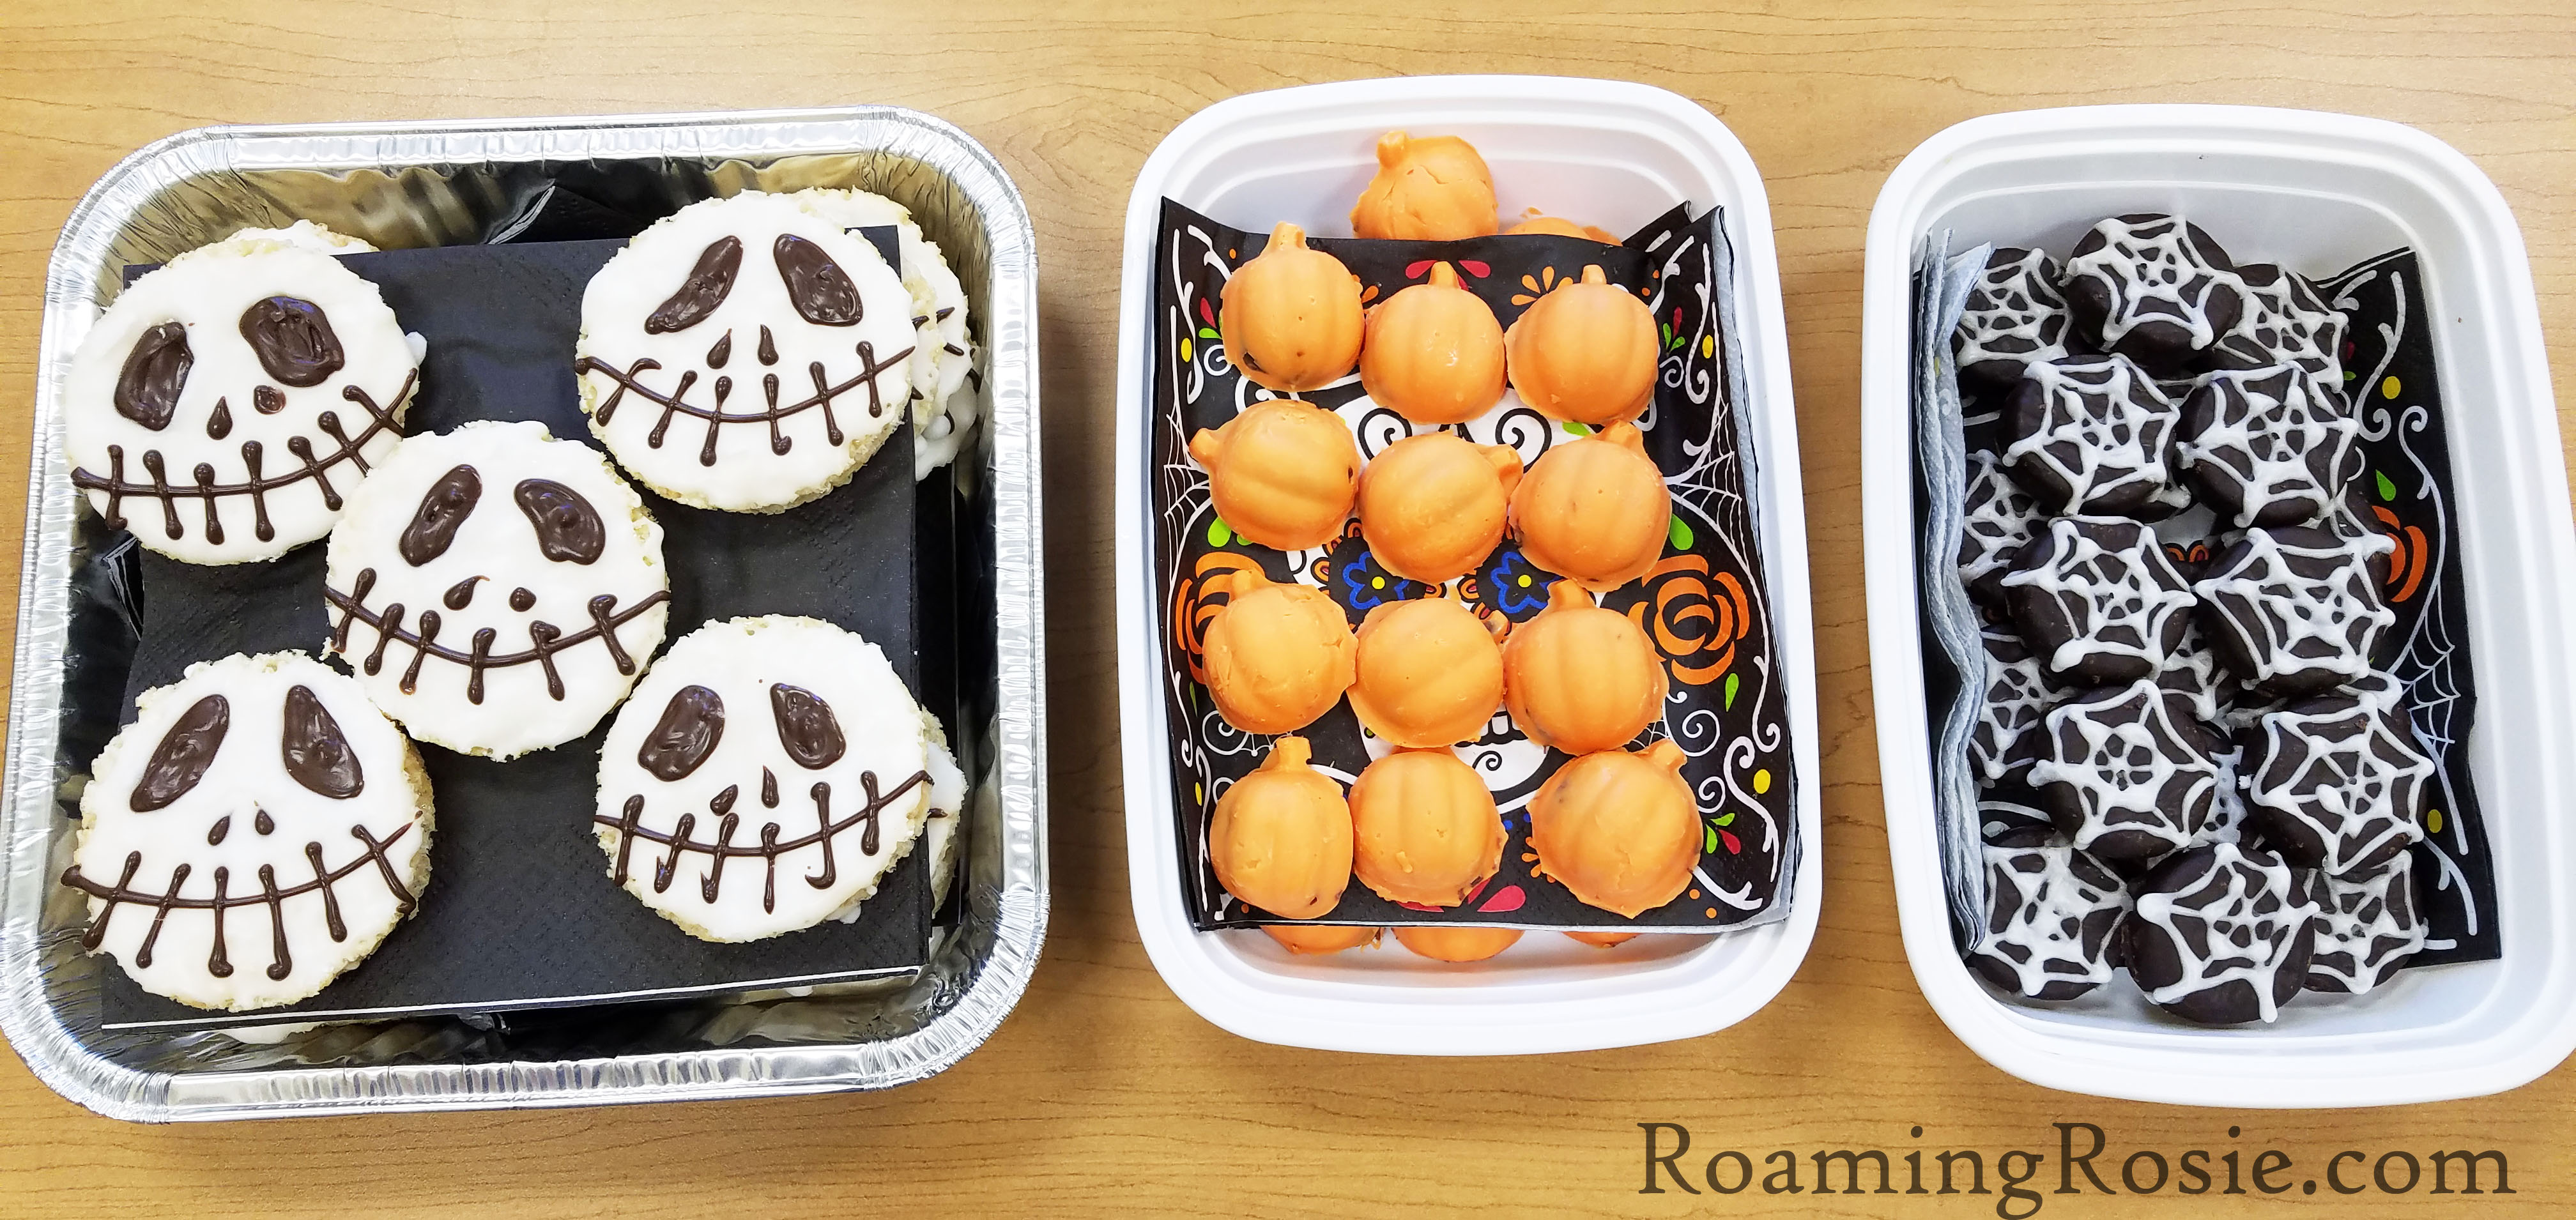
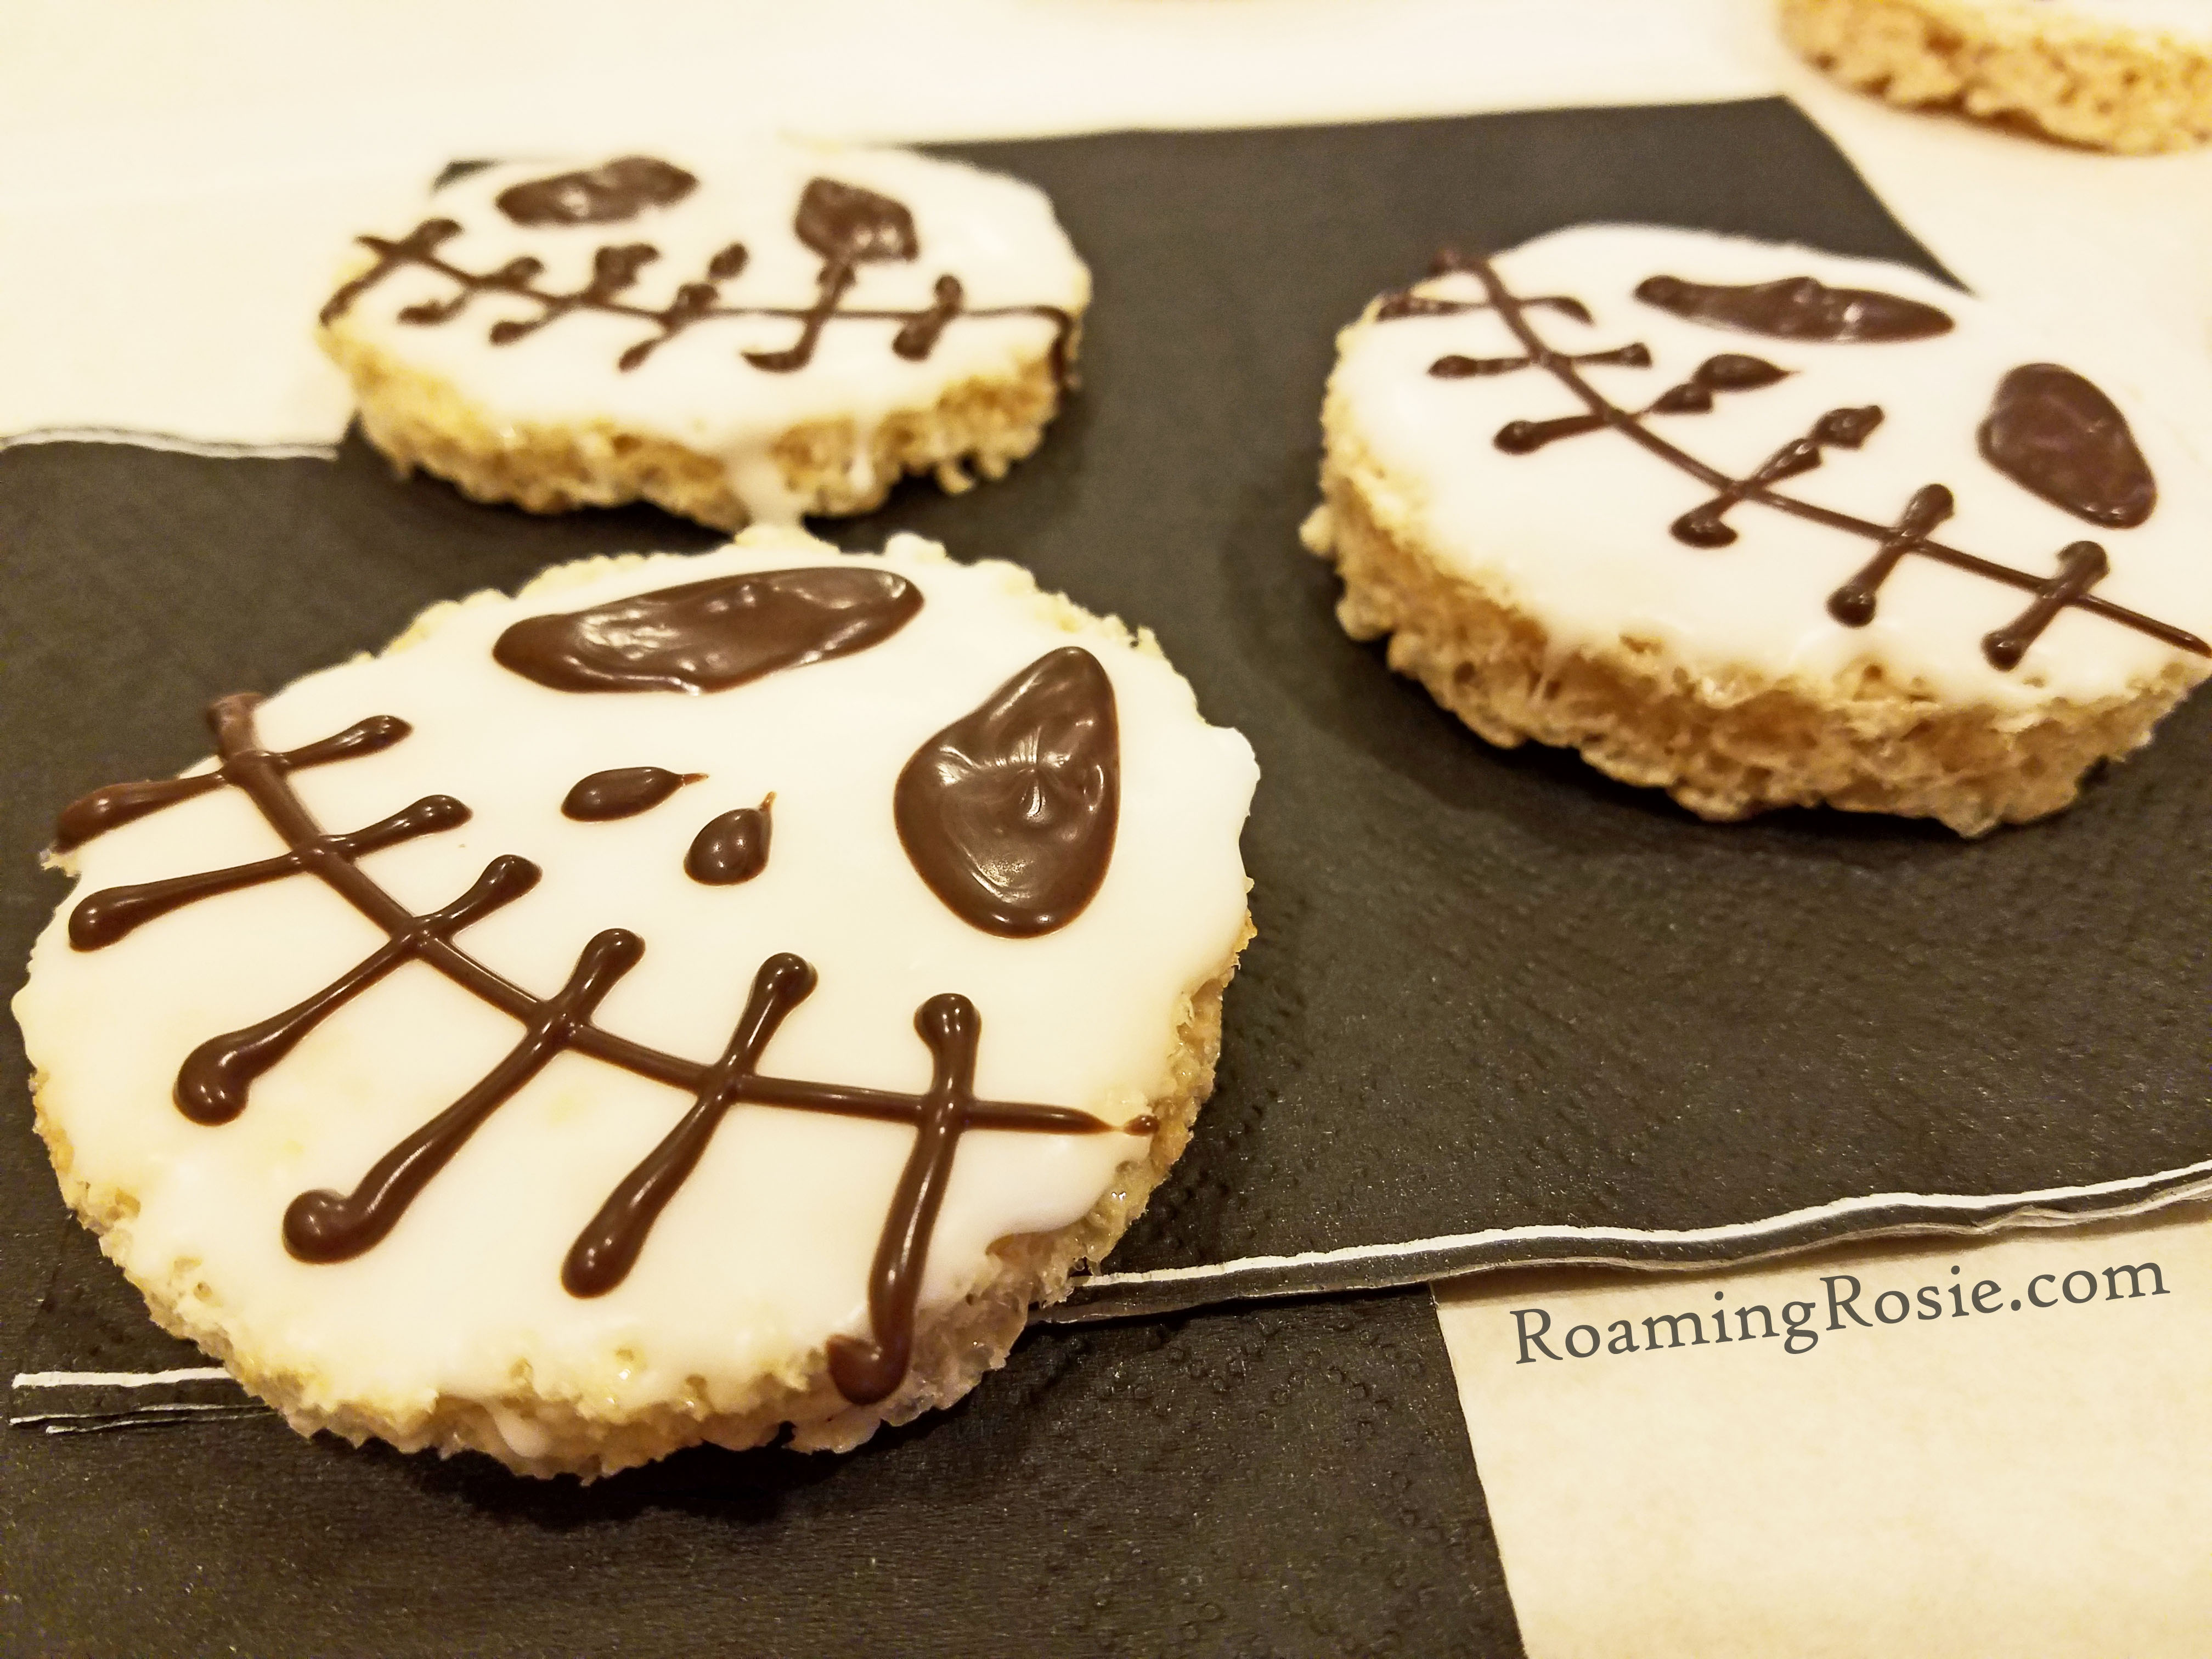
So Jack Skellington recipes are kind of a given. This Halloween treat is made with a Rice Krispies base and decorated with candy melts. The pattern in black and white is striking and it really pops on a platter.
It’s a fun project to make, with (or even without) kids.
To start, make a batch of Original Rice Krispies Treats(links to recipe from Kellogg’s site). I often throw in a splash of vanilla extract to the melted marshmallow mixture for a nice touch of extra flavor.
Once you have your pile of sticky cereal, spread it out on a large pan or cookie sheet that’s been prepped with non-stick spray. Flatten it with your fingers (spraying them with non-stick as well) until it’s as smooth as you can get it.
Then cut out circles with round cookie cutters like theseor these, or whatever else you have lying around.
Dip the circles in a shallow bowl of melted white candy melts, and shake them a bit to make sure the candy isn’t too thick before you set it back down to set. I recommend doing all this on top of waxed or parchment paper.
Instead of the white candy melts, you could also use an icing like this one that I made for my Chocolate Almond Mummy Cookies.
Next, melt some black (or dark chocolate) candy melts in a piping bag (or a baggie with the corner snipped) and draw on those smiling faces.
It’s great because the faces are easy to make. A couple of large eyes, small nose dots, and a string with lines for teeth and voila!
This was the display I brought into work. I loved the way the Jack Skellington faces stood out. Actually all of the treats pop – even in the recycled take out containers!
Yummy AND cute!
The spiderwebs on the right are tiny Peppermint Patties. You can see the larger version of them that I did on this post. Another super simple recipe that makes a big visual impact – my fave.
And for the pumpkins in the middle, I tried out something new for my kids. Specifically the youngest who is obsessed with Nutella.
I took some silicone pumpkin molds(not really sure which store I picked them up at) and coated the inside of the mold with some melted orange candy melts. Once that set, I put a tiny scoop of Nutellainto the center of the mold, then drizzed more of the orange candy melts over to cover the Nutella.
The pumpkins took a little more time and effort to get right, but were definitely worth a try. Plus, they’re filling so a few go far in a party setting.
Sooo much sweetness in this post!
I love it though.
Of course, this is also why I make so many savory Halloween dishes – to balance out the sugar!
I’m not sure what Halloween is going to look like this year, when it comes to trick-or-treating or parties, but I sure know one thing: we’ll have some eerily festive food. ;)
So I took a look at when I last published a post on this blog and … *gasp* it’s been HOW long?
Well, my attempt at balancing work and kids and going back to school for my masters and planning a wedding all at the same time did not work out as planned. And things got even more complicated this past spring when we all went into lock down and I was both working from home and home schooling my girls.
I still access this blog all the time, especially for recipes. And heaven knows I’ve never stopped taking pictures of what my girls and I get up to.
But with the craziness that’s surrounding us all right now, I’ve decided to start writing again. There aren’t suddenly more hours in the day, but I miss doing this. Plus, it calms my anxiety (extra important in these stressful times!) and, hey, I love sharing food with you guys.
Halloween is practically around the corner – it IS August after all. So I’m going to start by sharing Halloween recipes and ideas.
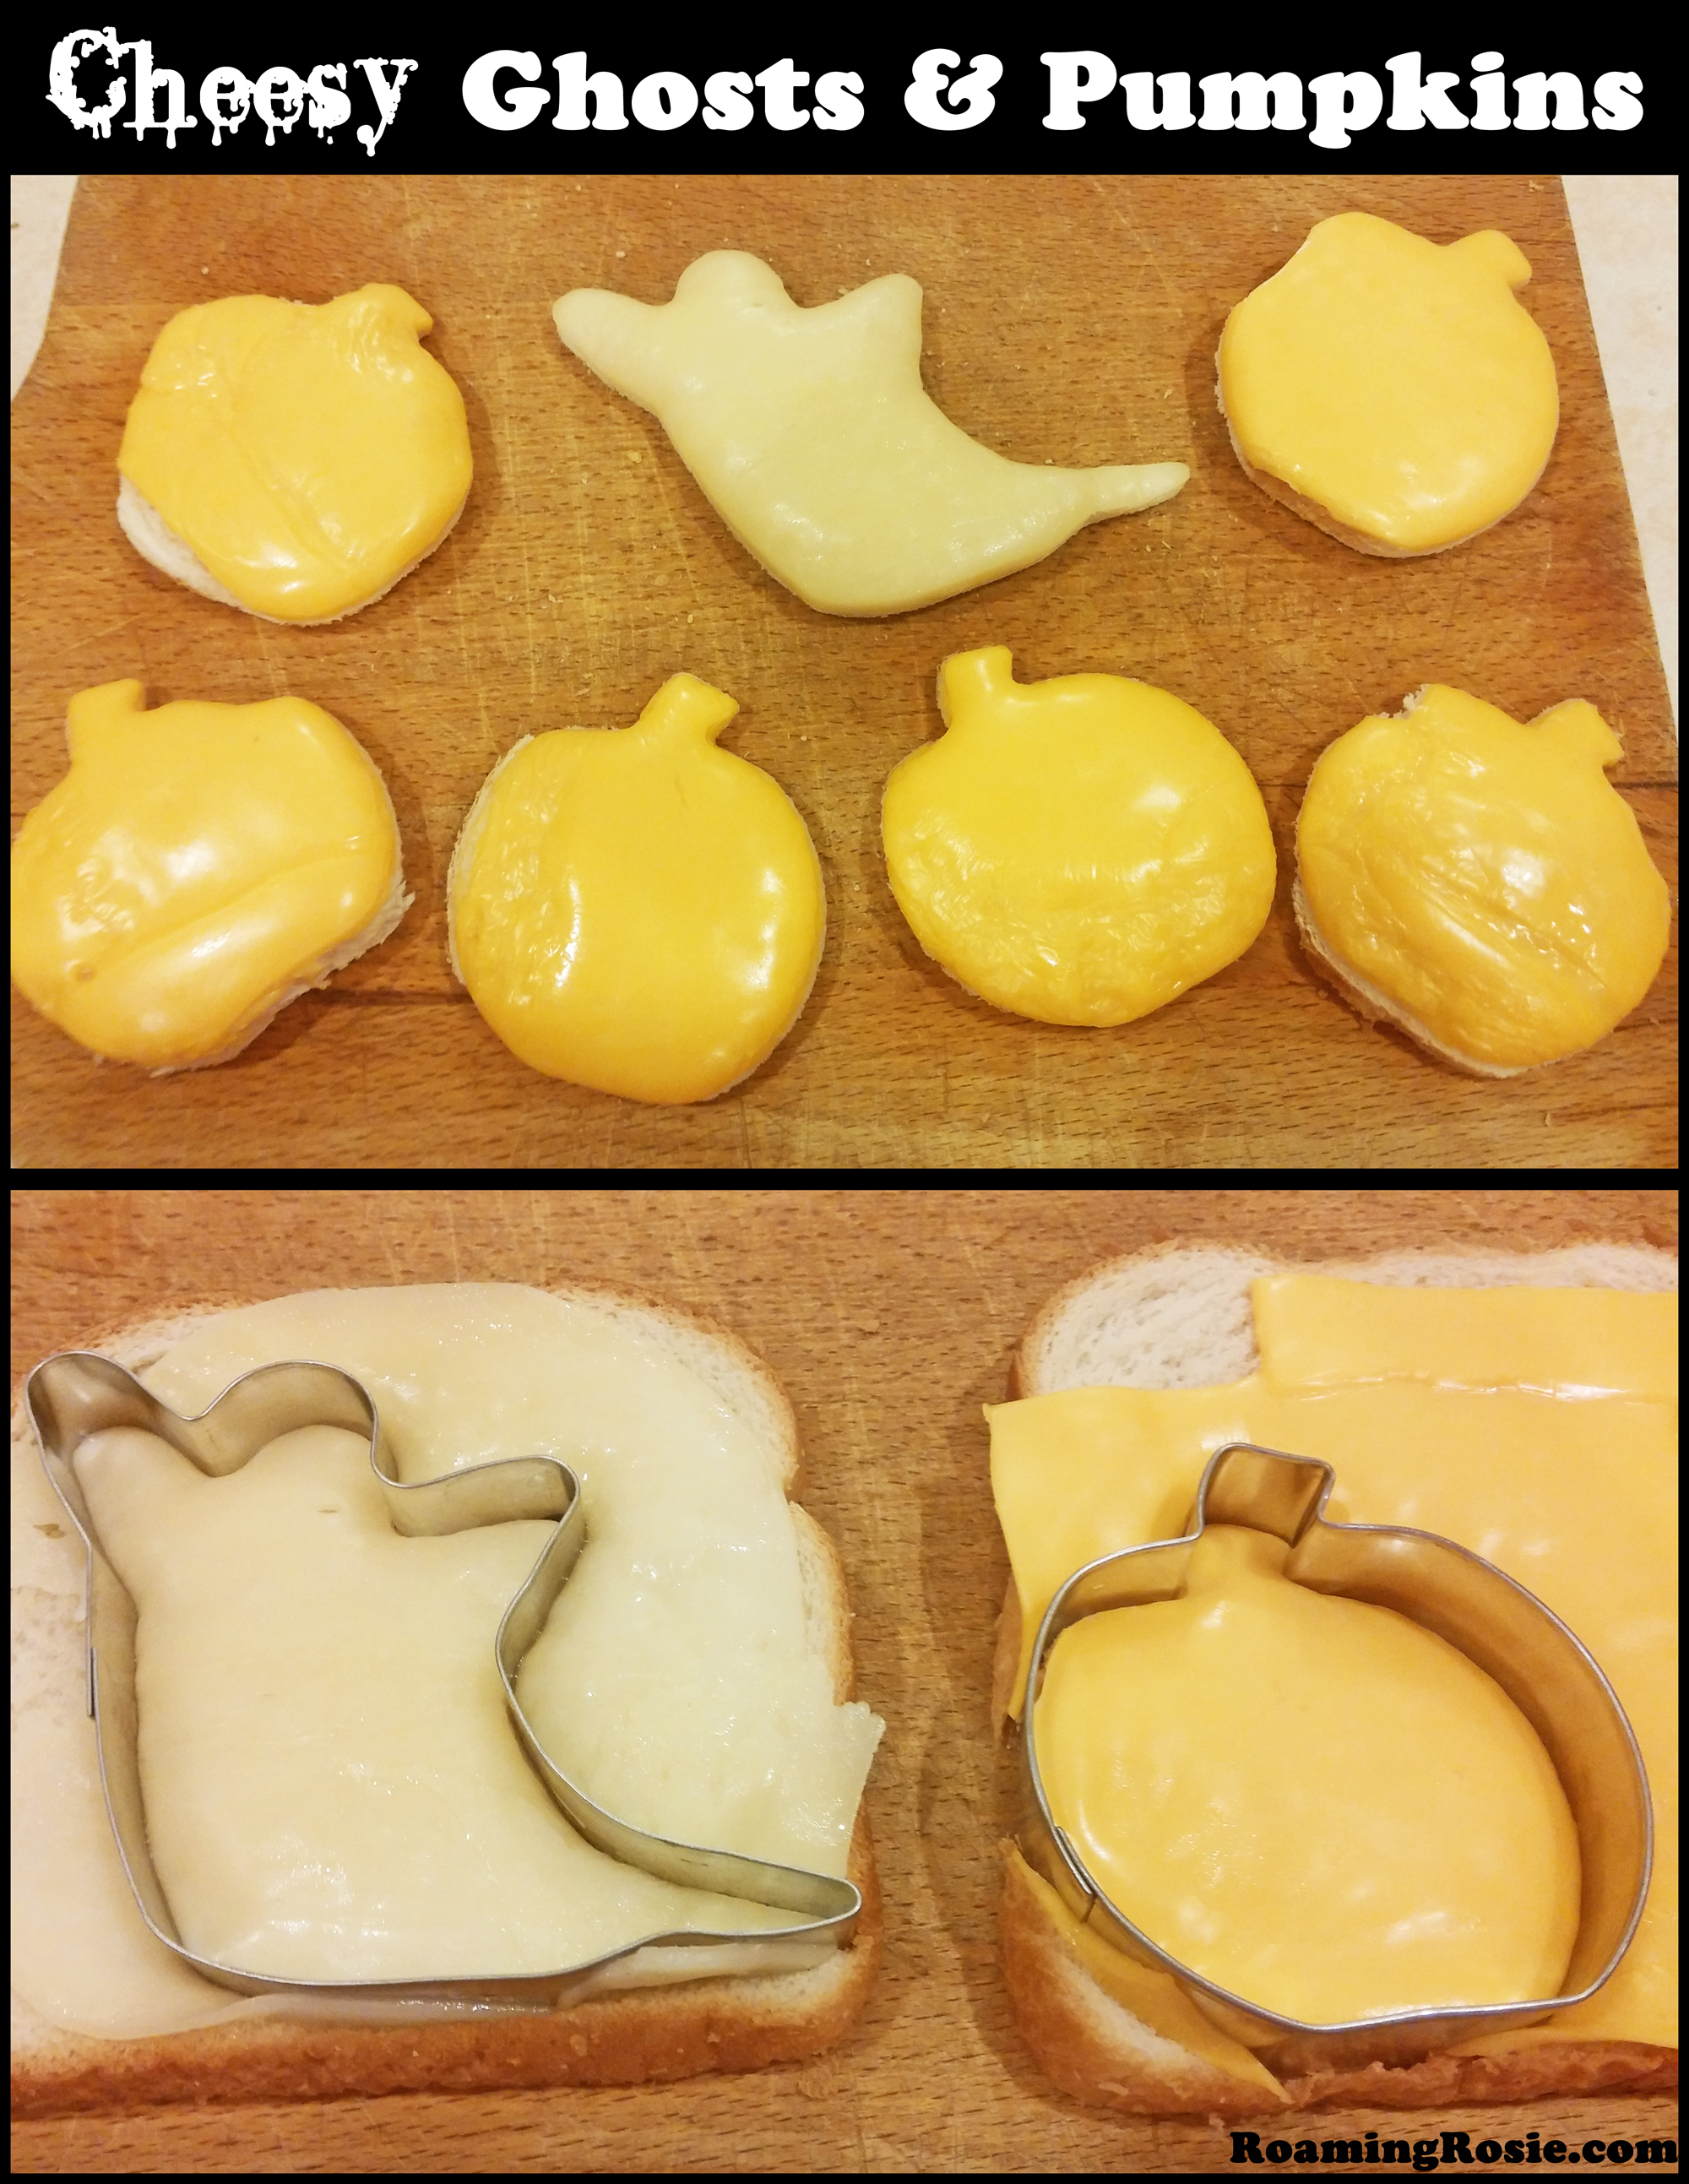
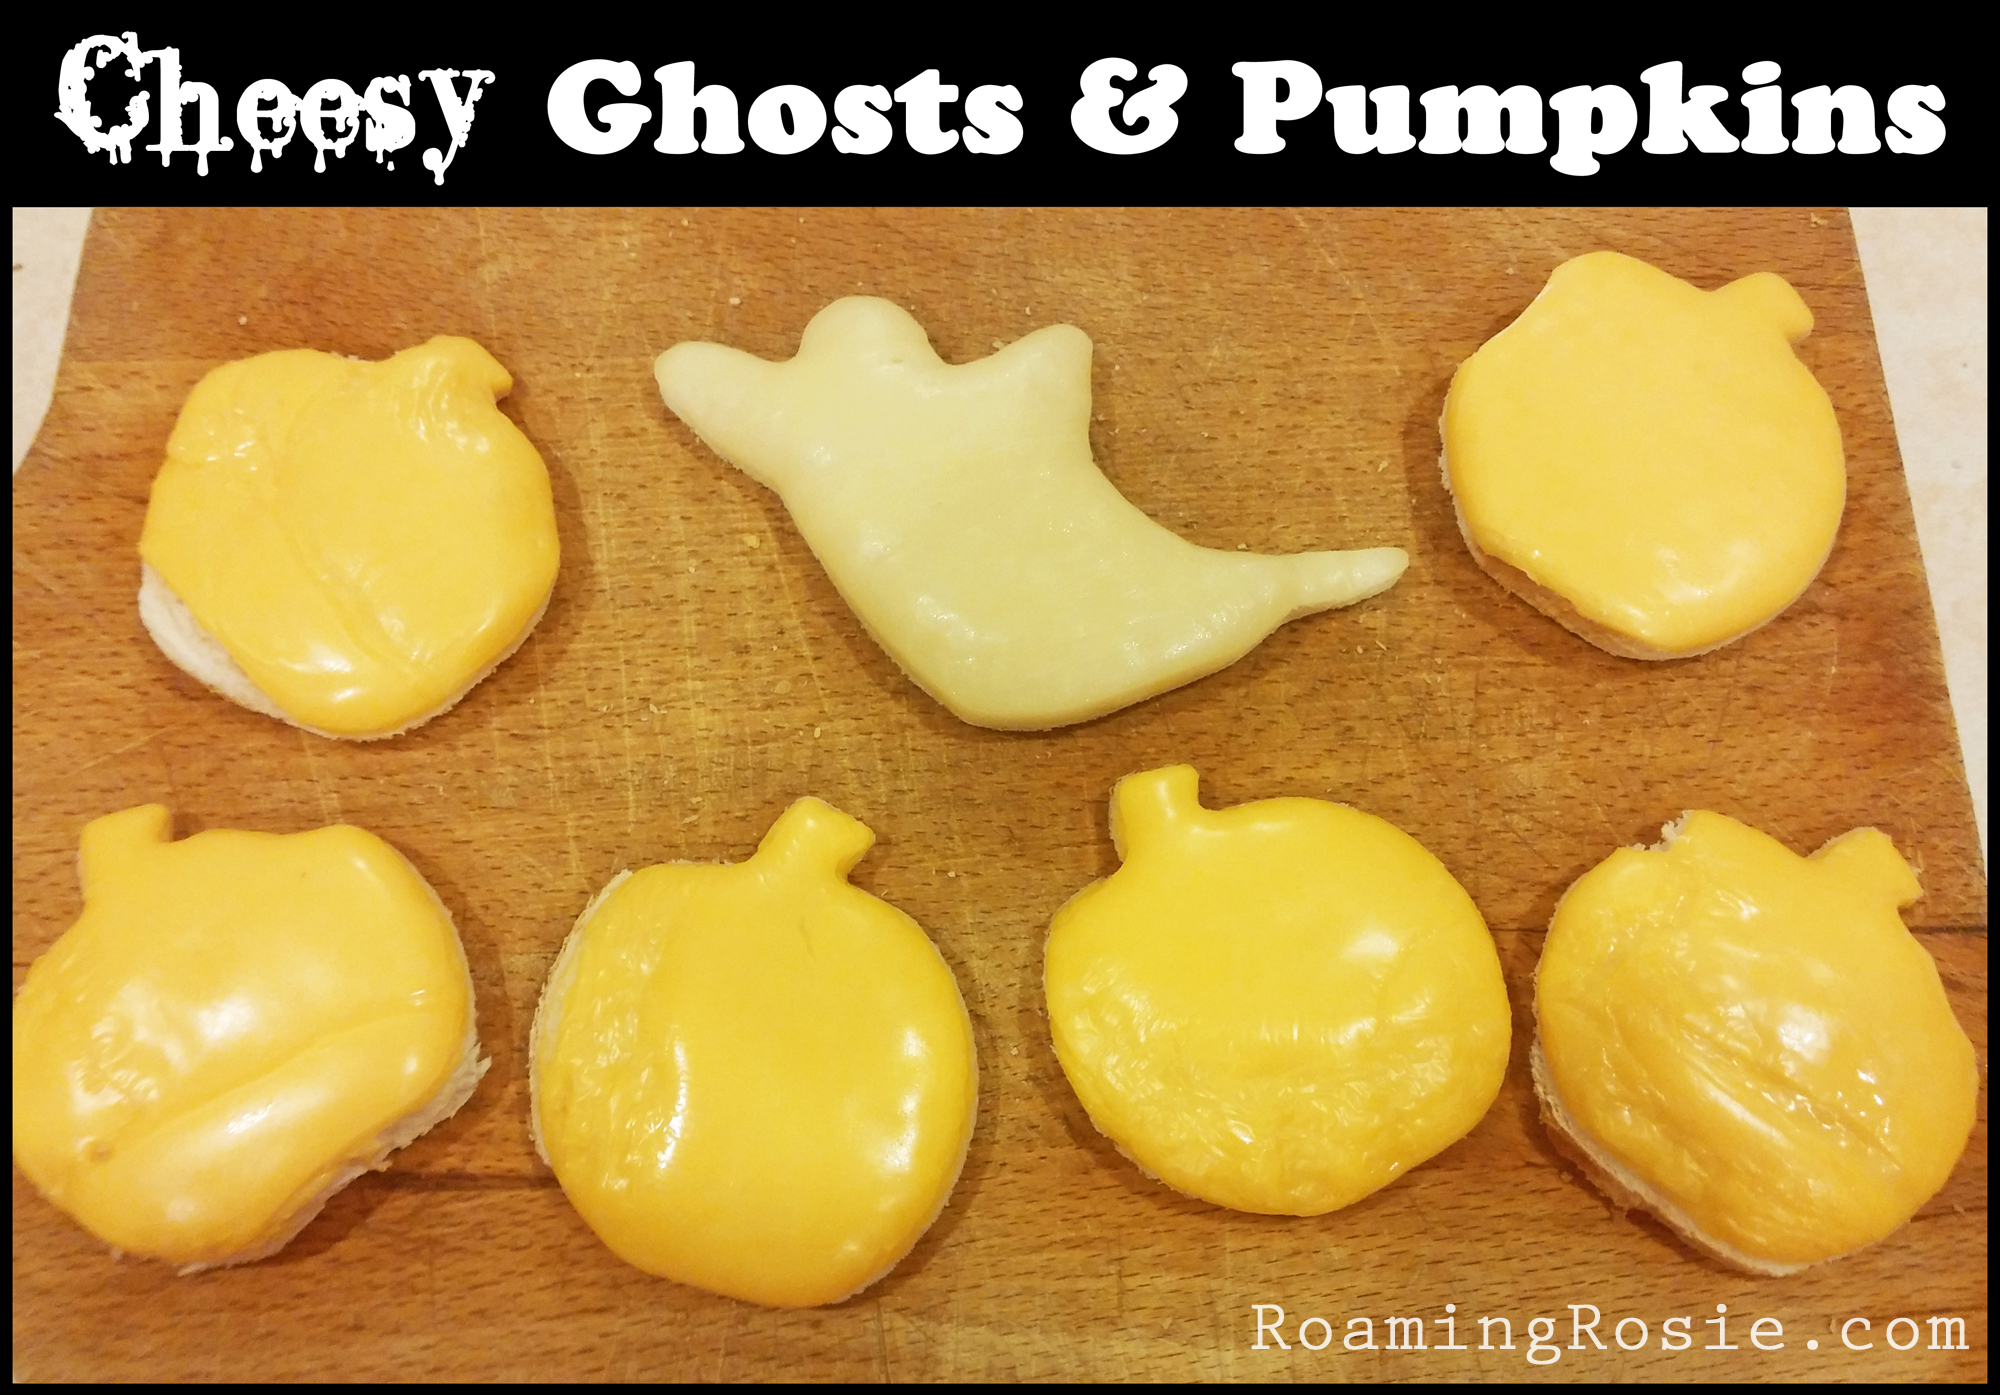
This recipe here is for an age-old favorite of mine: open faced cheese sandwiches.
These are so much fun. And in the fall especially, my girls wind up getting some variation of these for lunch quite a bit.
Cheese and bread make a great base for a lunch since they go with so many different sides. I can throw these on a plate with pretty much whatever fruit is on hand and it works.
For the pumpkins and ghosts pictured above, I used yellow American cheese and white Provolone. You could also substitute another white cheese like Swiss, Mozzarella, white Cheddar or Monterey Jack, depending on your family’s favorites.
I placed the cheese slices on the bread and microwaved it for about 8 or 10 seconds, just until the cheese started to melt. This makes sure it doesn’t fall apart in their lunchboxes. You could also try warming it in a toaster oven instead – just keep an eye on them so they don’t burn.
I personally like mine with crispy half-burnt cheese, but well, these aren’t for me…
Once the cheese is melted to the bread, simply use cookie cutters to cut out the shapes. I can’t remember the brand of cutters I have, but they are similar to theseand these.
I was able to get two pumpkins out of one slice with the size cookie cutters I have. And, really, I often just save the scraps to eat as part of my own lunches. Or, you know, midnight snack. If they make it till midnight.
You could also use them as cheesy croutons in tomato soup. If yours last longer than mine…
Well, it’s that time of year again . . . when it’s actually NEXT year (January) and I still have yet to post any of my Christmas projects or recipes. Never mind Halloween or Thanksgiving . . .
And when I took a close, sobering look at my blog, I see that I haven’t updated it in over six months.
Six MONTHS, people. And not just that, but I haven’t been updating my Facebook page either, let alone Twitter or Pinterest.
I seem to be a tad behind.
So here I am: feeling the need to make arguments for how busy I am. And of course I’m busy – but aren’t we all? I could make a very long list mentioning my full-time job and my two young kids, and how I moved recently and adopted a new kitten and how my schedule and stress levels were completely thrown off when Hurricane Irma rolled through . . .
But those are all just excuses. We find time for the things that are important to us. And this blog is important to me. Sharing crafts and books and recipes that connect me to my children is important to me.
So here I am. I also realized that this past holiday season I remade a lot of old recipes (already posted here) with my kids and don’t have a lot of new things to post, but there ARE still things to share. And I’m going to make the time for it.
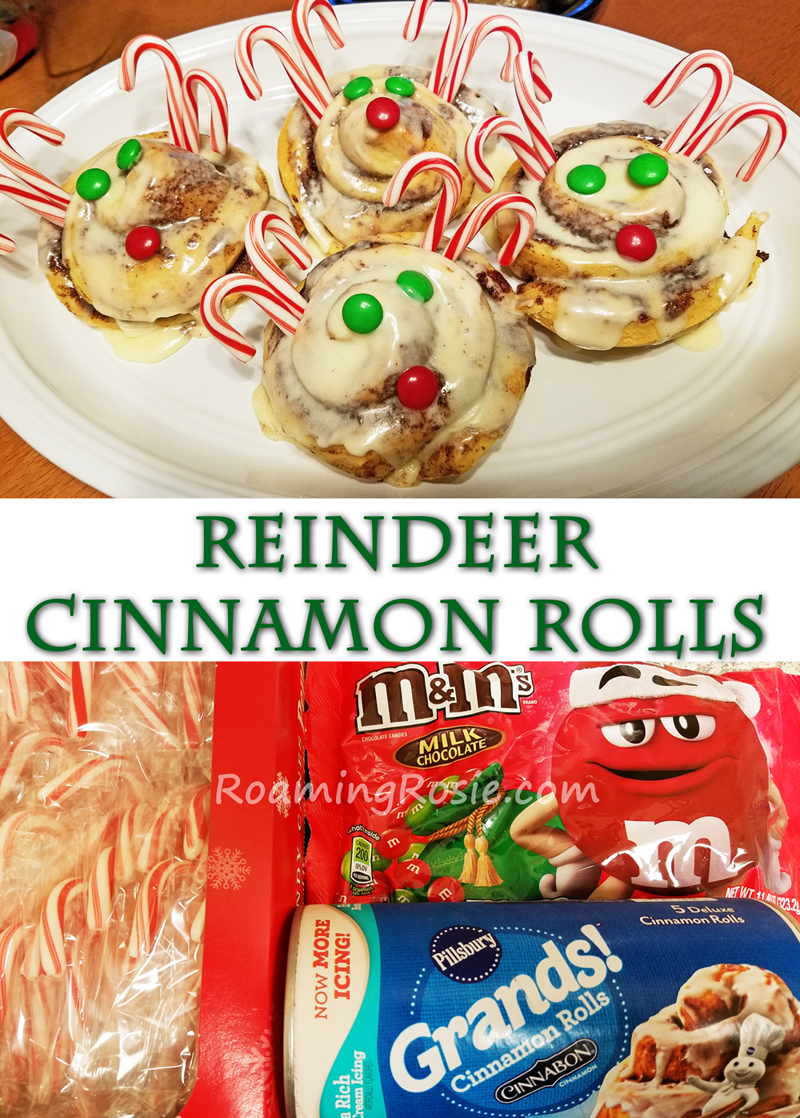
Starting with these Cinnamon Roll Reindeer, because, I mean, aren’t these just the most adorable cinnamon rolls EVER?
This past holiday season I spent a lot of time striving for recipes and crafts that embraced simplicity.
These yummy treats are a representation of that. In the picture below you can see the 3 things I used to make them: Grands cinnamon rolls, miniature candy canes, and M&Ms.
I made sure to unwrap the candy canes ahead of time, so I wouldn’t have to deal with the plastic wrappers before my coffee kicked in, but other than that task, these were thrown together in no time.
I used the Grands because they have little pockets, so to speak, to slip the candy canes into. They’re made in a roll shape instead of the little cake-like cinnamon rolls that are one solid piece. This way the candy canes just slid right in and were supported with no problem.
After baking the rolls according to the package directions, apply the icing. Before the icing hardens, add two M&Ms for the eyes and a red M&M for a Rudolph-like nose. Put two candy canes on each side of the “head” to represent the antlers.
You’ll need 4 candy canes per roll. So if you have a package of 5 rolls like I did, then you’ll need 20 miniature candy canes.
I served these with some sausage and fruit. They were a lot of fun and certainly enjoyed by the kids. I plan to make these a regular tradition.
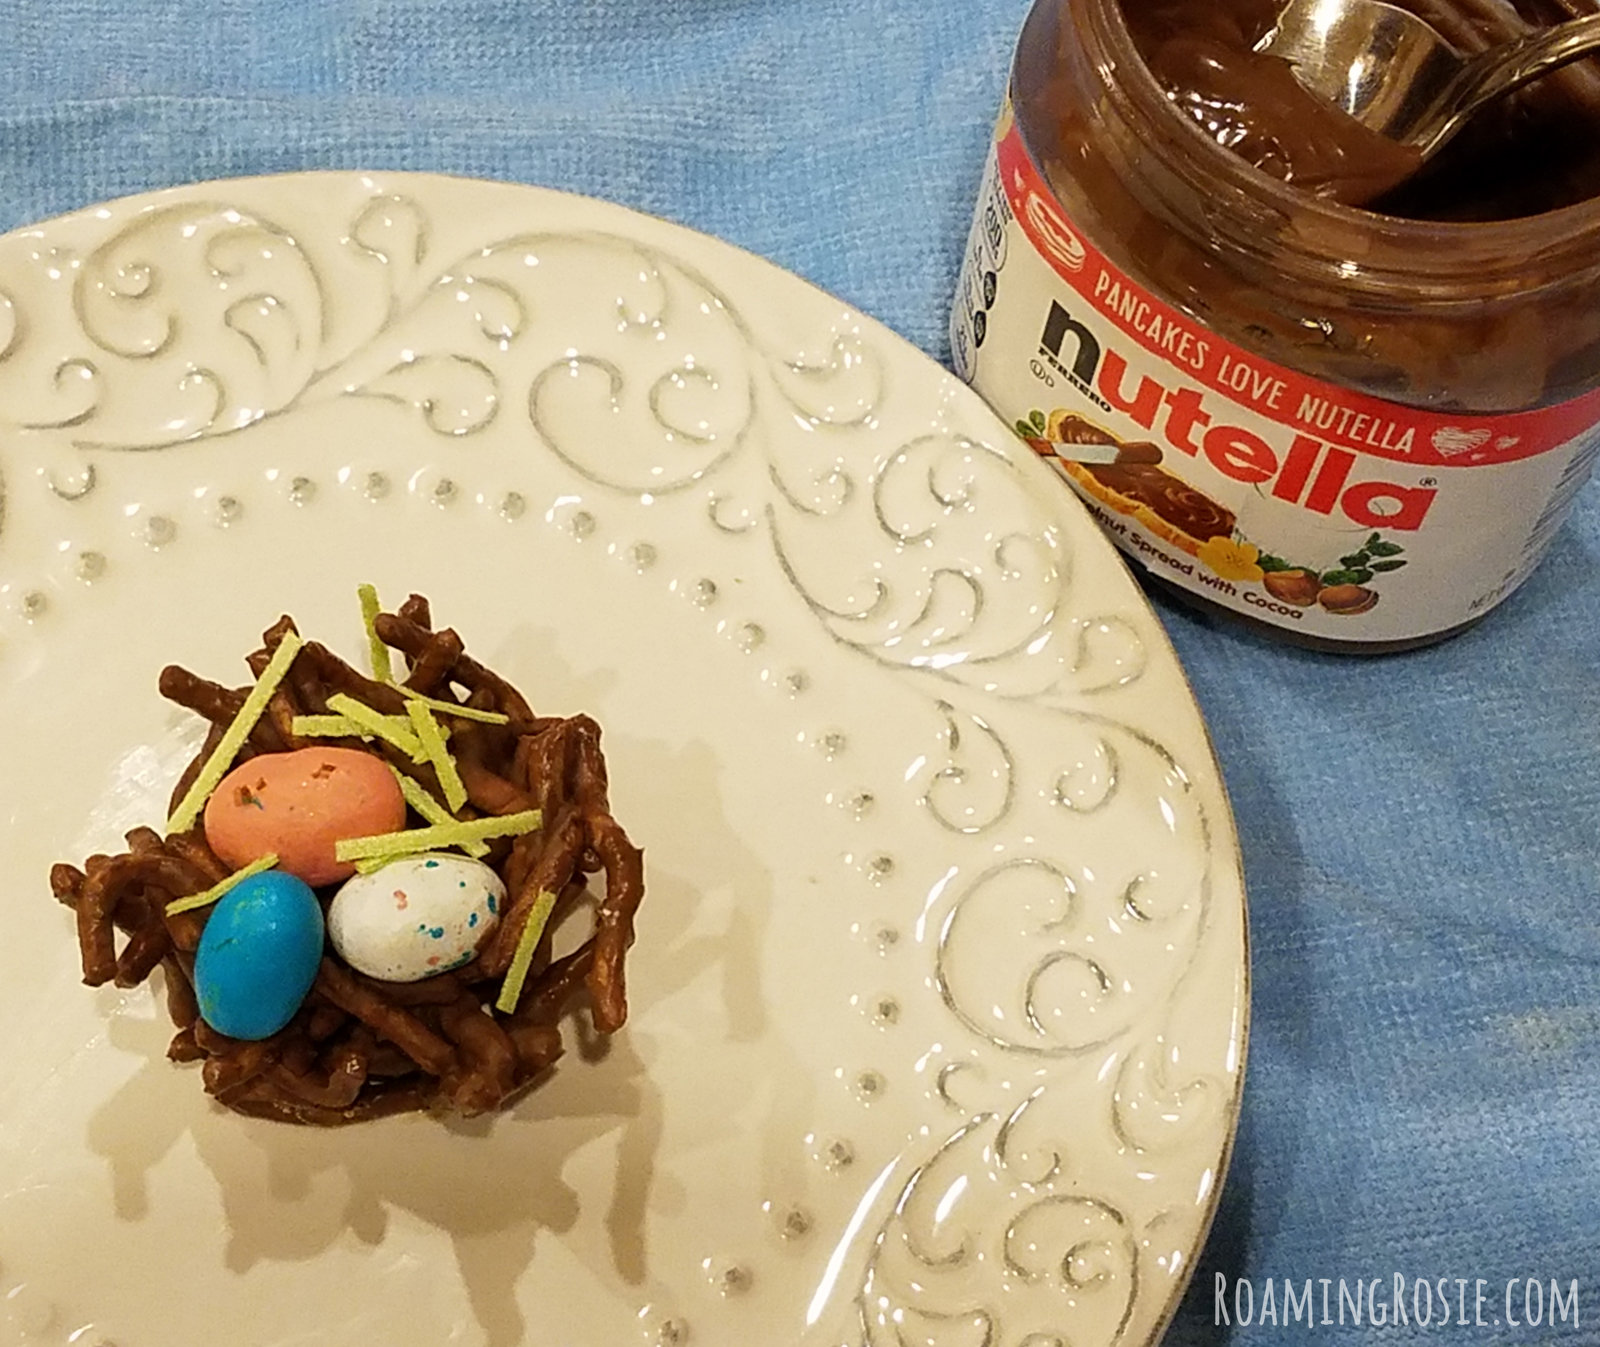
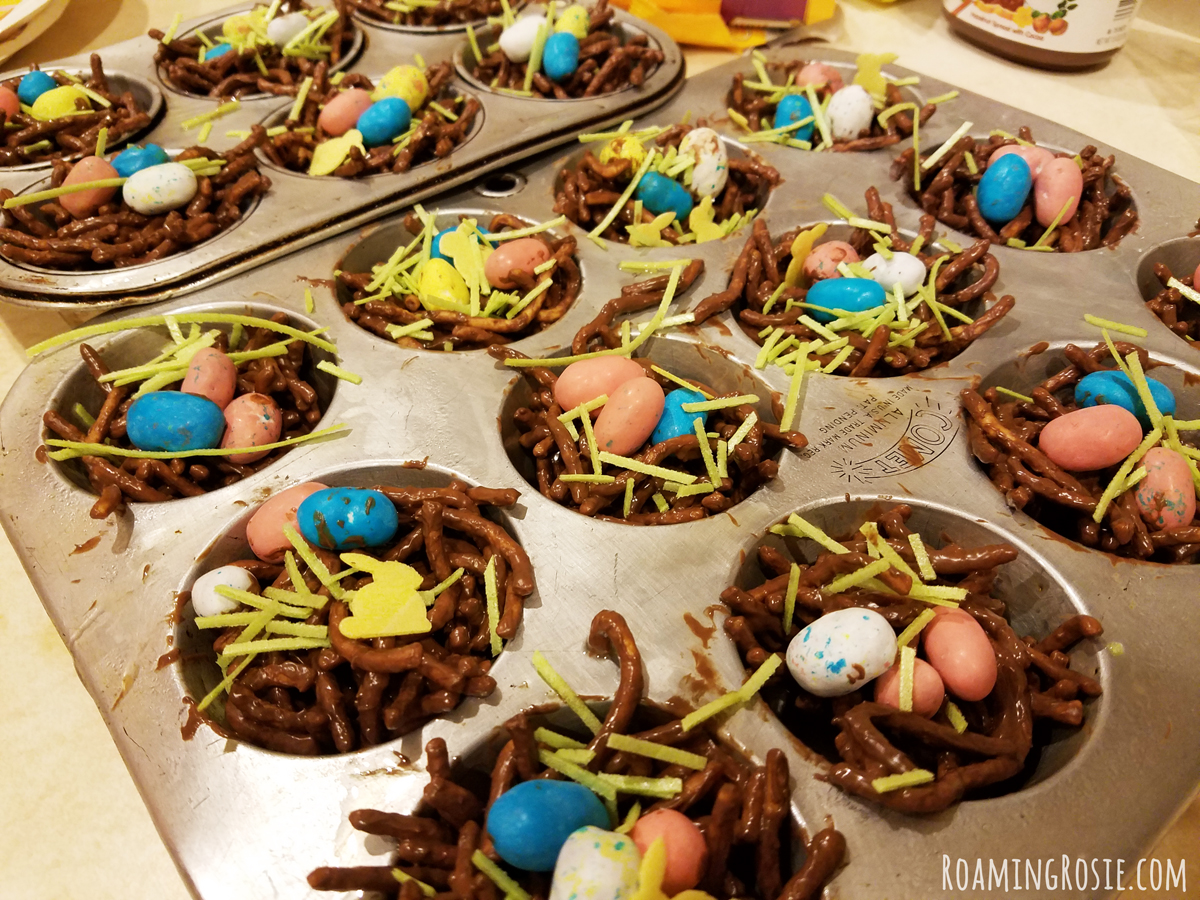
We’ve made Chocolate Birds Nests in the past, but this year we changed it up…. by adding Nutella!
These Nutella Chocolate Birds Nests were a lot of fun to make with my girls. It gets them in the kitchen with a combination of cooking and crafting.
And we also picked up a little Edible Grassthis time around. It’s easy to snip into bite-sized pieces with kitchen shears and adds a nice visual touch, but it isn’t necessary if you’re having a tough time finding it. (And I picked mine up for half off after Easter – since these can be a fun treat all season long.)
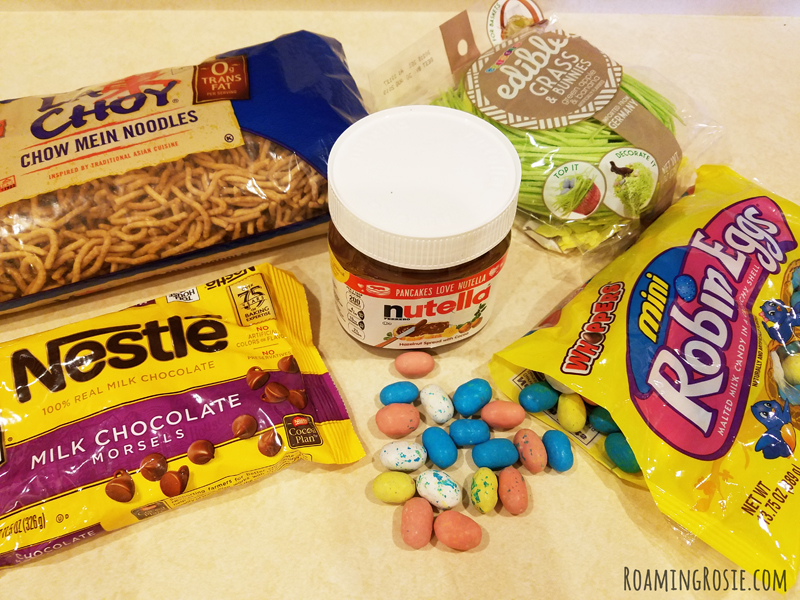
All our ingredients gathered and ready to go….
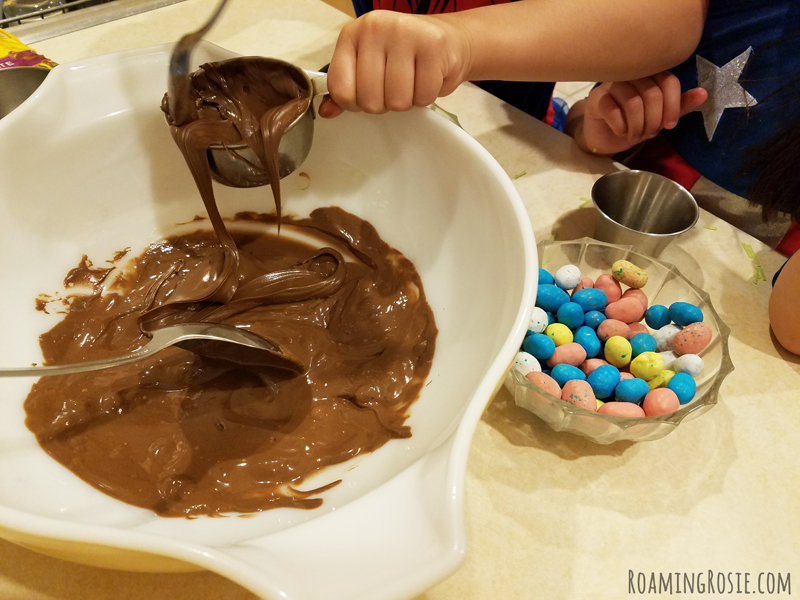
Since there is no actually baking involved, it’s mostly mixing and shaping and decorating, once the chocolate chips are melted.
Melt the chocolate at half power, stirring every 30 seconds until smooth.
Then stir in the Nutella.
(And, yes, my kids are wearing superhero costumes while we cook. That’s how we roll at our place.)
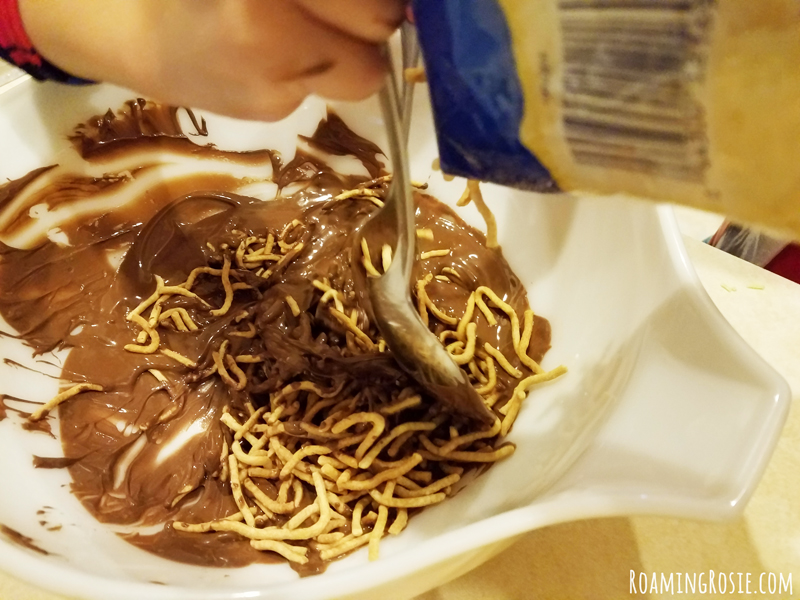
I slowly poured in the noodles while they stirred.
Make sure all the noodles get covered in the chocolate mixture, because that is the glue that holds everything together.
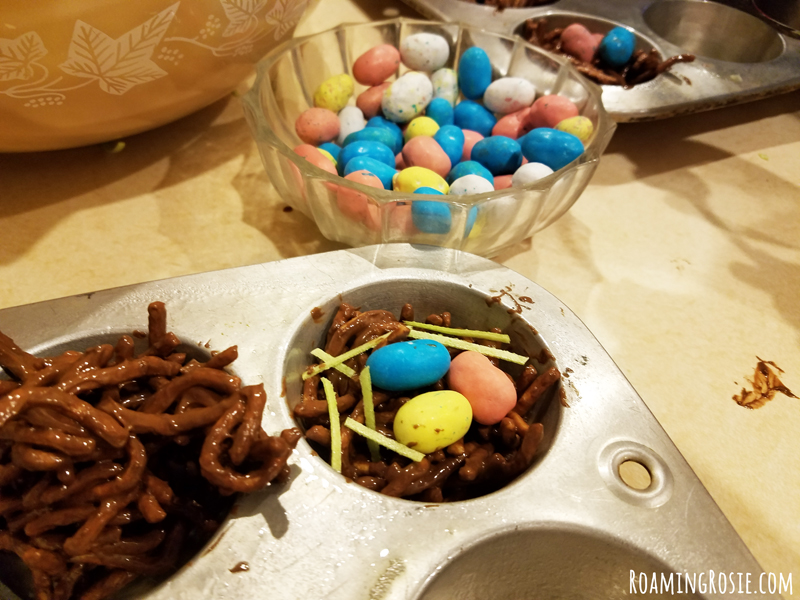
Spray some nonstick baking spray in the muffin tins and scoop in some of the chocolate noodles.
You want to be able to shape them into nests with your fingers, so with a small indention in the center, or at least flat as opposed to hill-shaped. If it’s too bumpy and you’re having trouble flattening it, just take some out.
Put three eggs in the center of the nest and sprinkle a little edible grass over top, if you like.
You can see that my kids also added a few of the confetti-like bunnies that came with the edible grass.
This recipe makes 24 nests, but if that’s just too much for you, you could half the recipe. Or share with all the neighbors.
When you first make them, the nests will be gooey and will fall apart if you try to pick them up. They are still okay to eat, especially for anxious kids who want to try their creations, but they’re much easier to eat if you let the chocolate set first.
Put the pans in the fridge for an hour or so to help the chocolate set (because if you live in a humid place like me, that would take forever at room temperature), and then scoop them out with a spoon. Preferably a plastic spoon so you don’t scratch the metal.
Store them in covered containers, using waxed paper to separate stacked layers.
Chocolate Nutella Birds Nests
Ingredients:
1 cup milk chocolate chips
1 cup Nutella
12 oz. chow mein noodles
72 candy-coated malted milk chocolate eggs (I used Whoppers Robin Eggs) Edible Grass, cut into 1-inch pieces (optional)
Melt the chocolate chips in a large microwave-safe bowl at half power, stirring every 30 seconds until smooth. Stir in the Nutella.
Pour the noodles into the chocolate mixture and stir gently until they are all fully coated.
Spray 24 muffin tins with nonstick baking spray and scoop a spoonful of the noodle mix into each tin. Move the noodles with a spoon or your fingers so that they are shaped like a nest.
Place 3 chocolate eggs in the center of your nest while the chocolate is still slightly melted. Sprinkle a little edible grass over the top, if desired.
Put the nests in the refrigerator for at least an hour to allow the chocolate to set. Remove from the muffin tins with the help of a spoon.
Store in a closed container in the fridge, using waxed or parchment paper to separate stacked layers.
Annnnnd….. now that it’s almost Easter, I’ve noticed that I’ve completely forgotten to post our St. Paddy’s Day dessert. So here it is! ;)
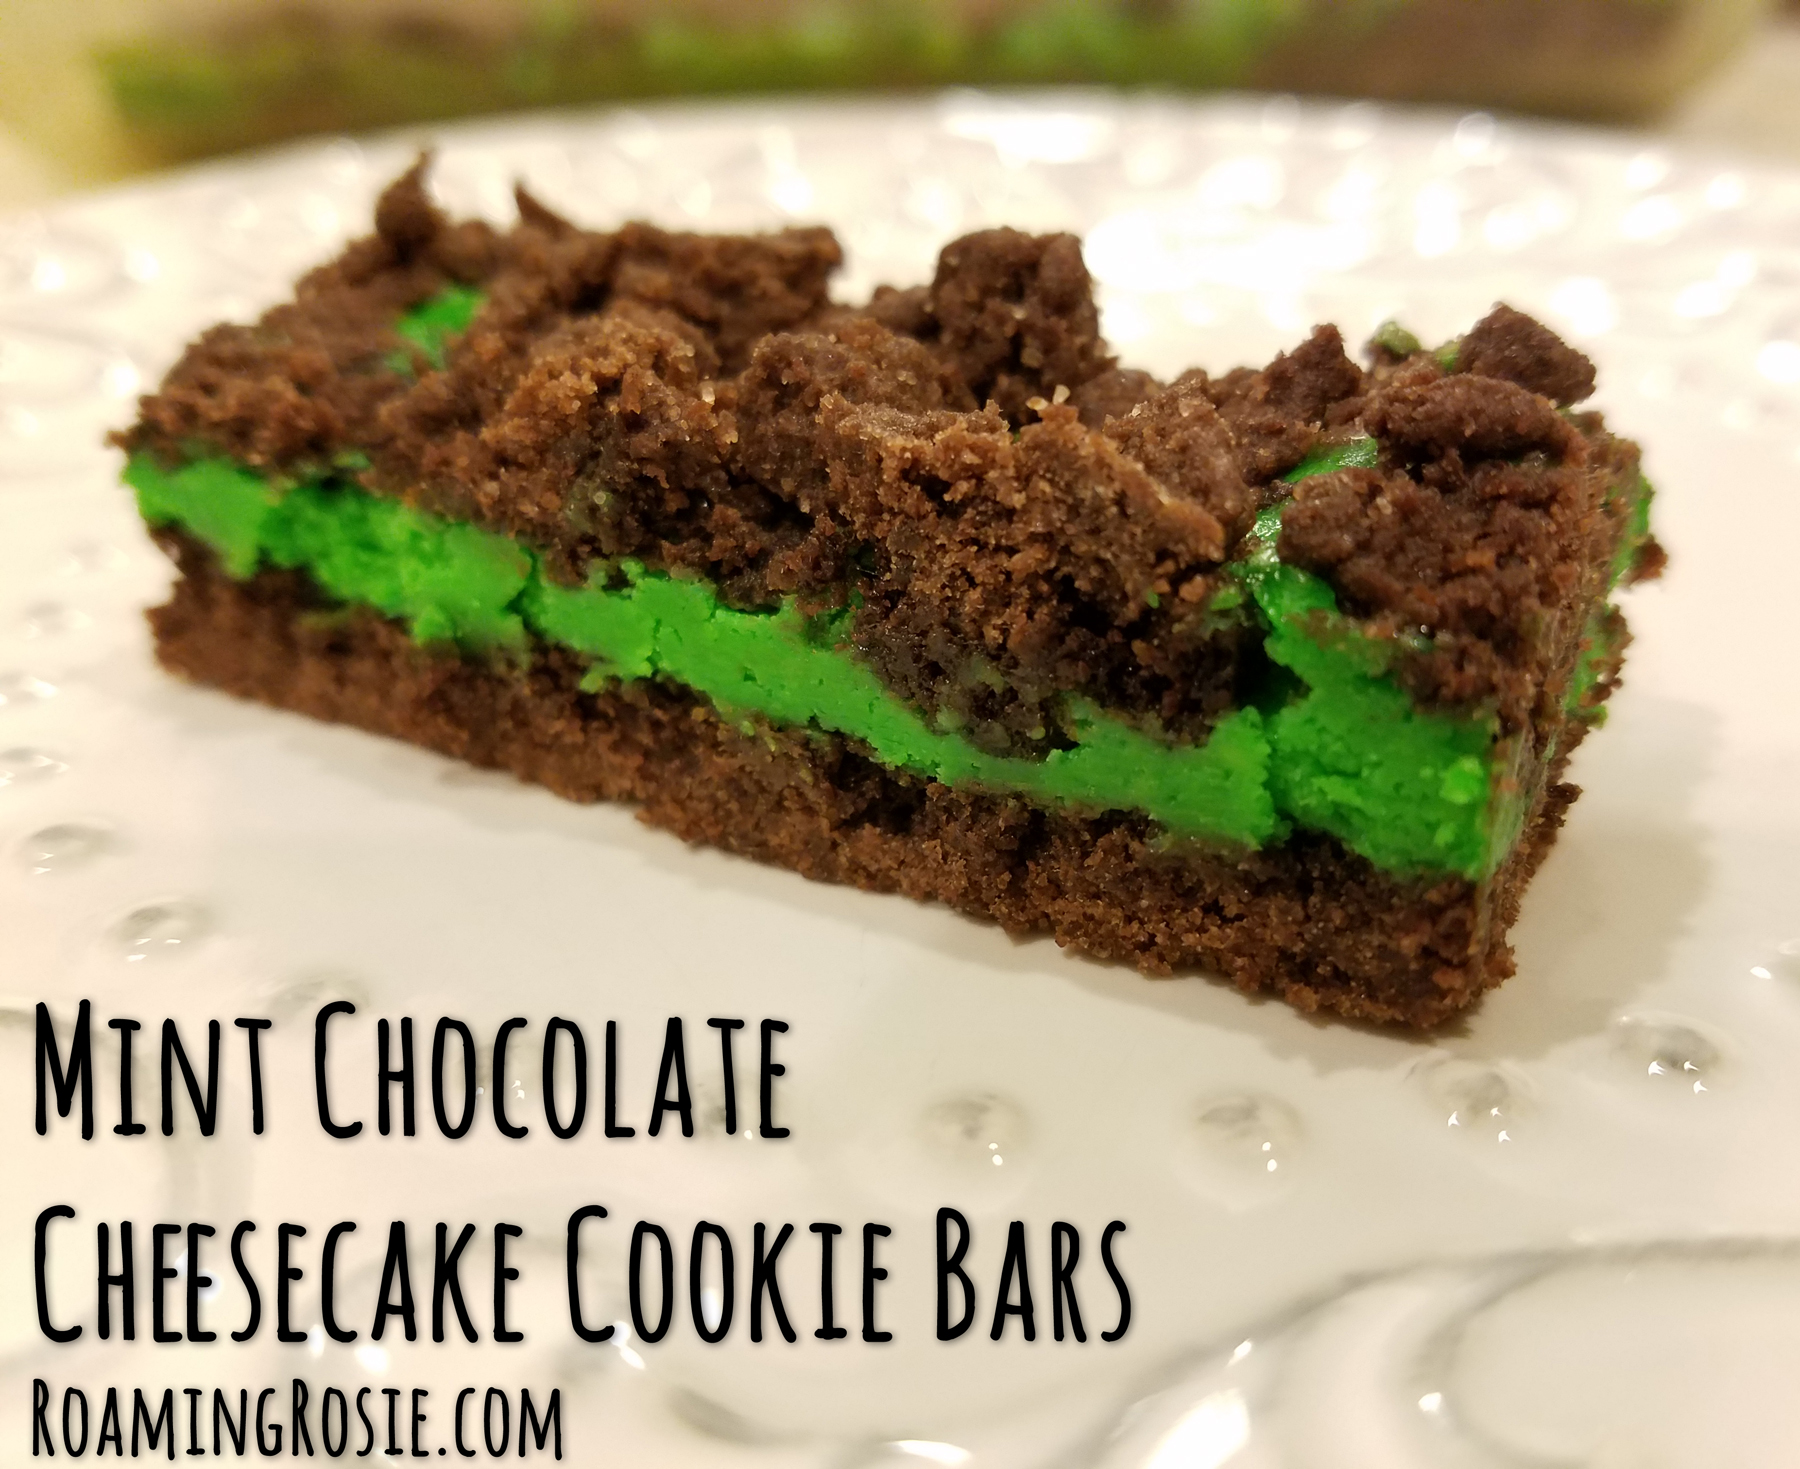
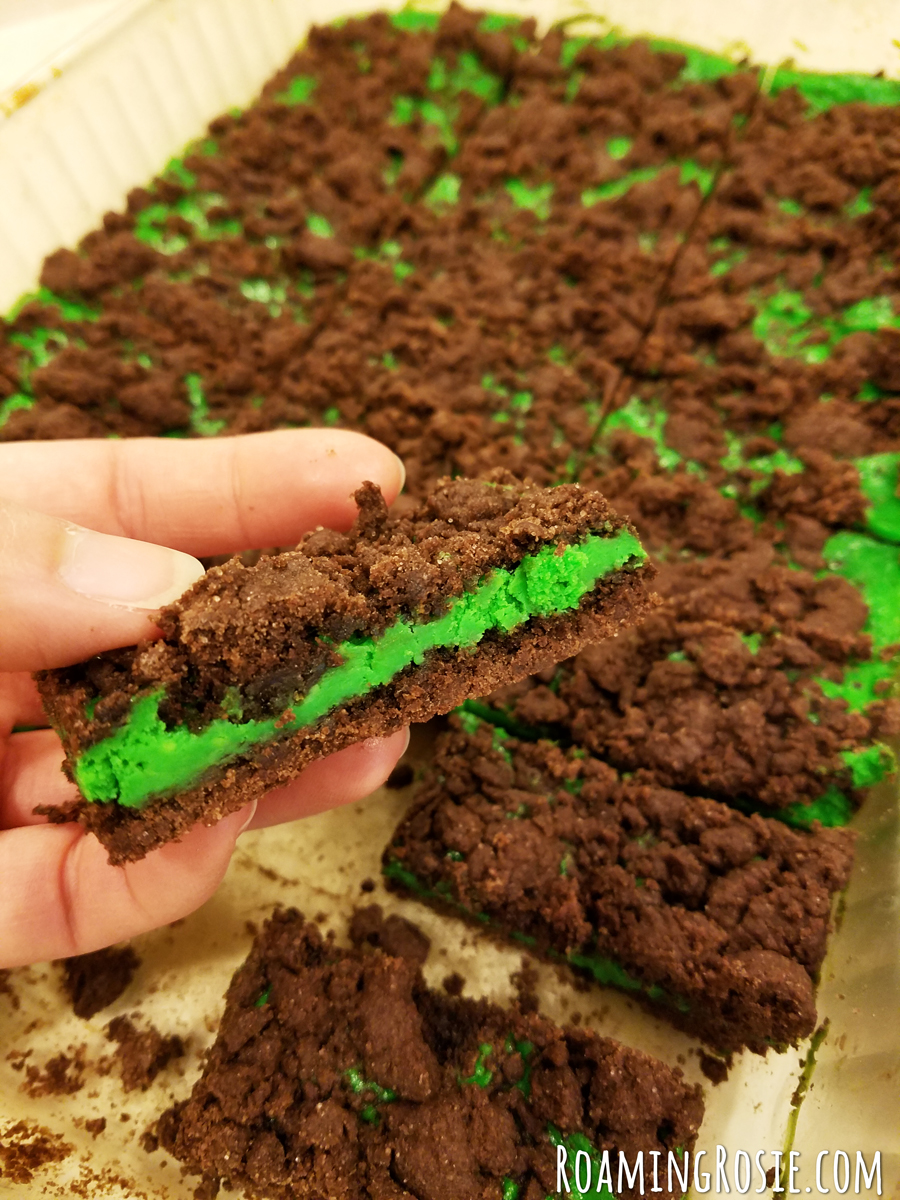
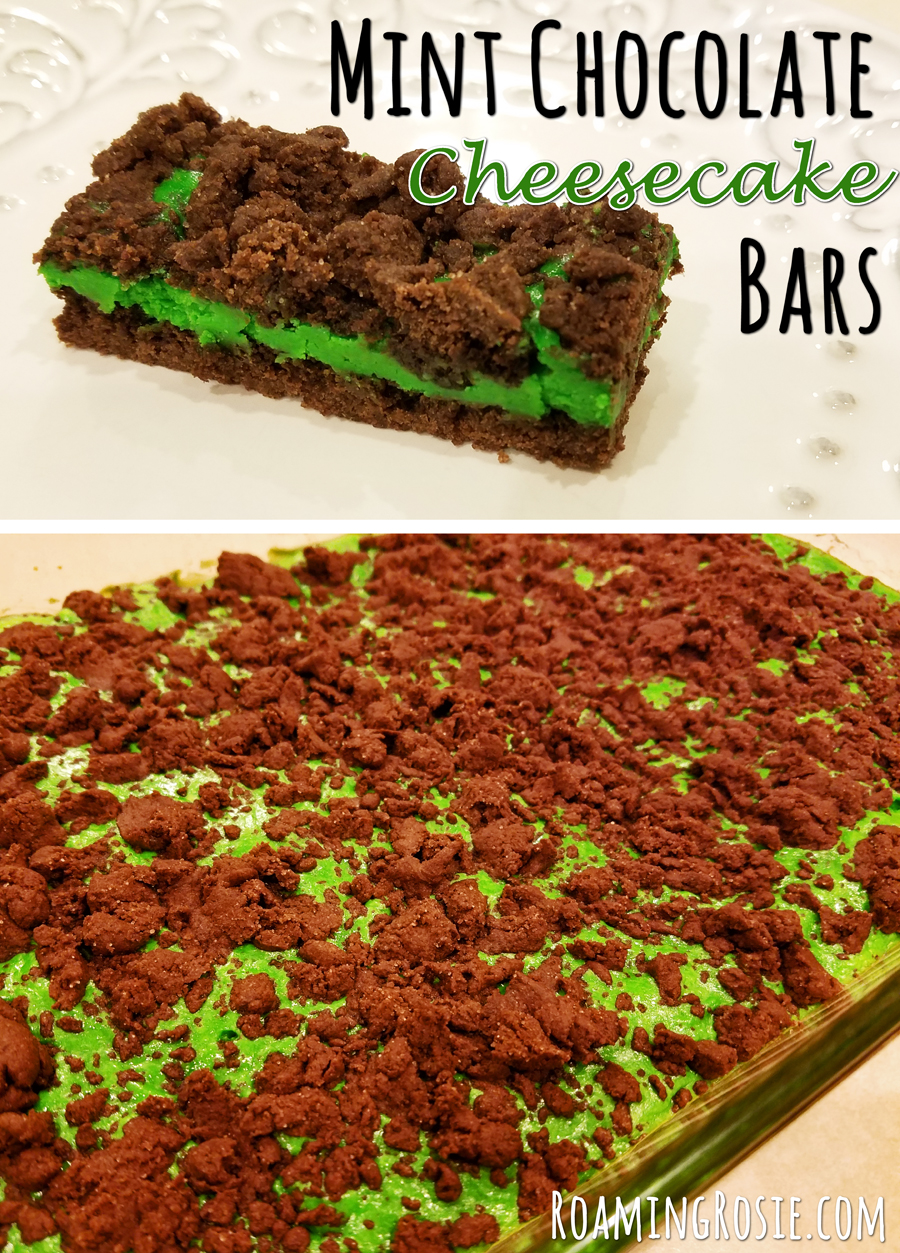
We made these Mint Chocolate Cheesecake Cookie Bars based off of the Lemon Cheesecake Barsthat I love so much. But we made these green (and mint) to celebrate St. Patrick’s Day.
They were a hit with both my kids and my coworkers, so I may try other variations in the future, since the recipe is flexible.
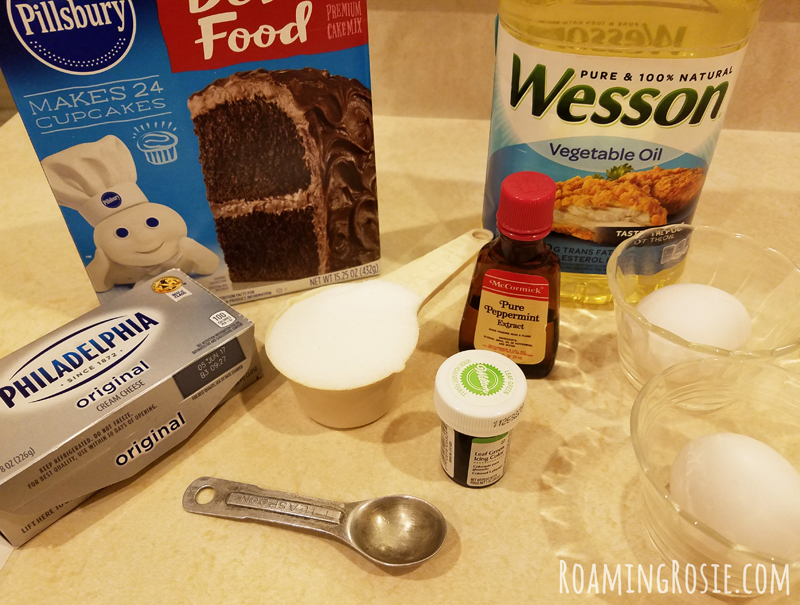
The ingredients are pretty easy to pull together, especially if you already happen to have cream cheese on hand.
The base for it is a box of cake mix, which makes it a speedy dish to throw together.
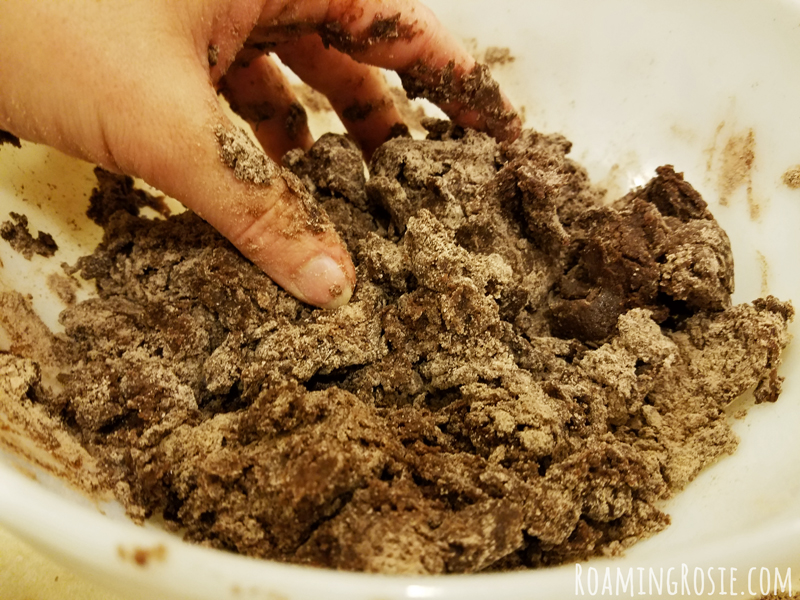
The crust will seem a little dry at first, but massaging the ingredients together will help.
If your kids like to get messy, this is a great job for them to help with.
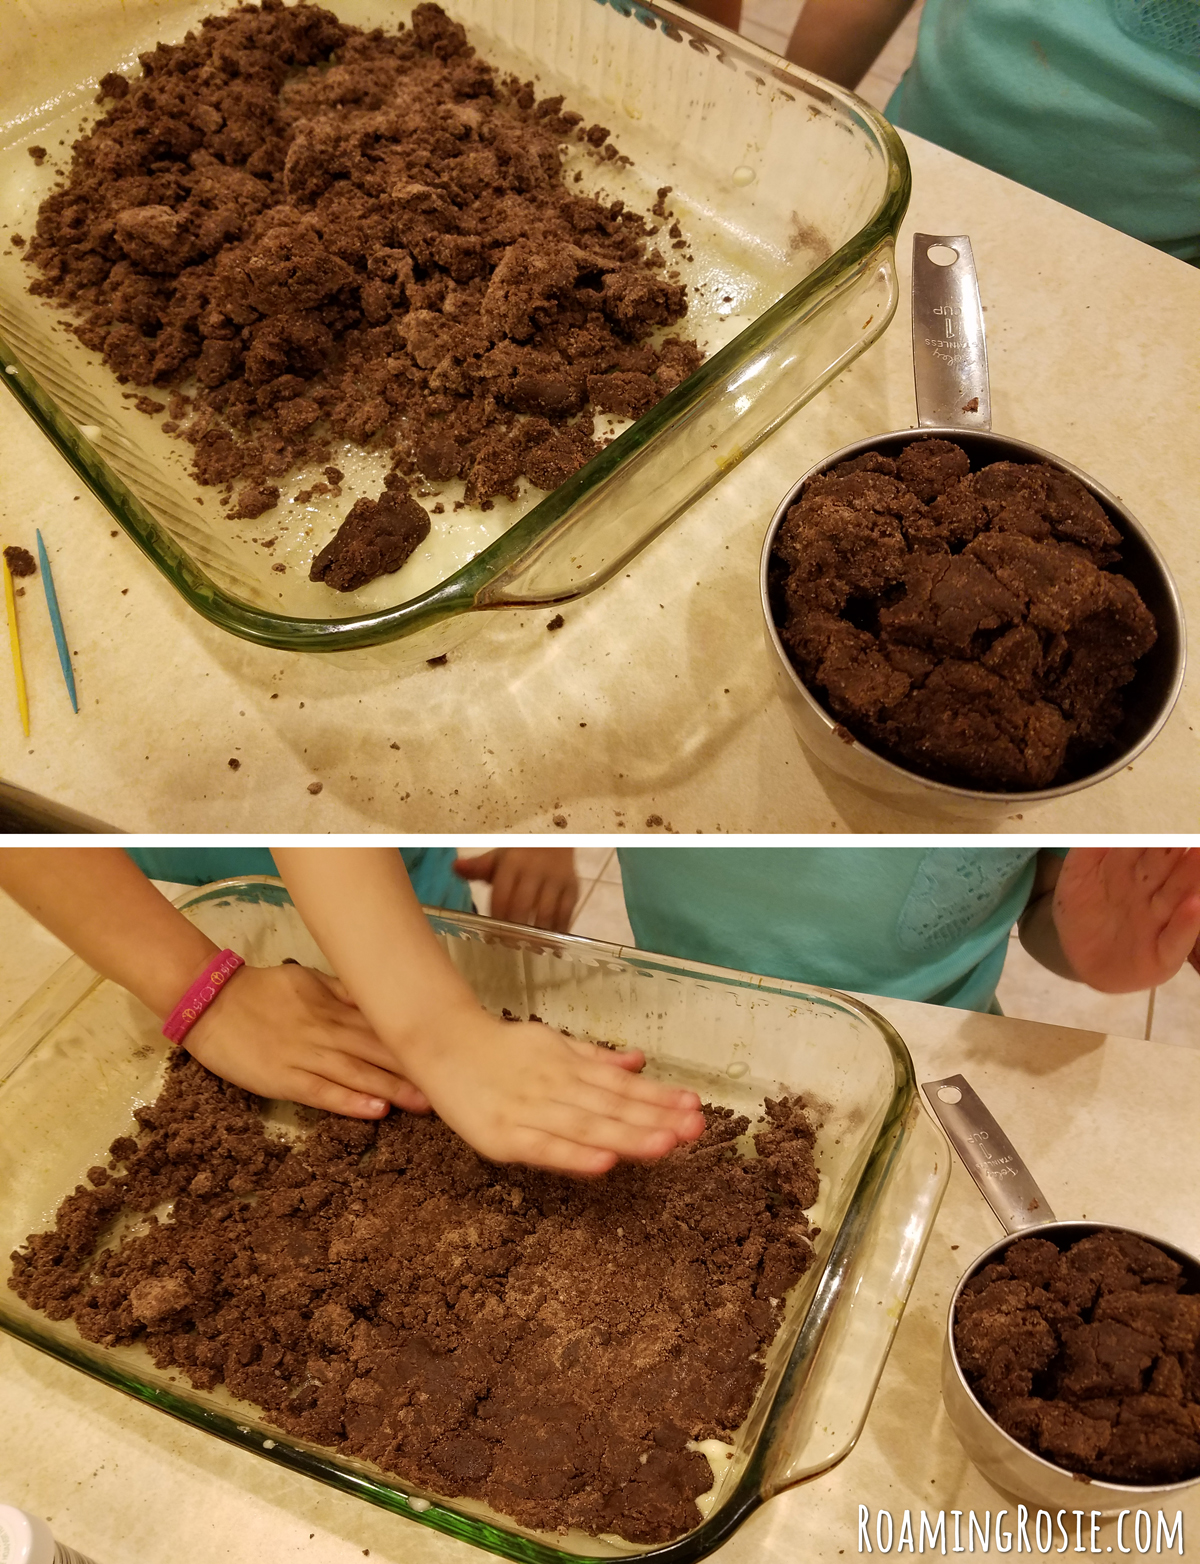
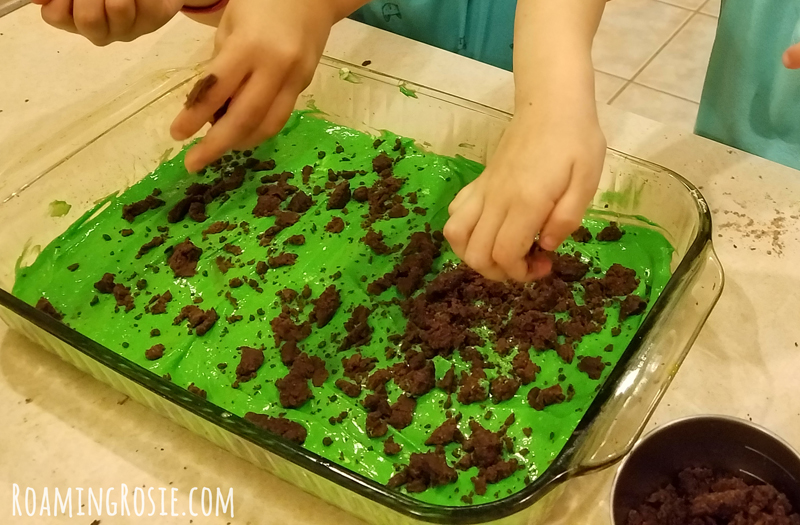
You’ll reserve some of the mix for the crumbles that go over the top, but the rest gets pressed into the bottom of the pan. This is also a good task for little hands.
The crust will seem very thin but don’t worry, it will rise a little as it bakes. Just be sure you spread it out to cover the entire bottom surface of the pan.
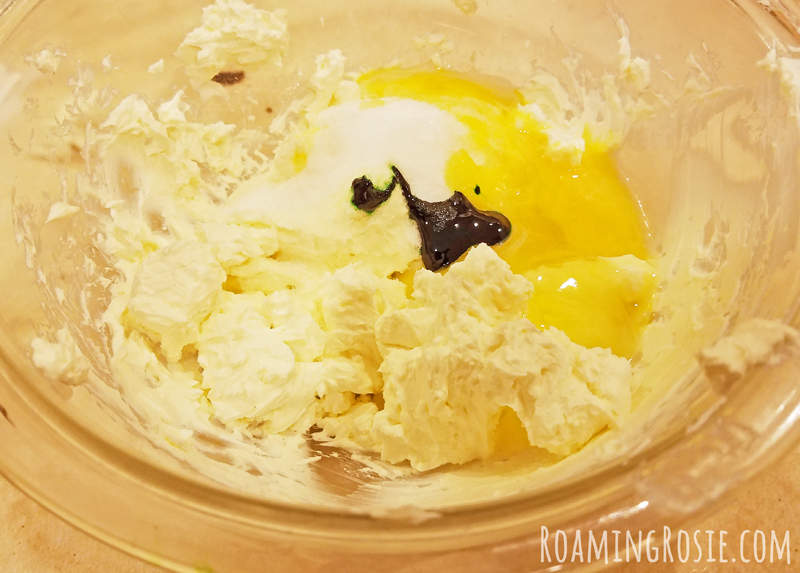
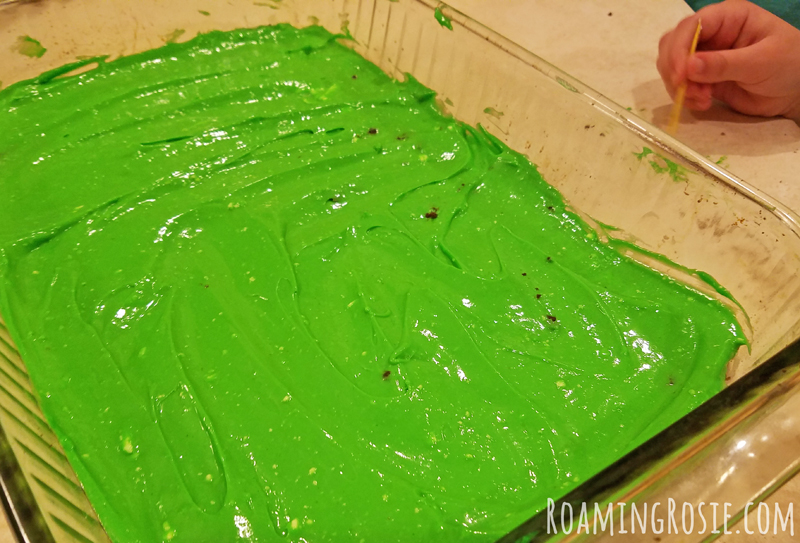
I add the food coloring to the cheesecake ingredients before blending, so the mixer brings it all together evenly.
The more you use the deeper the color will be. I was going for bright and bold because it was a themed dessert for St. Patrick’s Day, but if you’re going for a subtler minty look, start with only a little color.
You can see tiny chunks of cream cheese in my cheesecake mixture because it wasn’t fully at room temperature when I mixed it.
This is okay, though. It will still bake up just fine.
Sprinkle the crumbles over the top for a fun look. They also add a nice texture to the finished dessert.
You can technically cut them into any shape you’d like, but I favor the rectangles. I cut it twice lengthwise, and then cut those three rows into pieces about an inch thick.
This gives me 30 pieces, which makes it a great recipe for sharing!
Don’t eat these when they first come out of the oven and are still warm – chill them for the best results. They can be enjoyed at room temperature too, but because of the cream cheese, you’ll want to be sure to store leftovers in the refrigerator.
Mint Chocolate Cheesecake Bars
Ingredients:
1 box chocolate cake mix (15 to 18 oz.)
2 large eggs, separated
1/3 cup vegetable oil
1 package (8 oz.) cream cheese, softened
1/3 cup sugar
1/2 teaspoon peppermint extract
Green food coloring, gel or liquid
Preheat oven to 350°F (180°C).
In one bowl, combine the cake mix, one egg, and the vegetable oil. You may need to use your fingers to help it all come together.
Spray a 13” x 9” baking pan with nonstick spray. Reserve about 3/4 cup of the chocolate crumb mixture for later use, and press the remaining batter into the pan. It will be thin but should cover the entire bottom of the pan.
In another bowl, beat the cream cheese with an electric mixer until smooth. Then mix in the other egg, the sugar, extract, and a little food coloring. Beat until smooth, adding more food coloring if needed until you reach your desired color.
Spread the cream cheese mixture over the chocolate crust in the pan. Sprinkle the reserved crumb mixture evenly over the cream cheese.
Bake for 25 to 28 minutes, or until a toothpick inserted into the center comes out clean or with dry crumbs. Cool on a baking rack until it reaches room temperature, then slice. Make two cuts lengthwise and then cut into ten pieces across to make 30 pieces that measure approximately one by three inches. Cover and refrigerate overnight before serving for best results.
**********
For the free printable PDF version of this recipe, click the link below: