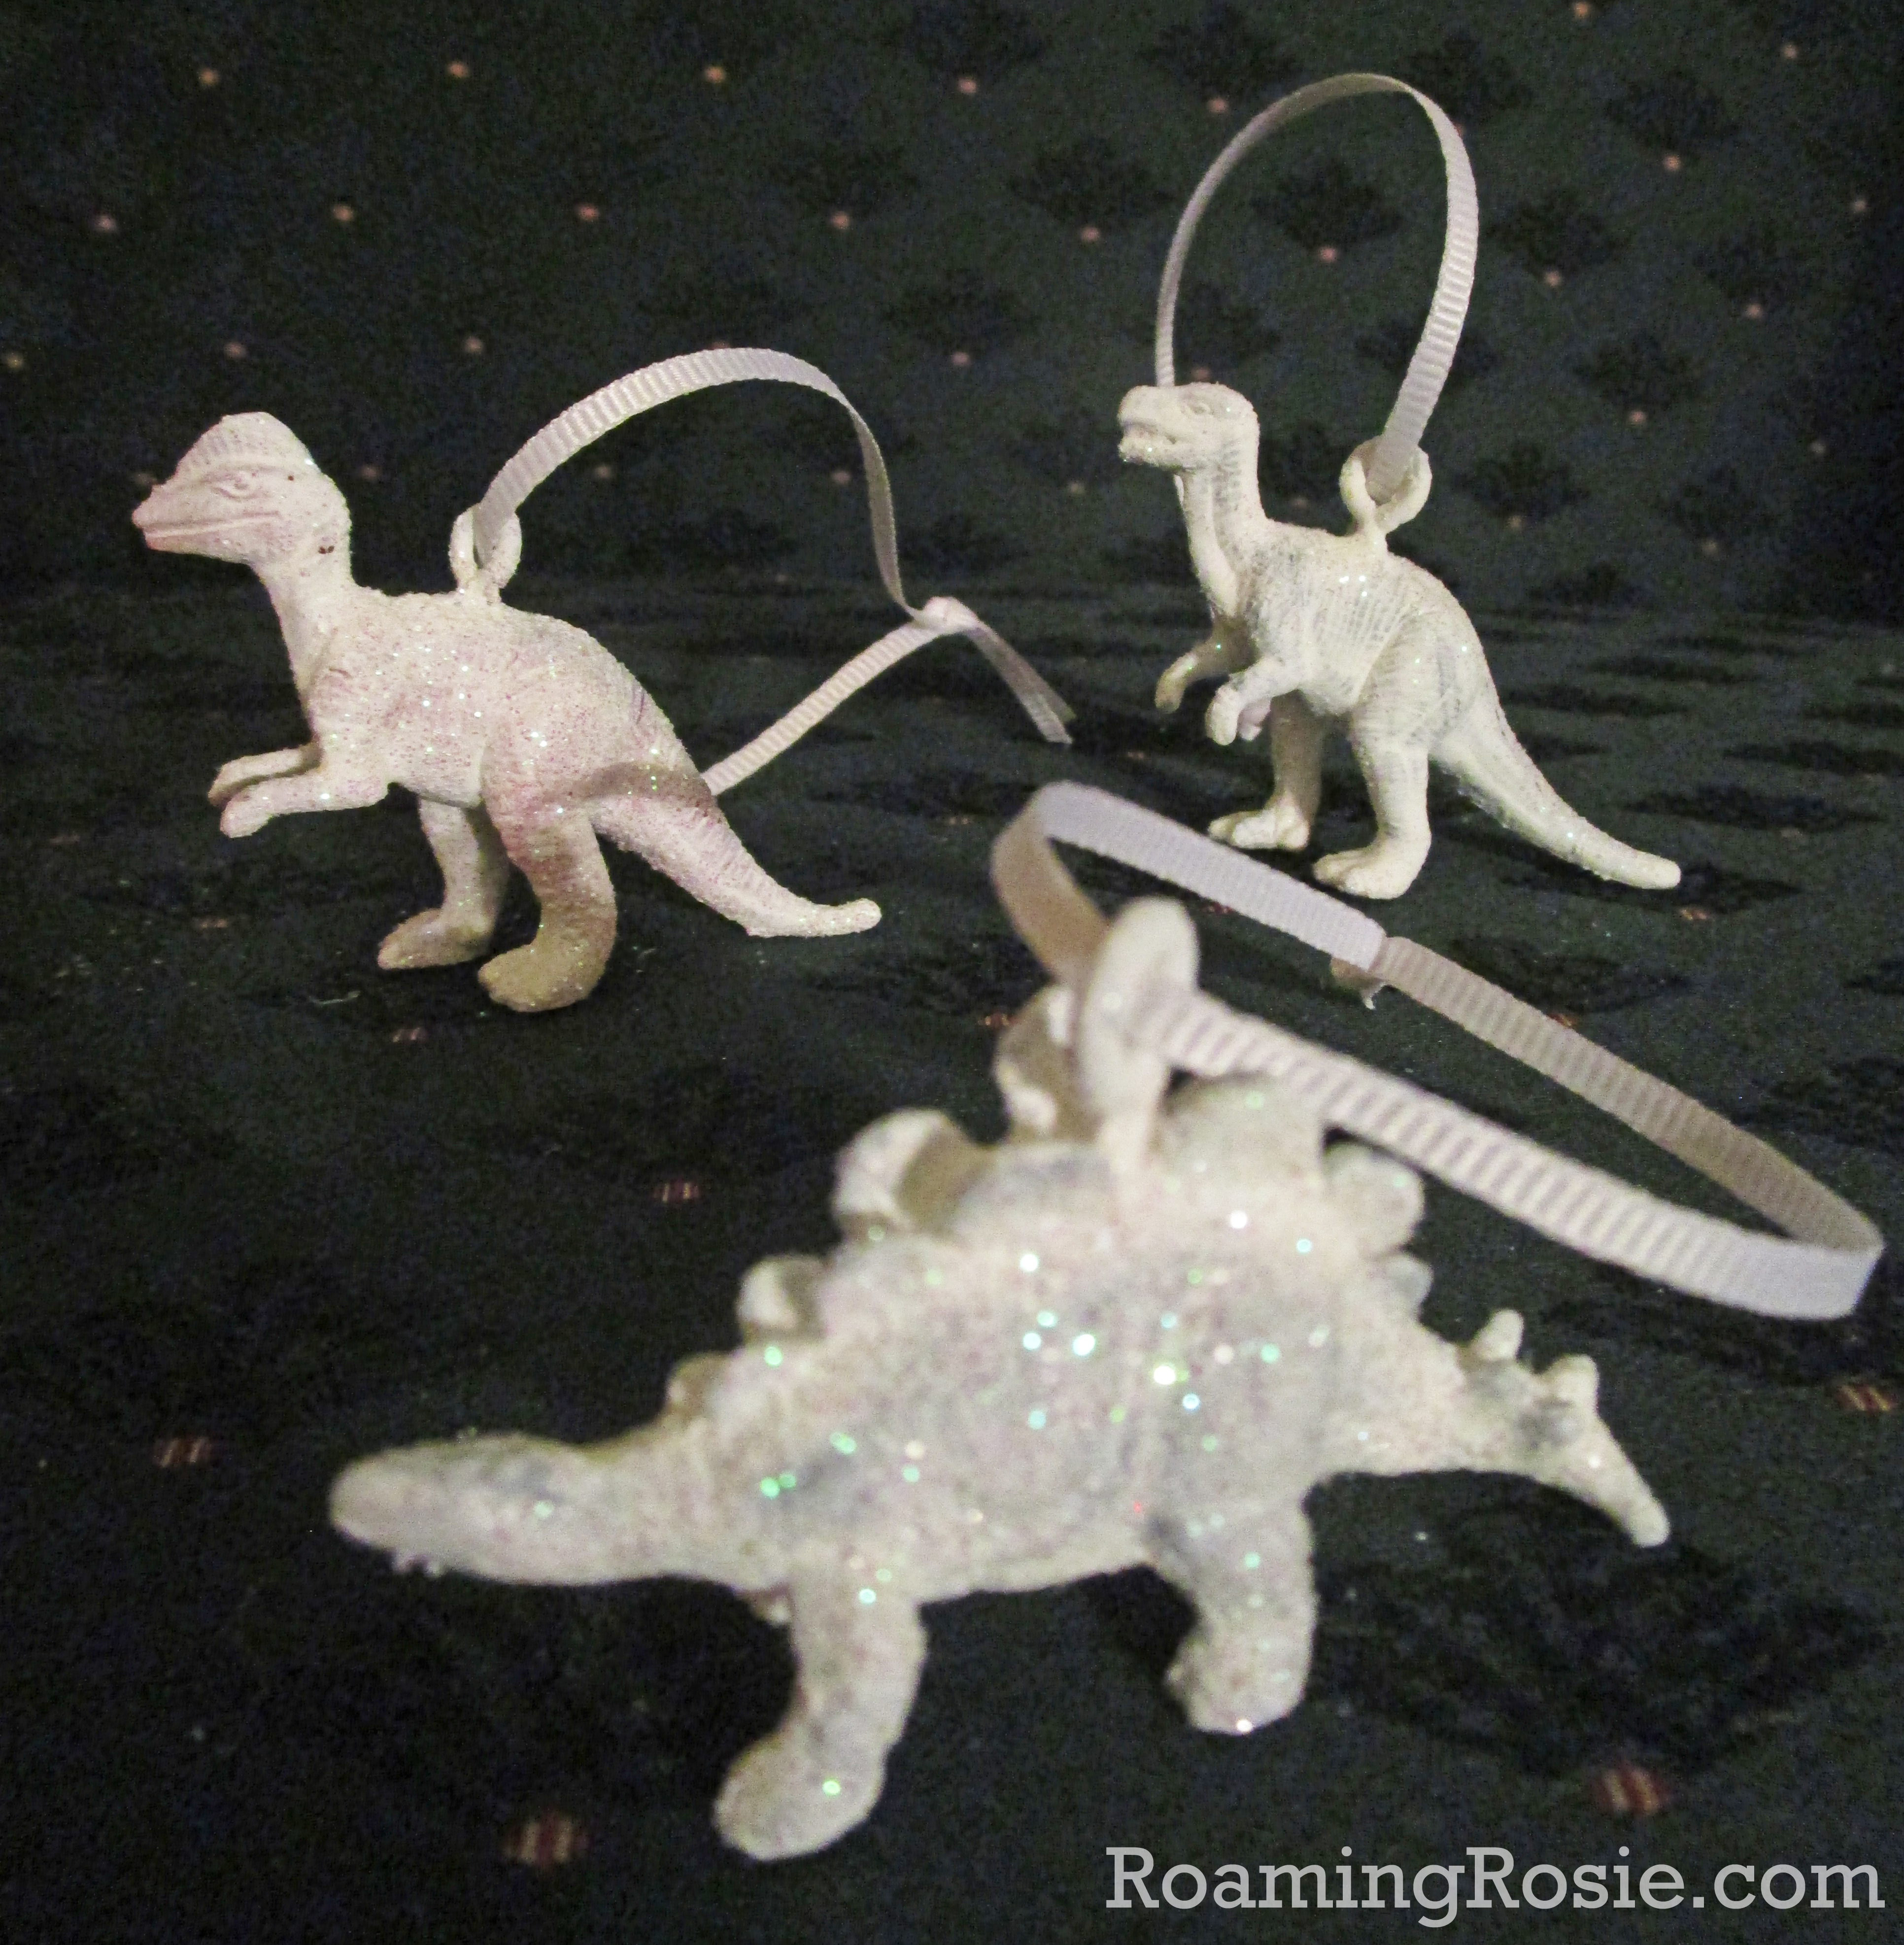
Glitter Dinosaur Ornaments

Glitter Dinosaur Ornaments 1

This has always been one of my favorite Christmas crafts.

I mean, who doesn’t love dinosaurs covered in glitter??

Seriously, though, hanging these Glitter Dinosaur Ornaments on my tree each year is always a joy!

Glitter Dinosaur Ornaments

Of course, I didn’t realize until afterwards that most of my photos were blurry, but you get the idea.

Essentially I picked up a tube of dinosaurs, my kids painted them, and we dumped glitter on top.

It was so much fun to do with them.

Mostly here, you’ll see the photos of the ones we painted all white – that was my preference for ultimate sparkle. But my kids did decide to paint a couple blue as well. You can really do whatever suits you.

Glitter Dinosaur Ornaments 3

Before you decorate them, you’ll want to attach tiny hooks.

I used eye hooks like these. The screw right into the toys with just a little elbow grease.

Then paint them with acrylic paint and sprinkle on glitter before the paint dries.

Last, attach any type of thin ribbon or string and you’re done!

Glitter Dinosaur Ornaments 4

I even decorated the lid of the tube.

It’s like a T-rex bust. Pretty fancy, if you ask me.

Glitter Dinosaur Ornaments

Let me know if you try it out! Or even if you grab a tube of unicorns or something else instead.

Happy Crafting :)

Roaming Rosie Signature

How To Make Cinnamon Christmas Ornaments … with Glitter!

Cinnamon Christmas Ornaments with Glitter

I wanted to make some homemade Christmas ornaments with my kids this year, and I LOVE cinnamon, so these were kind of a no-brainer.

But… something seemed missing from the traditional cinnamon ornament recipe… OH!  I know:  glitter!!

Yup.  Glitter makes everything better.

Cinnamon Christmas Ornaments with Glitter

I love the smell of these things.  And not all recipes use cloves, but it helps enhance the scent, so I totally used them.

I even used cinnamon applesauce instead of regular applesauce.  Don’t know if it made much difference, but, you know, they’re the same price and all, so why not?

Cinnamon Christmas Ornaments with Glitter

It’s great because you just mix everything together.  Super quick.

Cinnamon Christmas Ornaments with Glitter

Admittedly, they were a tad bit difficult to roll out.  I would suggest that this is a job for an adult and not a young child.  The dough is a bit stiff and you have to be careful not to roll it so quickly or roughly that you end up with too make cracks.

This isn’t like cookie dough where you can smooth it out easily.  If there are big ol’ cracks in your ornaments when you put them in the oven, there will be big ol’ cracks when you take them out.  Cracks that will probably make your ornament snap in half when you pick it up.

You’re only using the oven to dry these and not to bake them, so make sure that when you put them in they look how you’ll want them to look when they come out.

You could actually air dry them….. probably.  But I live in Florida.  Hello, humidity.

We used the oven.

Cinnamon Christmas Ornaments with Glitter
Also be sure to be GENTLE when removing the ornament dough from the cookie cutters.

Let your Little Ones cut out their shapes, but make sure either you or a kid with LOTS of patience slowly pushes the ornament out.  Or it will break before you even get it to the pan.

And – another warning – ovens + these guys = STEAM.

So when you open your oven door to check on the ornaments, please, please, please stand back so that you are not hit with a face full of cinnamon-and-clove-laden steam.  TRUST ME.

Cinnamon Christmas Ornaments with Glitter

You can decorate them before baking them, too.

I only did a couple:  you can see the star that I traced with a dotted pattern I made with a toothpick, and also in a couple of ornaments, I used the end of the wooden skewer to draw my daughters’ initials.
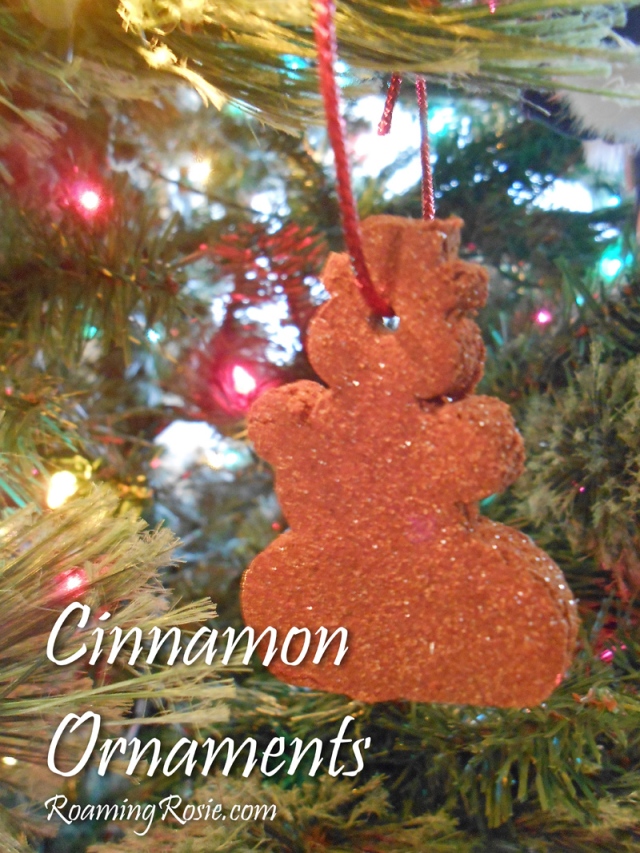
Cinnamon Christmas Ornaments with Glitter

Oh, and don’t forget to make a hole in the ornaments before you bake them.  So you’ll have somewhere to hang the string.

We used “metallic tinsel cord” but you could use kitchen twine or ribbon or a thin hemp cord.

Cinnamon Christmas Ornaments with Glitter

Aren’t they adorable?

They’re even better in person.  The glitter is much more prominent, and the aroma – ah, the cinnamon!

*sigh*

Christmas bliss.  :)

Cinnamon Christmas Ornaments with Glitter

Cinnamon Christmas Ornaments with Glitter

Ingredients:

1 1/4 cup ground cinnamon
1 tablespoon ground cloves
1 tablespoon glitter
1 cup cinnamon applesauce

Preheat your oven to 200°F.

Mix the cinnamon, cloves, and glitter in a bowl. Stir in the applesauce.

Knead gently to make sure everything is incorporated. Sprinkle some extra cinnamon on the counter (like you would flour before rolling out cookie dough) and roll out the cinnamon dough to about 1/2 inch thick.

Cut out desired shapes with cookie cutters and gently transfer ornaments to baking pans lined with parchment paper. Use a wooden skewer to very gently make a hole in the ornaments for hanging.

Gently reroll and knead scraps of dough. Roll out and cut more shapes, being careful there are no large cracks in the dough.

Bake for 2 hours, flip and bake for another hour. Allow to cool on pan.

Thread pieces of twine or ribbon through the holes to hang ornaments.

**********

And click here to print the PDF version:  Cinnamon Christmas Ornaments with Glitter


Roaming Rosie Signature

Birdseed Christmas Ornaments

Birdseed Christmas Ornaments

These birdseed ornaments are a project I did with my kids around Christmastime, and so we used Christmas shaped cookie cutters, but it’s a project that can be done any time of the year.

There are a ton of options, but I let my girls pick and we used cutters shaped like a tree, snowflake, gingerbread man, candy can, shooting star, and an angel.

Birdseed Christmas Ornaments

There are a few recipes out there for birdseed ornaments that include flour and corn syrup.  These ingredients aren’t really healthy for birds and, besides, they are unnecessary.

Just the water and gelatin are sufficient.

Birdseed Christmas Ornaments

Small birdseed works best.

Make sure you stir the mixture so that the gelatine covers all of the birdseed.  The gelatin is what holds the ornaments together.

But if there is still a little puddle in the bottom of the pan after you mix the birdseed in, then go ahead and add a little more birdseed.

Birdseed Christmas Ornaments

Place your cookie cutters upon some waxed paper and fill them with the birdseed.

We used little milkshake spoons because the smaller size fit better into the spaces.  But I guess you could use your fingers, too.

Birdseed Christmas Ornaments

Add a piece of string or twine once the cookie cutter is half full.  Then scoop more birdseed on top of the string and press it all firmly in the cutter.

I knotted the middle of my sting and stuck that knot inside the ornament for greater support, leaving the other end of the string open so that I could tie it over the larger tree branches in our yard.

Birdseed Christmas Ornaments

Allow them to sit overnight.

Birdseed Christmas Ornaments

Then remove them from the molds by very gently pressing them out.

Try to press them out evenly:  putting too much pressure in one area will break them apart.

Birdseed Christmas Ornaments

Above you can see our angel and below our snowflake.

There were little bits and pieces that fell off because there wasn’t enough gelatine in a certain spot, but they mostly held their shapes.

Until the birds and squirrels got a hold of them … but then, that was kind of the point.  :)

Birdseed Christmas Ornaments

Birdseed Christmas Ornaments

Ingredients:

1/2 cup birdseed
2 packages (.25 ounce each) Knox gelatin
1/2 cup water
Thin rope or twine

Simmer the water in a saucepot. Add the gelatin and stir until fully dissolved.

Remove from heat and stir in the birdseed until all seed is fully coated. If the mixture is still wet after stirring well, add more birdseed.

Place medium to large cookie cutters on top of waxed paper. Scoop birdseed mixture into cookie cutters and fill halfway.

Place a piece of string into the cookie cutter and scoop more birdseed mixture on top of the string, making sure that part of the string is buried into the center of the ornament (I knotted the twine here for support) and part is hanging out. Use a spoon to press the birdseed down firmly.

Allow to sit overnight. Very gently push birdseed ornaments out of cookie cutters and hang where desired. Makes about 6 large shapes.

**********

To print the instructions, click here for the PDF copy:  Birdseed Christmas Ornaments

Roaming Rosie Signature

Red & White Chevron Monogrammed Christmas Decorations

Red and White Chevron Monogrammed Christmas Decor

I’ve got holidays on the mind.  We’ve been doing tons of Halloween and Thanksgiving projects, but I’m always thinking ahead to Christmas… even tho it’s not quite Halloween yet.

It’s my favorite time of year.  :)

And with Christmas on my mind, some of the newest products I’ve made for my Joyful Expressions store include these red and white chevron monogrammed Christmas decorations.

The Red & White Chevron Monogram Tree Skirt is 44 inches in diameter and available in brushed polyester, faux linen, or coral fleece.

The Red & White Chevron Monogram Christmas Stocking are available in the same fabrics as the skirt, with your choice of sizes:  9 x 16 inches or 12 x 20 inches.

The Red & White Chevron Monogrammed Pillow come in polyester or cotton, and the sizes range from 16 inch or 20 inch square to a 13 x 21 inch lumbar pillow.

The Red & White Chevron Monogram Dated Photo Ornament has a monogram and personalization on the front, that includes the year, and a photo on the back.

The Red & White Chevron Monogram Ornament is about 2 x 2.5 inches and can be plated in either silver or gold.

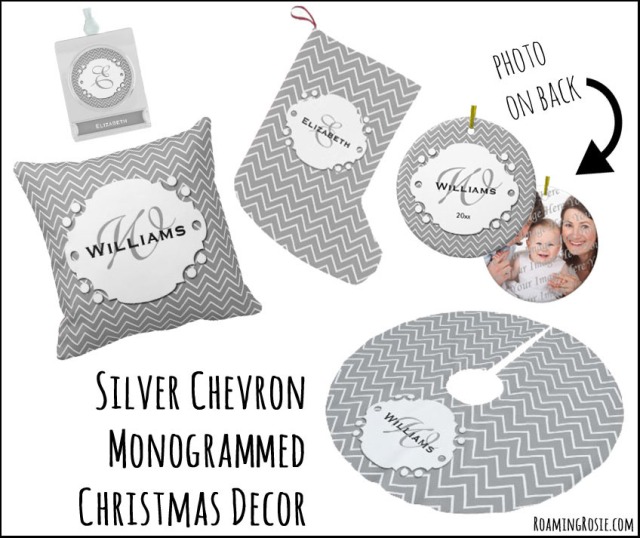
Plus, they’re also available in silver:

Silver and White Chevron Monogrammed Christmas Decor


The links for the silver and white decorations are

Silver & White Chevron Monogram Tree Skirt

Silver & White Chevron Monogram Christmas Stocking

Silver & White Chevron Monogrammed Pillow

Silver & White Chevron Monogram Dated Photo Ornament

Silver & White Chevron Monogram Ornament

What colors are you decorating with this year?  Do you stick with the traditional reds and greens, or do you have a different favorite?

Roaming Rosie Signature

Personalized Santa Christmas Photo Ornament and Plate

Christmas Dated Photo Ornament Christmas Dated Photo Ornament

This Santa-inspired personalized Christmas photo ornament has long been one of my favorites.  I created a couple of different ones for my Zazzle stores (like this and this), but this one pictured here is the most popular.

The reason I’m posting about it today is because I’m excited that people have been saying such great things about it!

Some of the comments left on Zazzle include:

“This was my first time ordering a product from Zazzle and I was extremely pleased with the outcome. The product was well made and the order was executed very efficiently. I received the product quicker than expected.”

“This is a nice ceramic ornament. The ribbon hanging cord is an added touch. Not flimsy at all. Good quality.”

Okay, not raving I-must-have-this-right-now-type comments, but still nice.  Nice enough to share.  :)

Actually, the matching plate:

Personalized Christmas Custom Photo Plate

got a slightly better-sounding review:

“This plate can be a gift for any occasion. The process of ordering was very simple, and the delivery was fast. While the colors suggest a Christmas gift, I gave this as a shower gift. The colors came out beautifully, the font choices were great and the recipient loved it!”

So, either way, I’m pretty excited about this design.  If you like it, too, please leave me a comment to let me know!