Hello and welcome to the ALPHABET ACTIVITIES post for letters P through T!
Like all of our previous alphabet activity pages, you’ll find letter-themed meal ideas, letter-shaped construction paper crafts, letter sorting activities, free printable worksheets, and so much more!
If you haven’t been to the ALPHABET ACTIVITIES PAGE yet, be sure to check that out in order to see our past alphabet activities and worksheets.

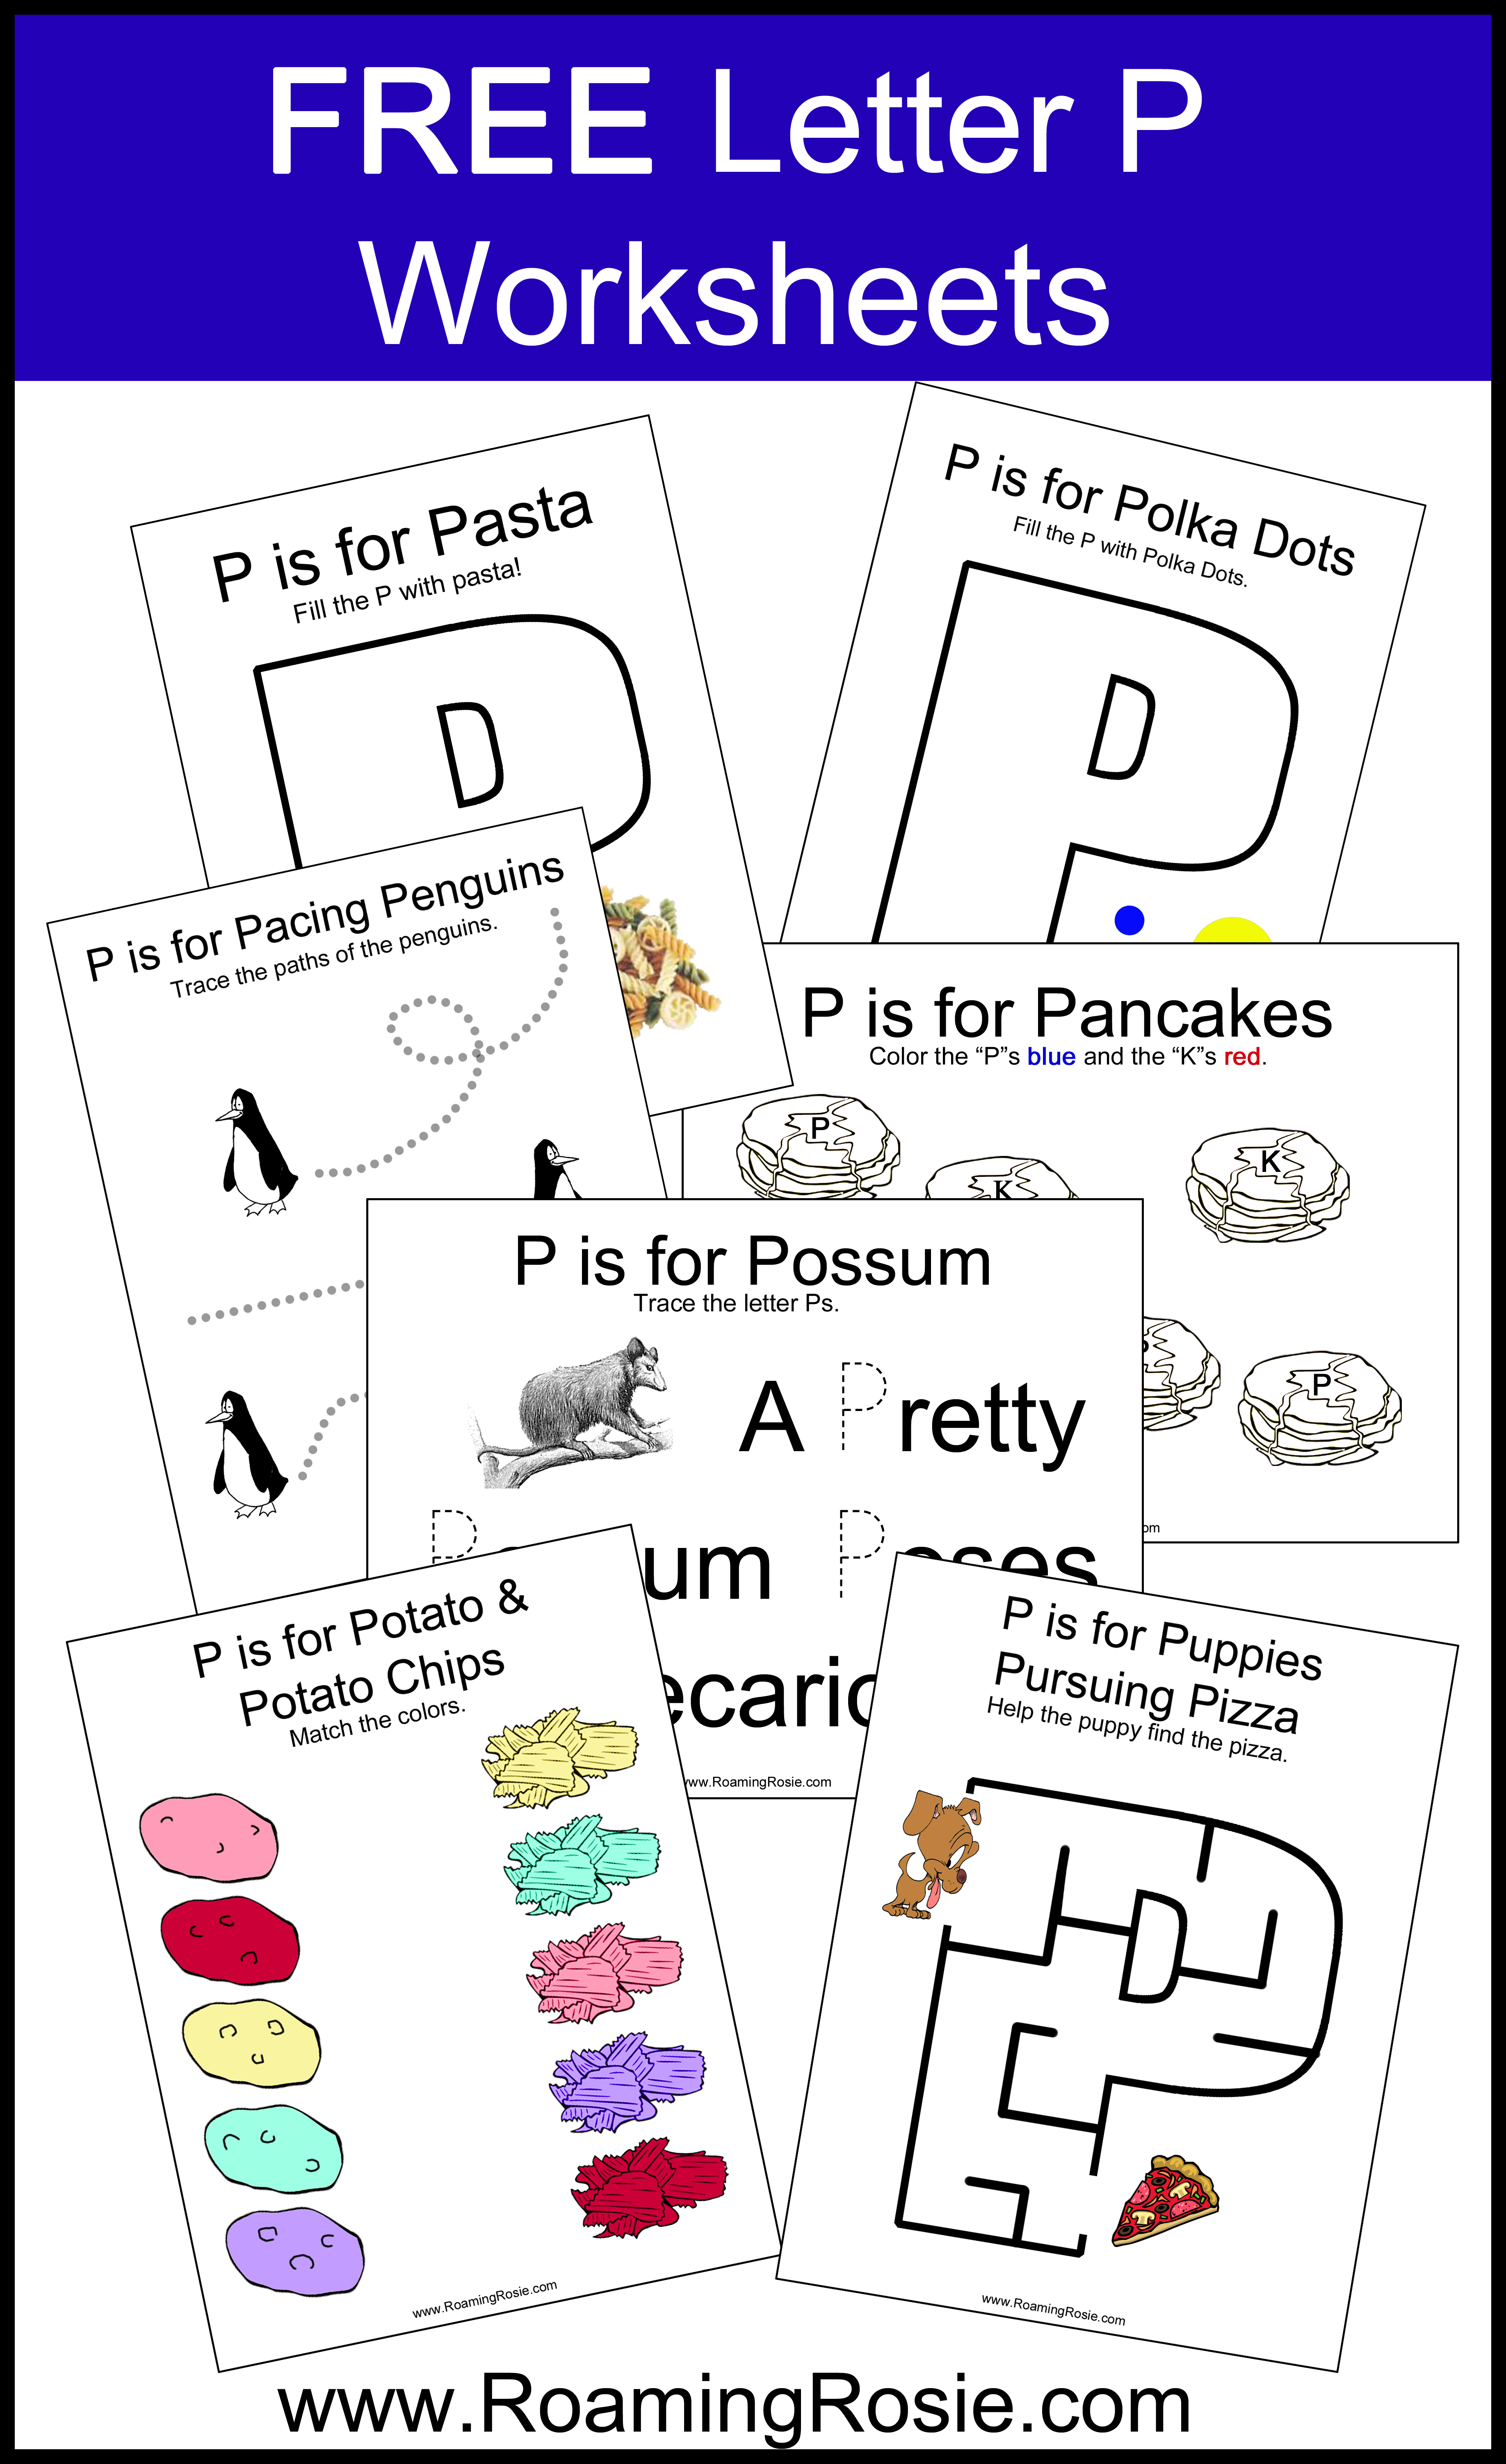
Welcome to LETTER P DAY!
First off, let’s start with a few suggestions of fun food you can make or incorporate into meals:
- Peaches
- Pears
- Pomegranate
- Pineapple
- Prunes
- Pecans
- Pine Nuts
- Pistachios
- Peanuts
- Peanut Butter
- Paprika
- Potatoes
- Purple Carrots
- Peppers
- Pumpkin (possibly these Maple Roasted Pumpkin Seeds)
- Parmesan (possibly this Garlic-Infused Parmesan Popcorn)
- Pecorino Cheese
- Provolone
- Pasta
- Prawns
- Pork
- Peas
- Peppermint (possibly these Peppermint Polar Bear Paws)
Here are a few activities you may want to try:
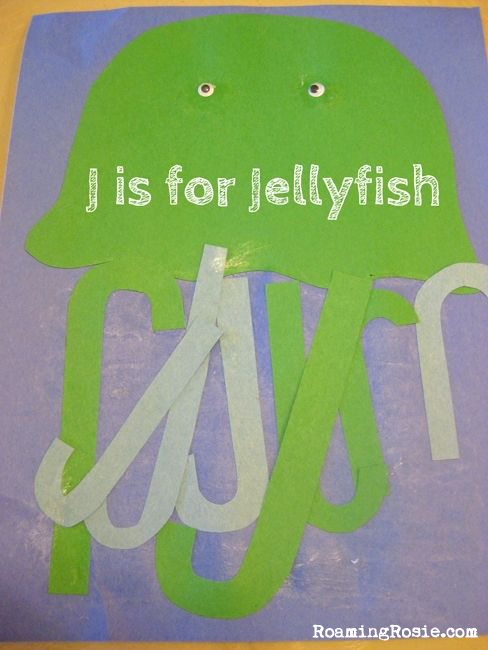
- Letter Shape Construction Paper Craft: Make a puppy, penguin, panda, or pig out of pieces of paper scraps in the shape of a P. (See past alphabet activities for inspiration and examples, such as D is for Dragon.)
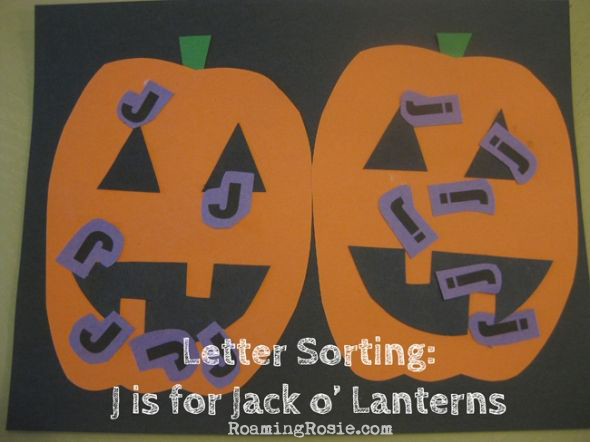
- Letter Sorting Craft: Cut out 2 pelicans (a pair of them) and sort onto them capital and lowercase letter Ps that have been cut out in the shape of tiny fish. You could also cut out 2 pencils out of construction paper and sort letters onto them. (You can print capital and lowercase letters in a simple font like Arial, or you can draw them neatly. See this example for D is for Dolphins.)
- Draw a parrot or peacock and have your Little glue feathers to it.
- Create a phantom (ghost) out of white chalk on black construction paper. (Which will look kind of like these Valentine Chalkboard Hearts.)
- Walk a pirate plank by drawing one in chalk on the sidewalk that leads to some grass the Little can jump into, or by shaping one out of painter’s tape that leads to a small ball pit or mini trampoline.
- Do some finger painting by painting with your palms.
Now for the free worksheets! To get them, simply click on the links listed below this preview:
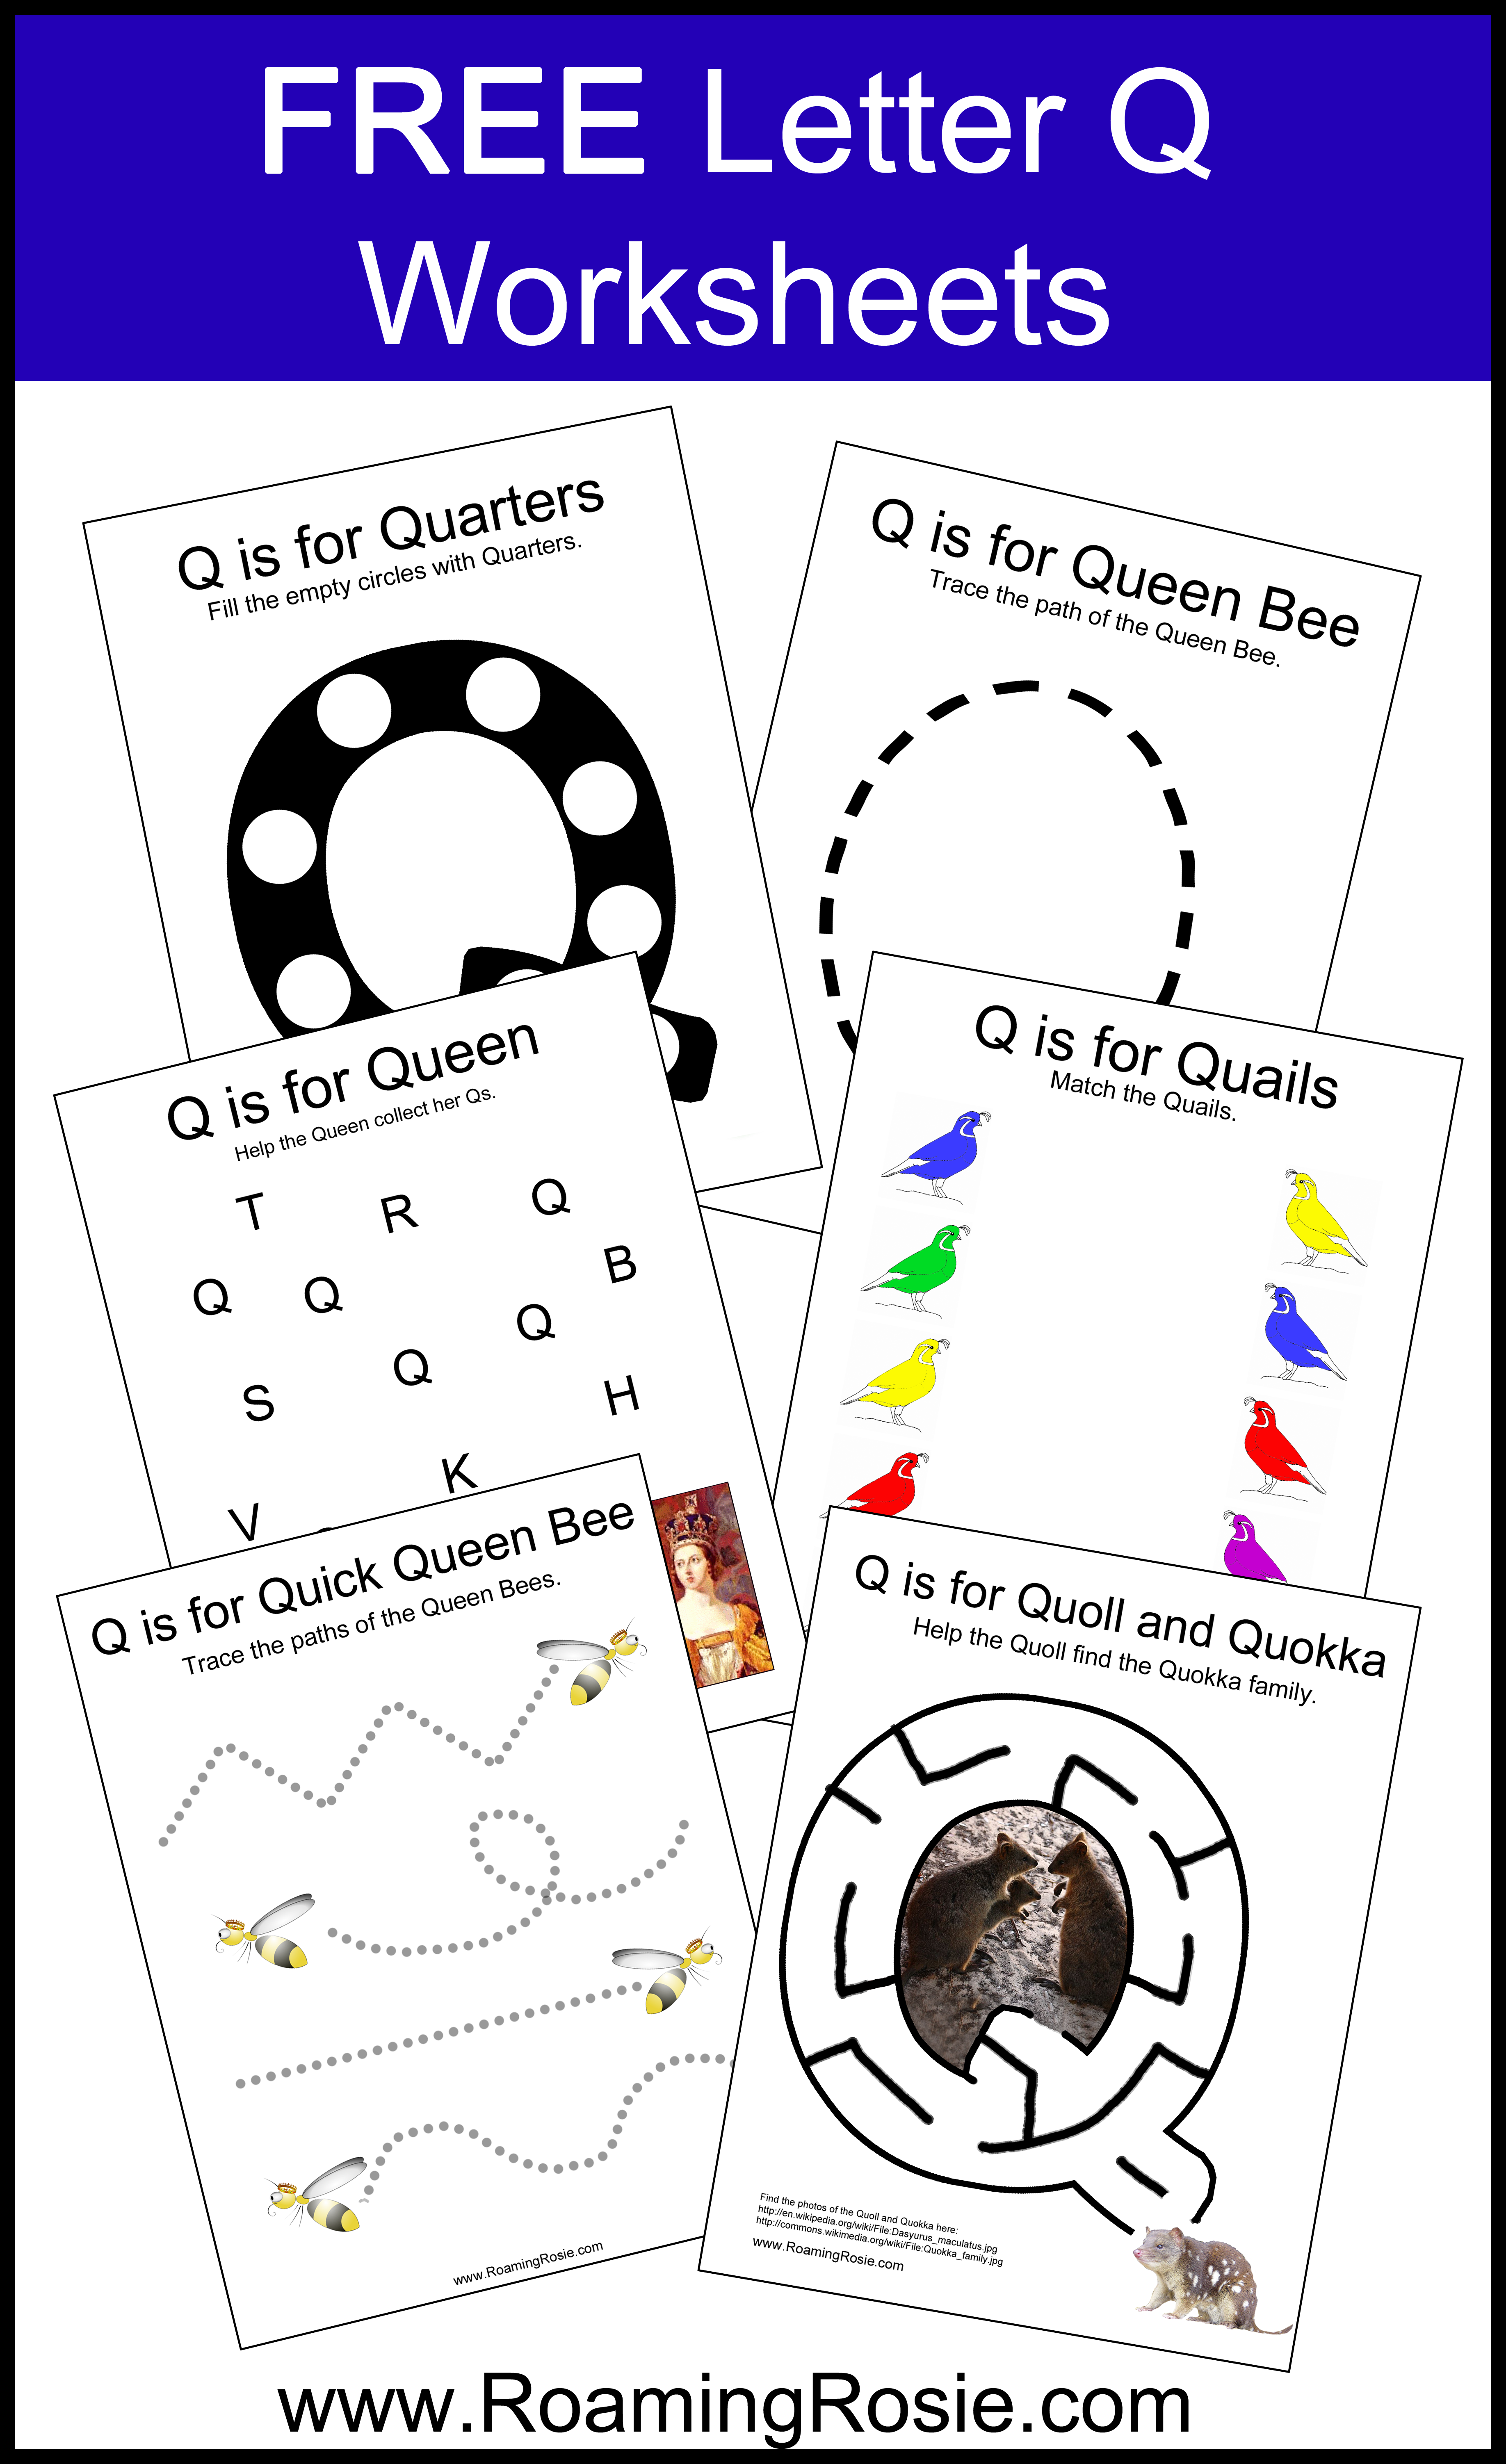
Welcome to LETTER Q DAY!
Here are a few suggestions of fun food you can make or incorporate into meals:
- Quiche
- Quaker Oats (oatmeal)
- Quinoa
- Queso Fresco
- Quark (type of cheese that’s easier to find in Europe than the US)
- Quarter Pounder (or make your own burger and give it the McD name)
- Quesadillas
- Quail
- Quick Bread
- Quince Tart
Here are a few activities you may want to try:
- Letter Shape Construction Paper Craft: Create a queen, quokka, or quilt out of paper pieces and assemble into the shape of a Q.
- Letter Sorting Craft: draw or cut out 2 quails or quartz crystals, and sort cut-out capital and lowercase Qs onto them.
- Play a game of going from one room to another in your house quietly and quickly.
- Create a quiz out of some of the letters you’ve already learned by holding up letters (possibly puzzle pieces) and have your Little call them out.
- Make a quilt out of construction paper. Cut pieces of different colored paper into 4 squares or rectangles and punch holes around the outside of the shape. Use yarn to “sew” them together into a quilt.
- Go on a quest. Perhaps make a scavenger hunt for items in your own kitchen or yard. You can make a map ahead of time to help with the quest.
Now for the free worksheets! To get them, simply click on the links listed below this preview:

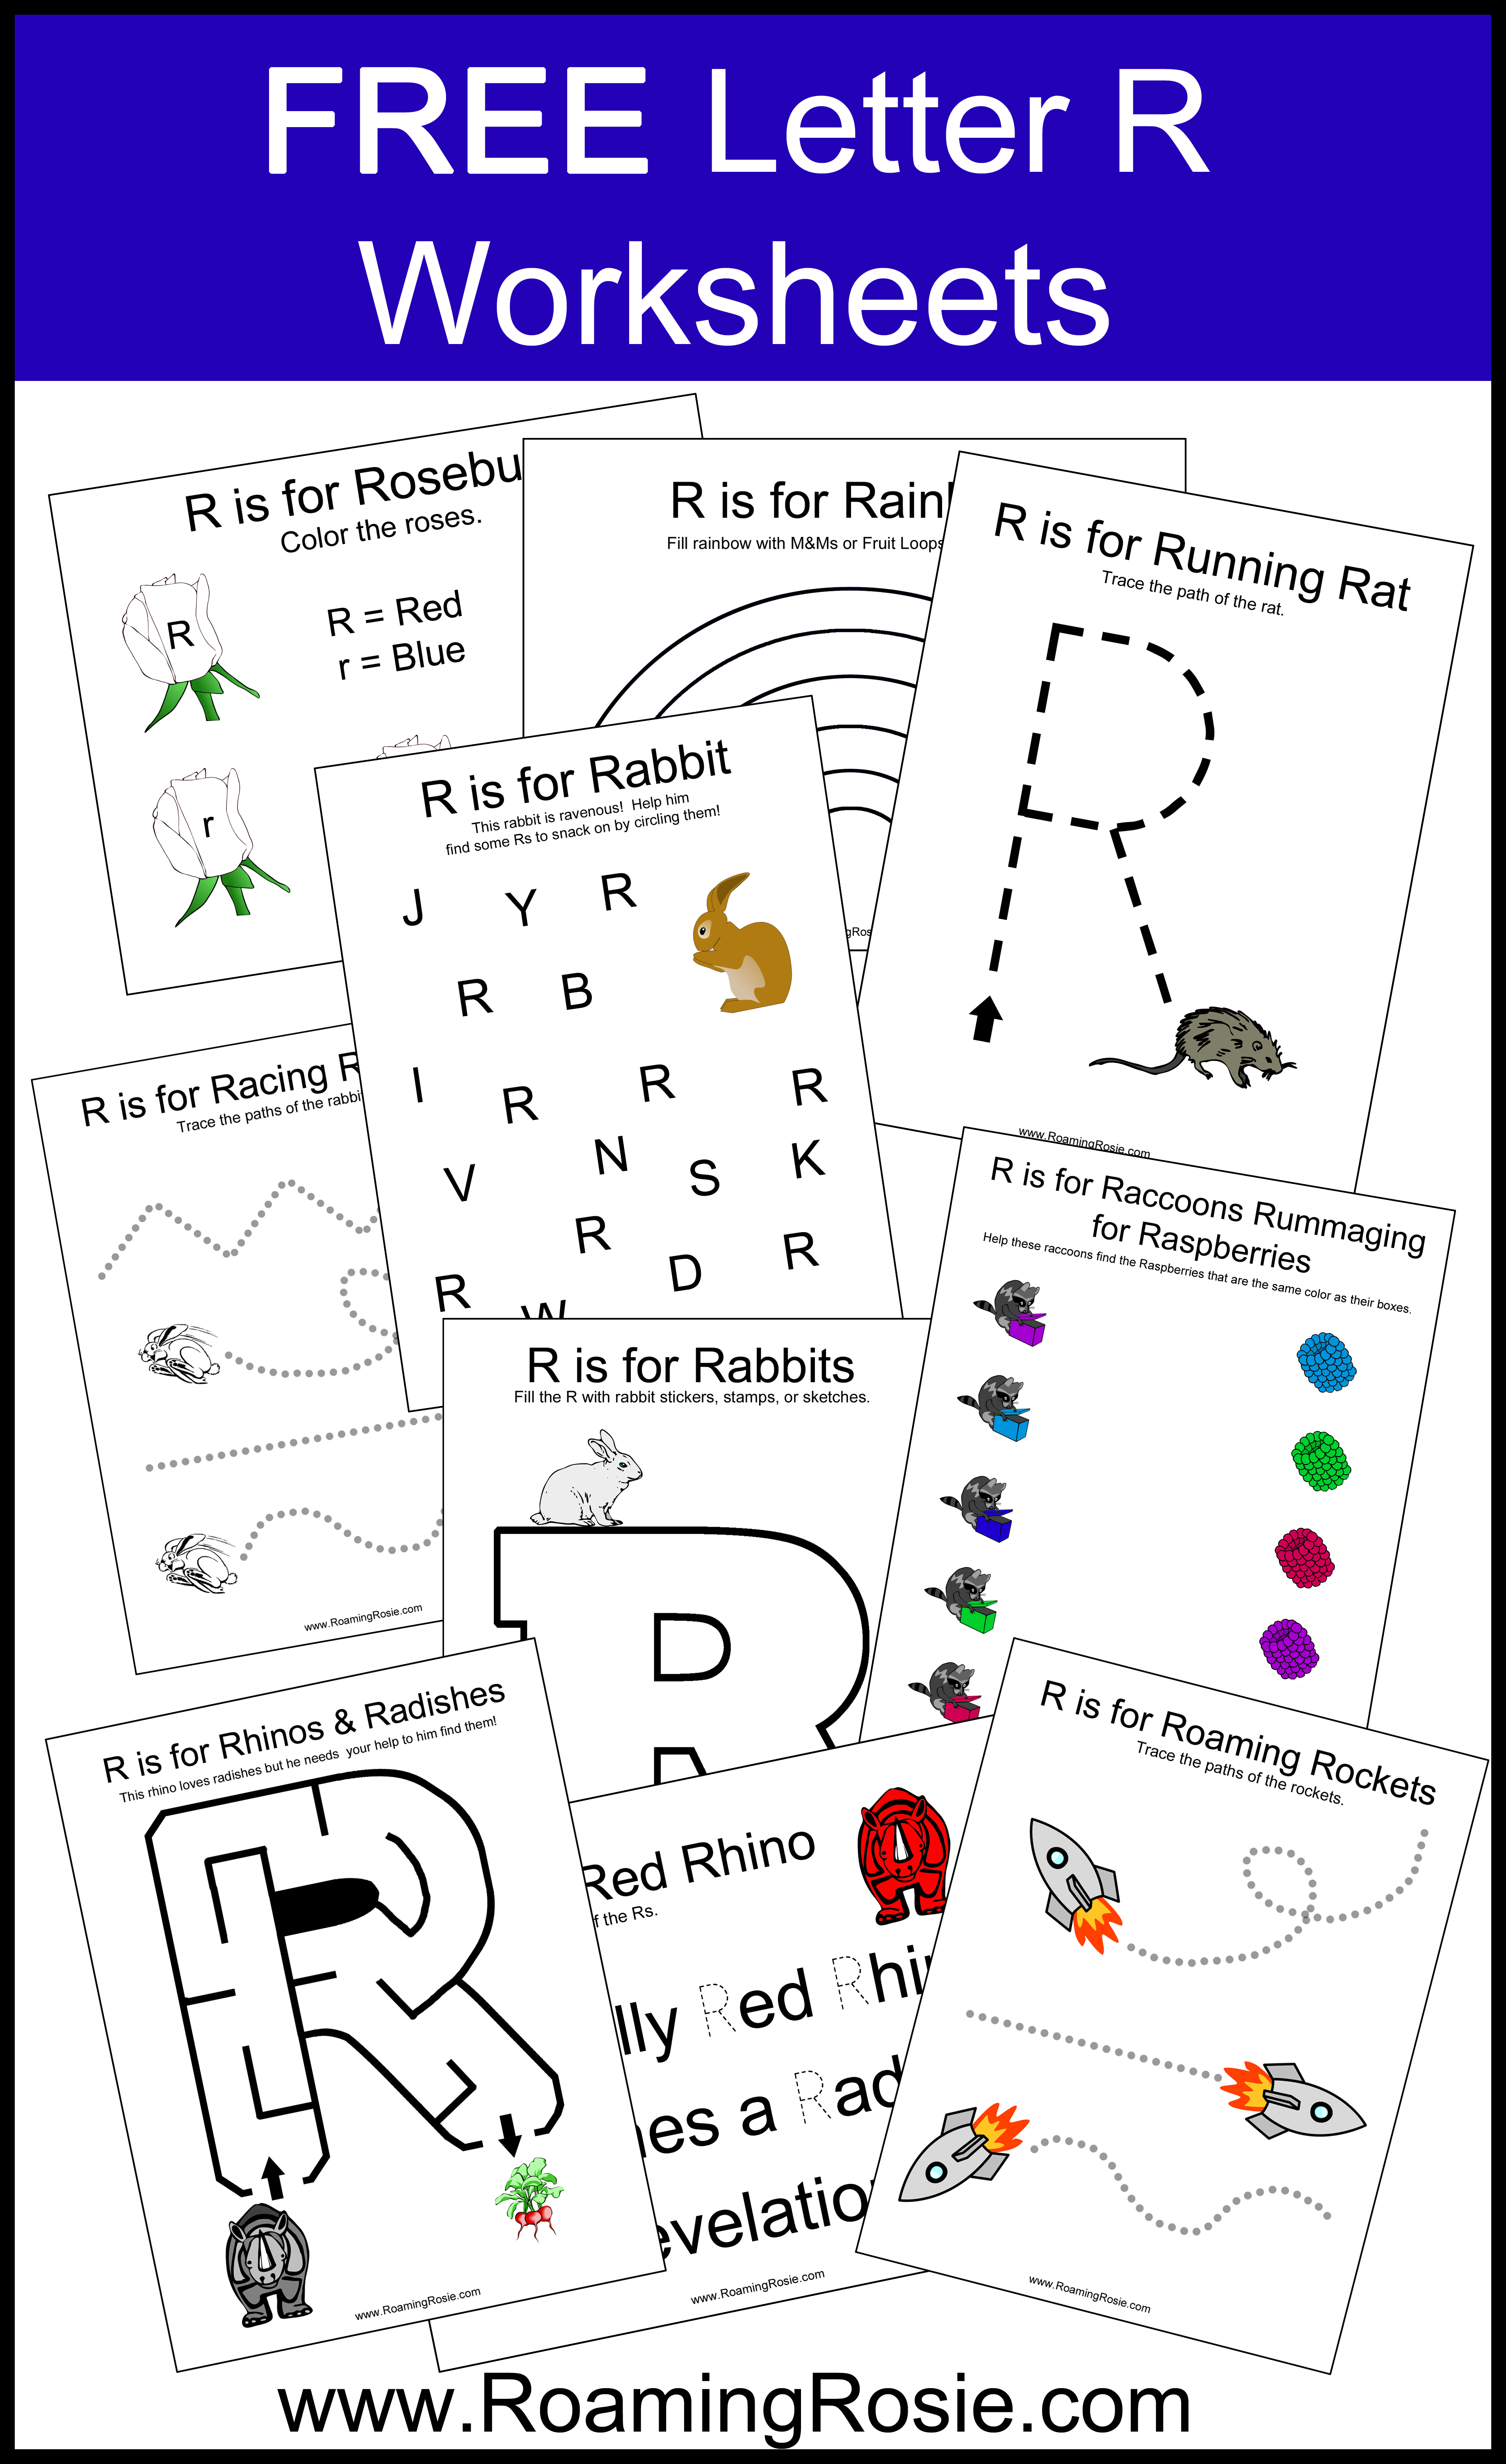
Welcome to LETTER R DAY!
Here are a few suggestions of fun food you can make or incorporate into meals:
- Raspberries
- Raisins
- Red Peppers
- Romaine Lettuce
- Ranch Dressing
- Ravioli
- Ratatouille
- Risotto
- Rice
- Ramen
- Rigatoni
- Red Potatoes
- Red Cabbage
- Reuben Sandwich
- Ribs
- Rice Pudding
- Red Velvet Cake
- Root Beer Float
- Rice Krispie Treats
- anything Raw or Roasted
Here are a few activities you may want to try:
- Letter Shape Construction Paper Craft: Make a raccoon, red panda, rattlesnake, or reindeer out of pieces of paper into the shape of a big R.
- Letter Sorting Craft: Make 2 robots, rockets, rhinos, rays (stingrays or manta rays), rabbits, or rats and sort out some cut-out capital and lowercase Rs onto them.
- Hold a race where you run, preferably outdoors.
- Rotate the R. Put out a capital and lowercase R, whether printed on paper or from a puzzle, and when you call out the word “rotate,” your Little can rotate them. Like: “Rotate BIG R,” then “Rotate LITTLE R!”
- Read your favorite books. Try to find a rhyming book to read.
- Create a recipe with your favorite foods. Or follow one of your favorite recipes from a cookbook.
- Use a ruler to measure different objects around your house, especially if you can find objects that start with the letter R (like a rubber ball or rope) or are red.
Now for the free worksheets! To get them, simply click on the links listed below this preview:

Welcome to LETTER S DAY!
Here are a few suggestions of fun food you can make or incorporate into meals:
- Strawberries (possibly Strawberry Butter or Soft Strawberry Sandwich Cookies)
- Scrambled Eggs
- Salsa
- Salad
- Spinach (especially Spinach Stuffed Shells)
- String Beans
- Sweet Potatoes (like these Cinnamon Sweet Potato Slices)
- Summer Squash
- Sushi
- Shrimp
- Salami
- Steak
- Swordfish
- Schnitzel and Spaetzle
- Spaghetti (even Spicy Spaghetti)
- Soup
- Sweet and Sour Sauce
- Scones (like these Sweet Honey Scones)
- Spritz (like these Spritz Butter Cookies)
- Sprinkles (which can be added to anything from cookies to milk cups to fudge)
Here are a few activities you may want to try:
- Letter Shape Construction Paper Craft: Make a snake, squirrel, or swan out of paper pieces into the shape of a letter S.
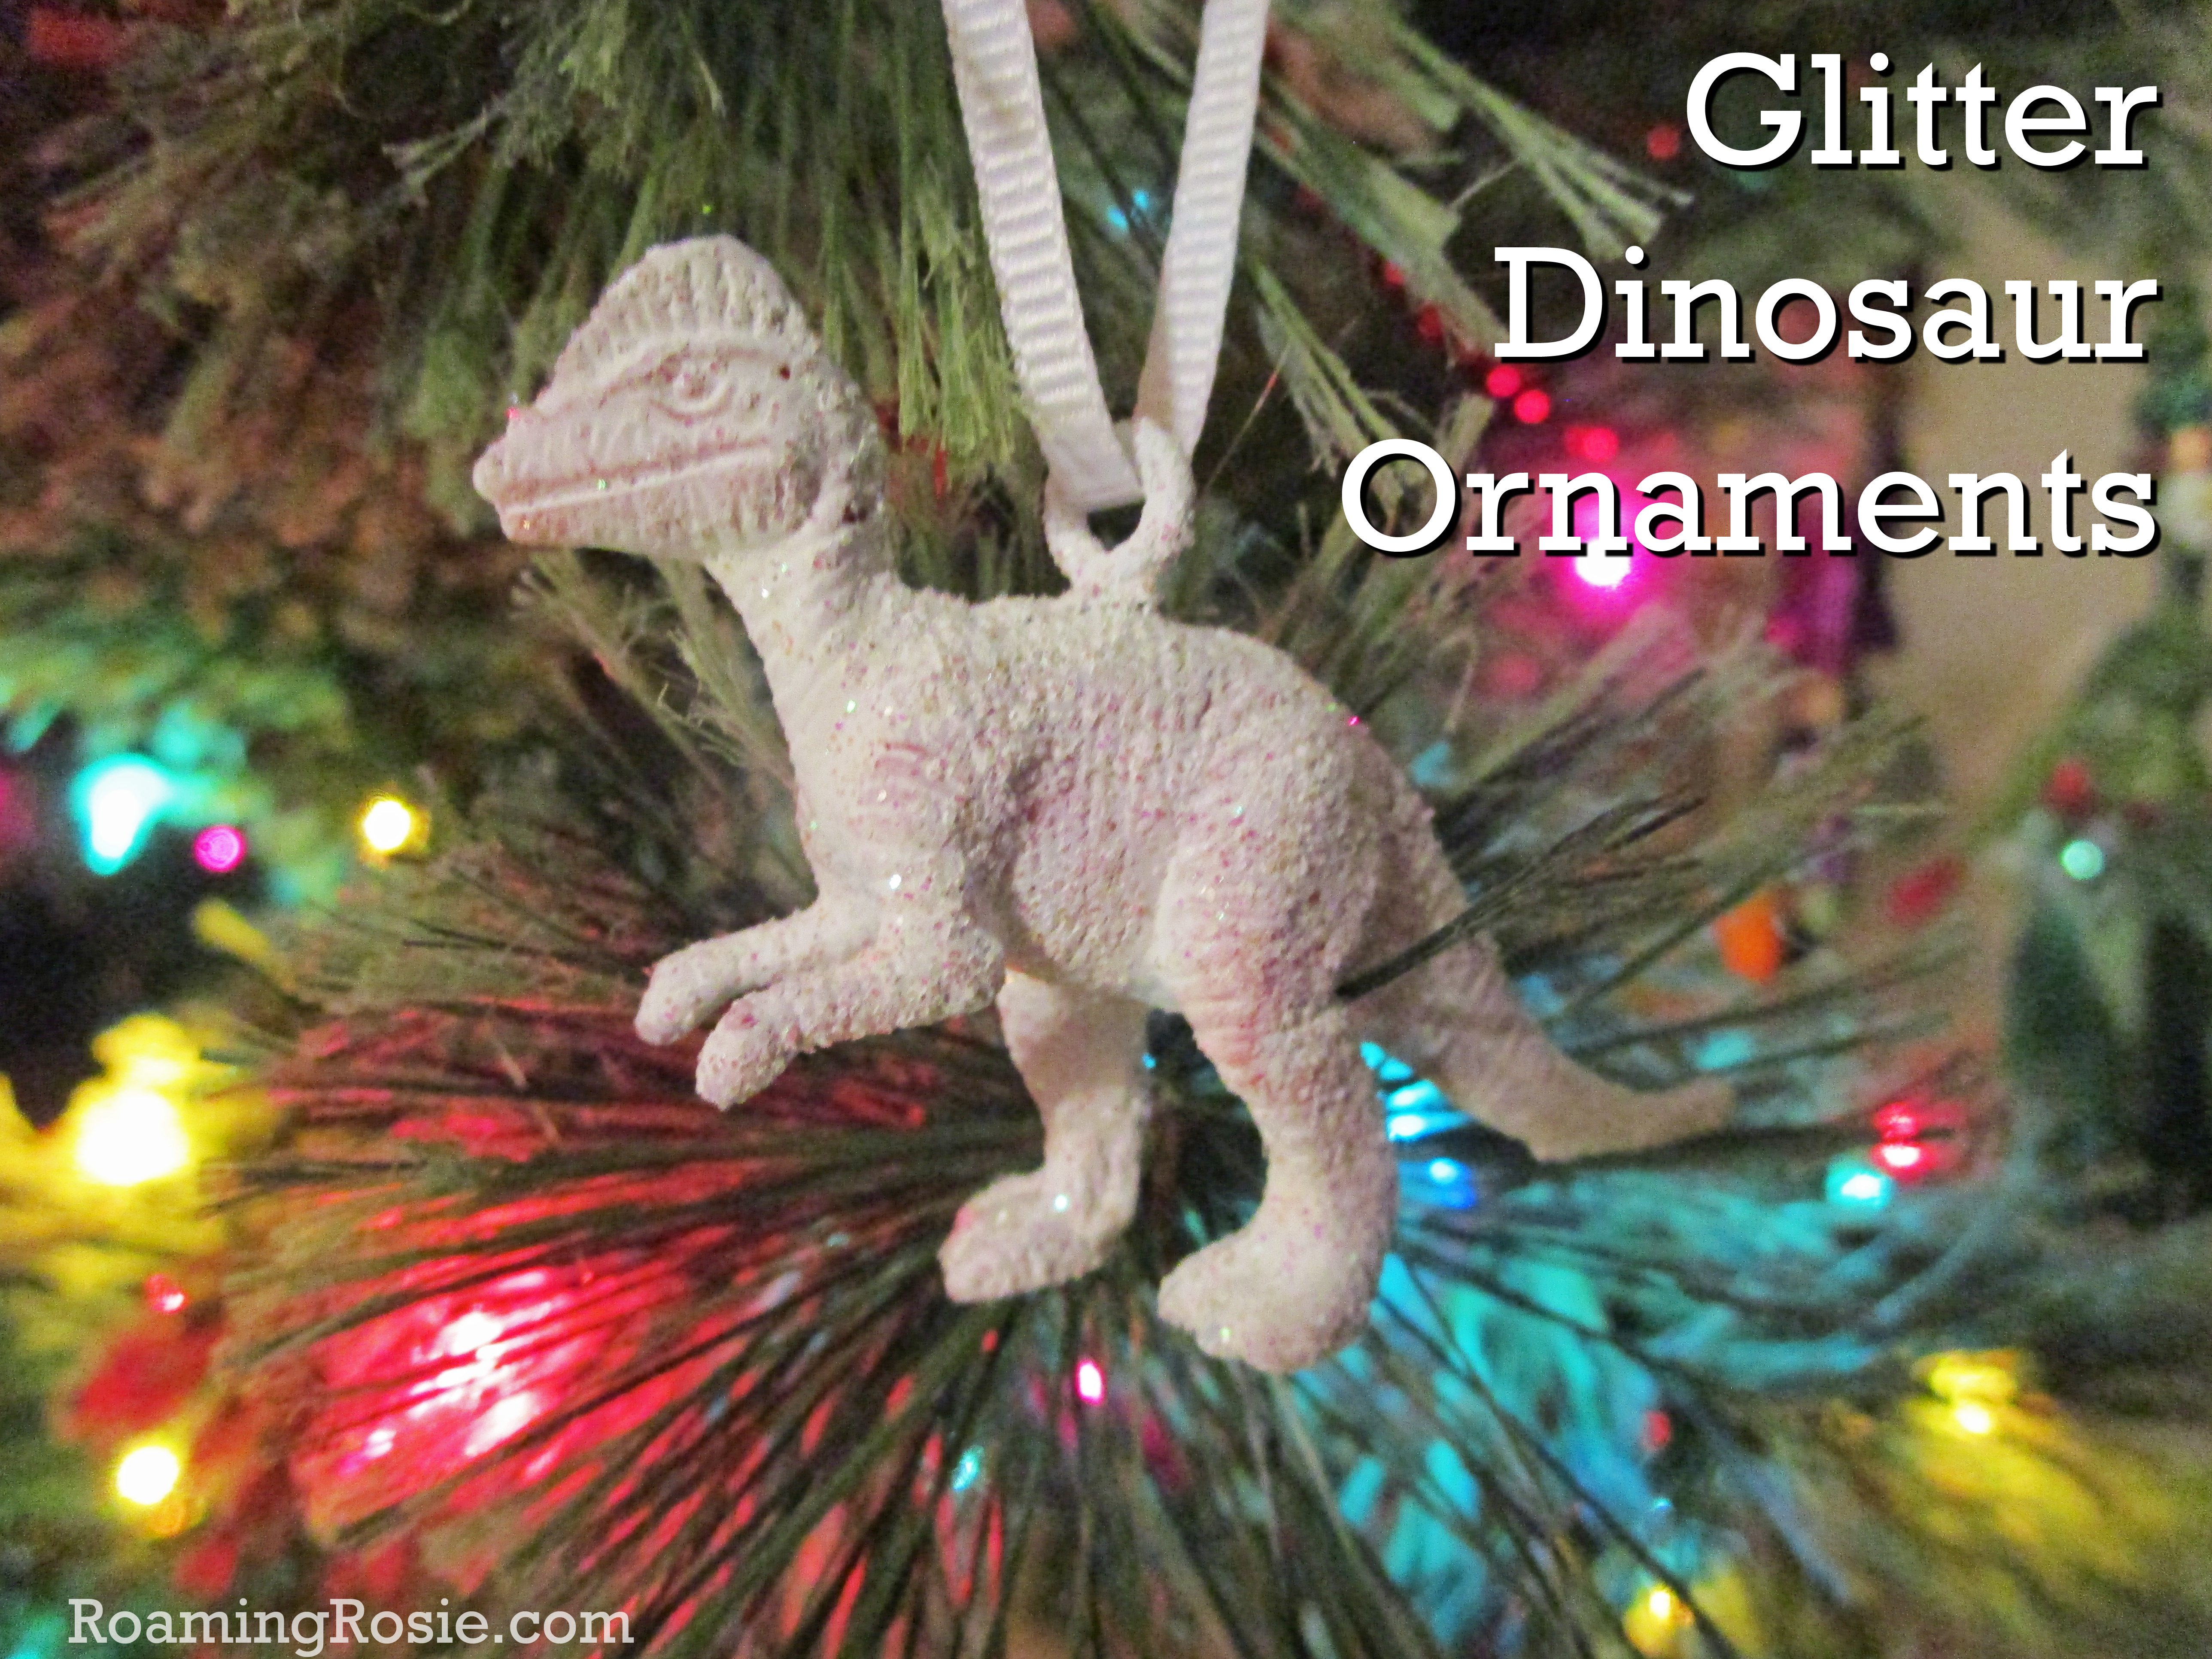
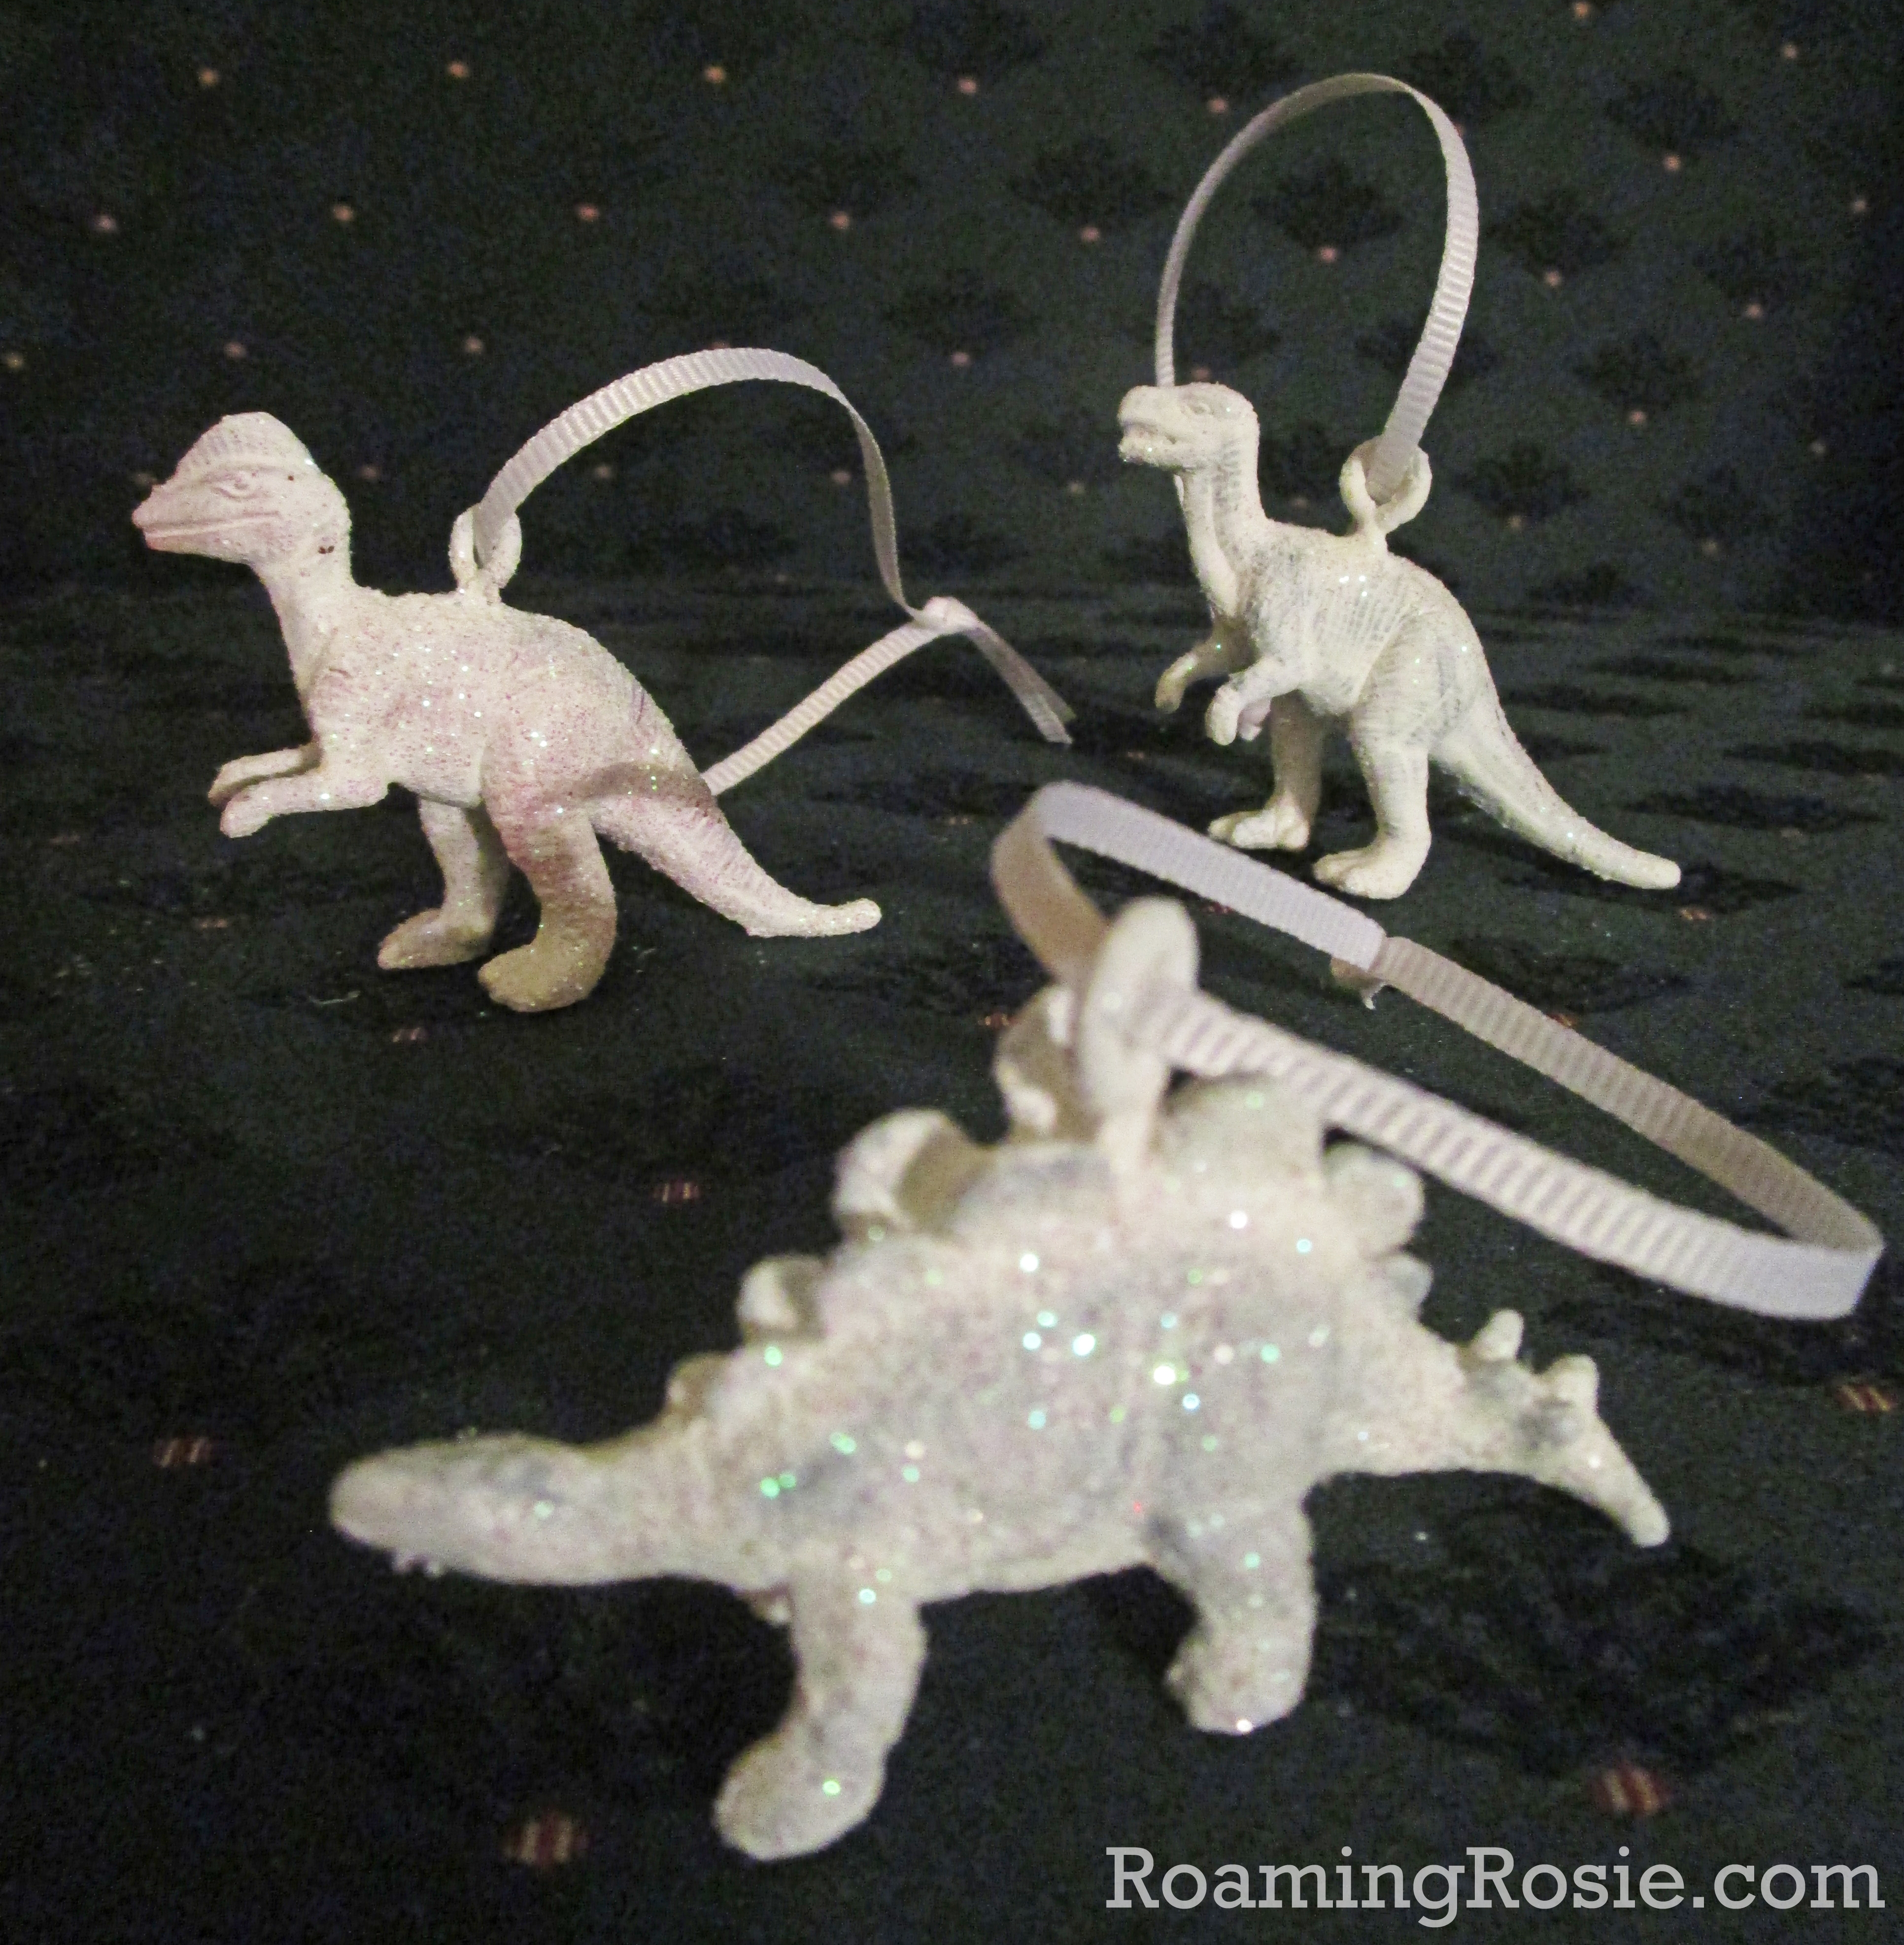
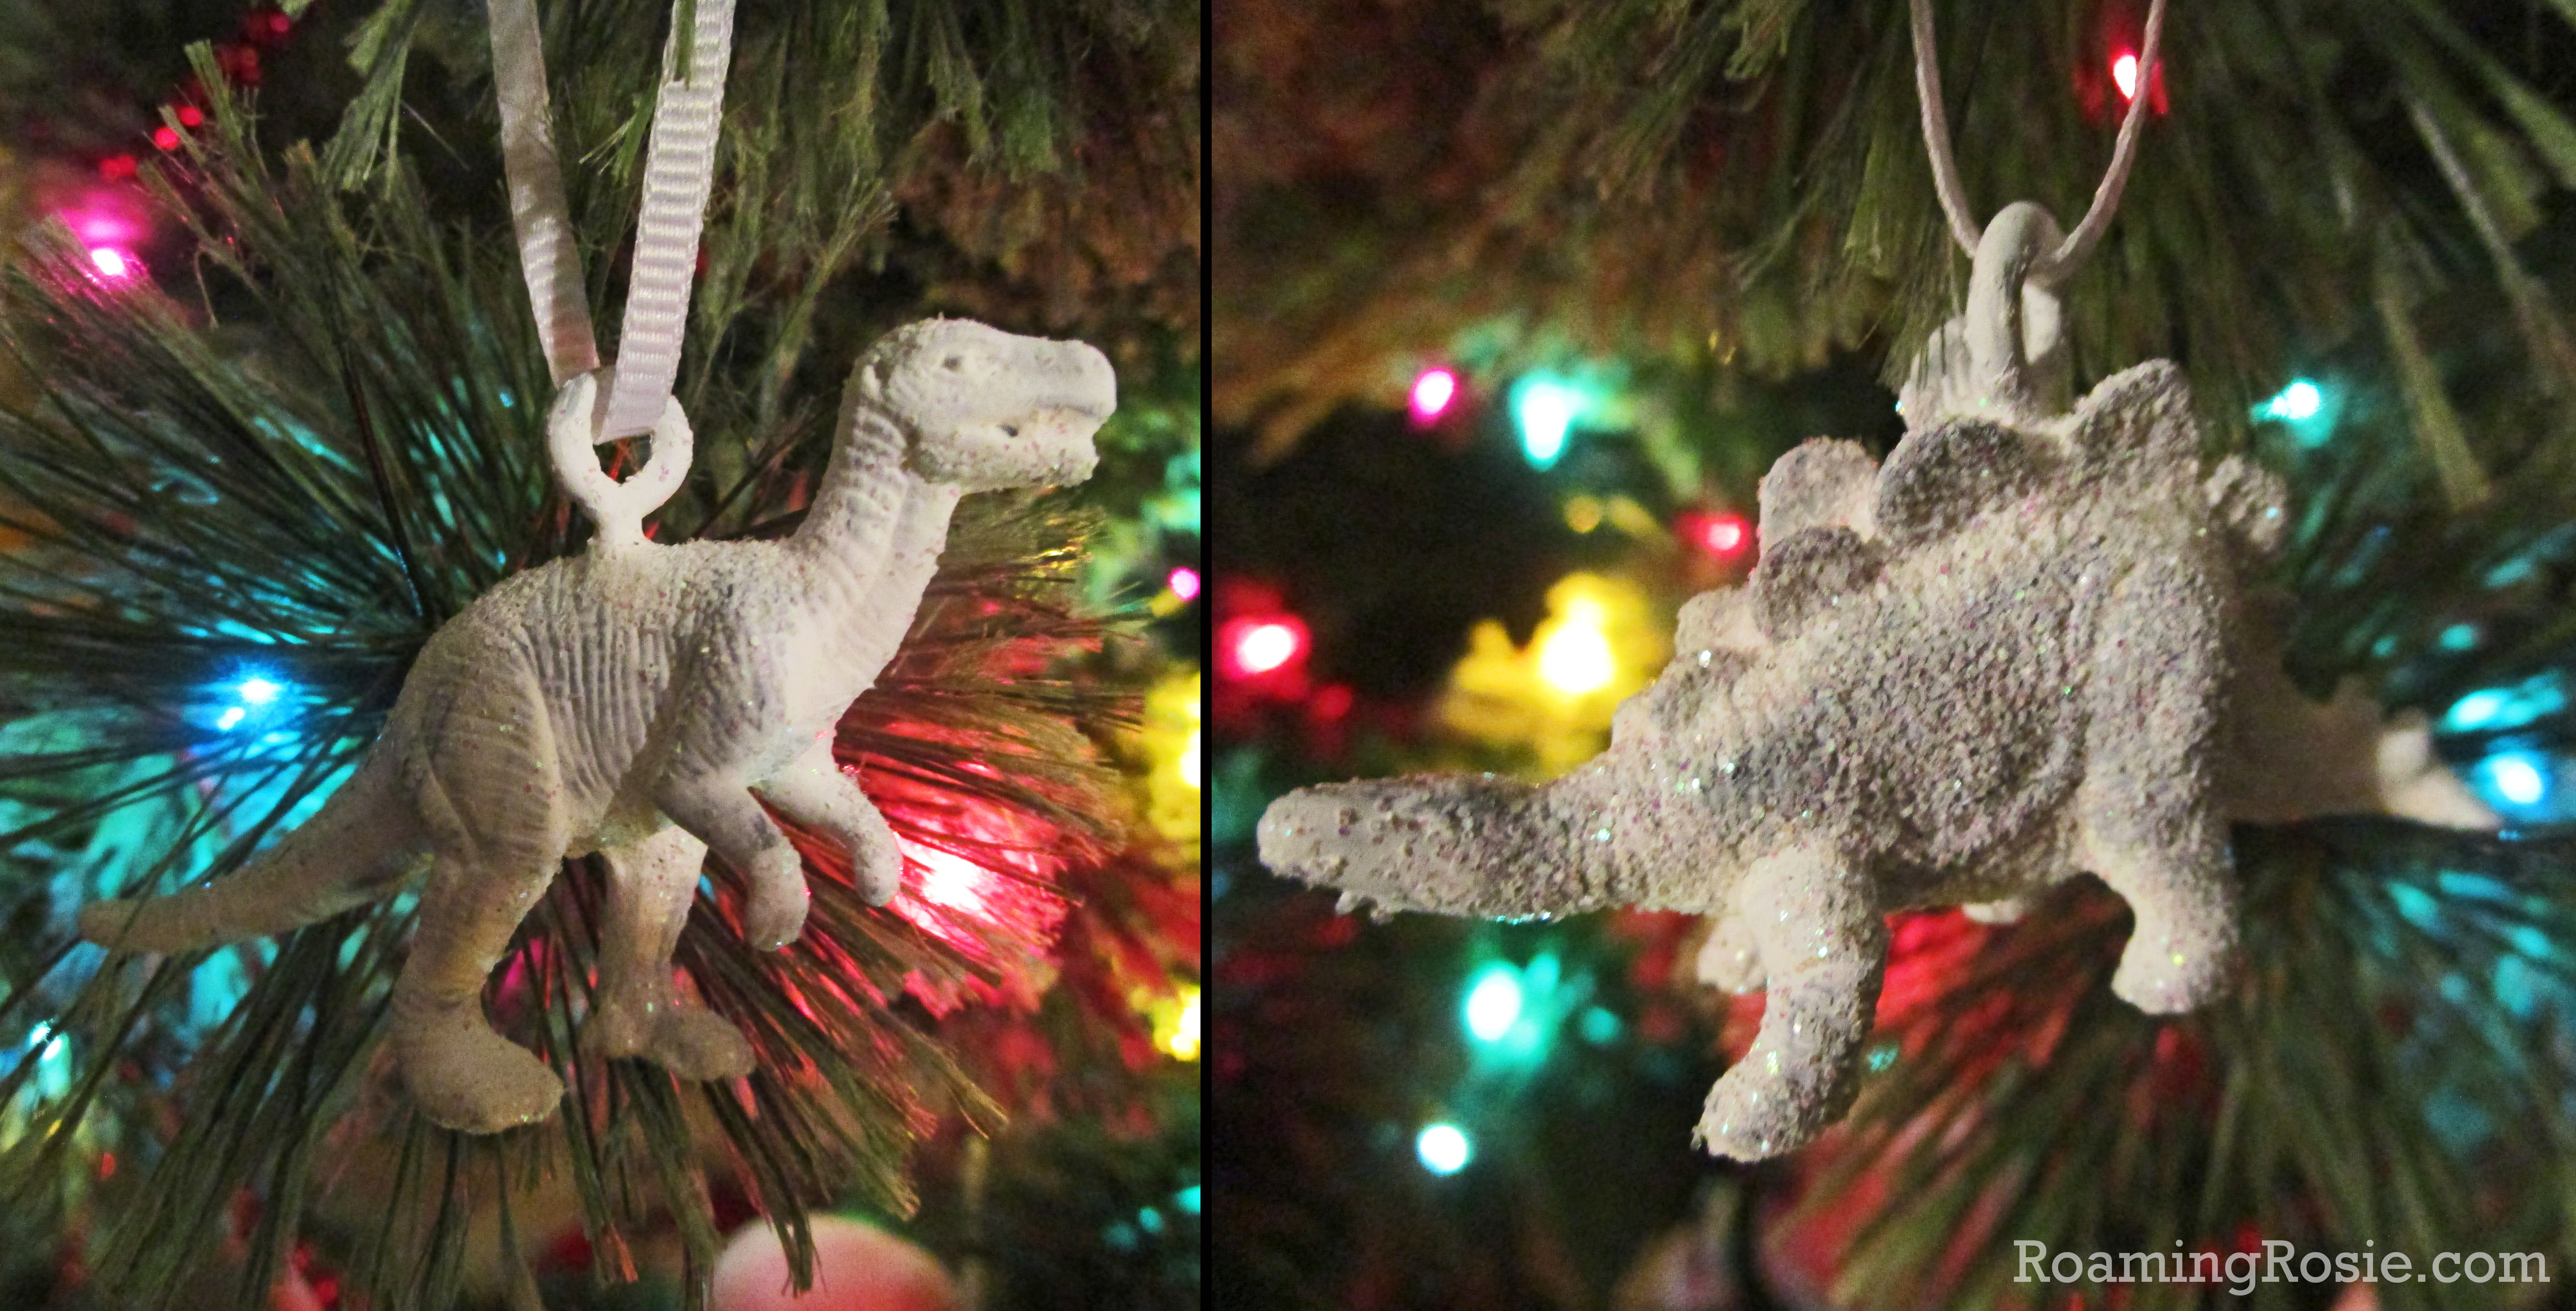
- Letter Sorting Craft: Draw or cut out two swords, sharks, snails, or stegosaurus and sort onto them capital and lowercase letter S’s that you’ve printed or drawn.
- Play Simon Says.
- Sing your favorite songs.
- Learn to skip stones.
- Maybe skip while you sing.
- Make Speckled Shell Stegosaurus hard-boiled eggs, like these Frozen Cracked Ice Eggs.
- Slither like a snake on the ground. You could trace out a path with painter’s tape in the shape of a letter S if you like. This will be easier on a wood or tile floor. Beware of rug burns on carpet!
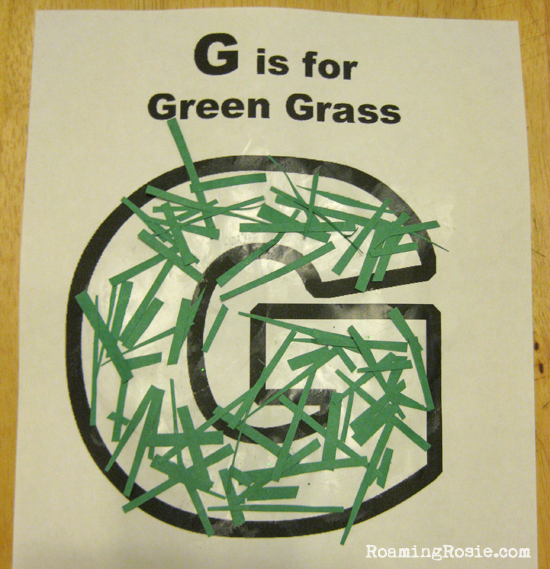
- Make Snail Slime, kind of like the Green Goo and Green Glitter Goo from Letter G Day.
- Play with a Slinky, and shape it into a letter S.
- Play soccer, perhaps by trying to kick the soccer ball into an area marked by a letter S sign.
- Search for shells at the beach.
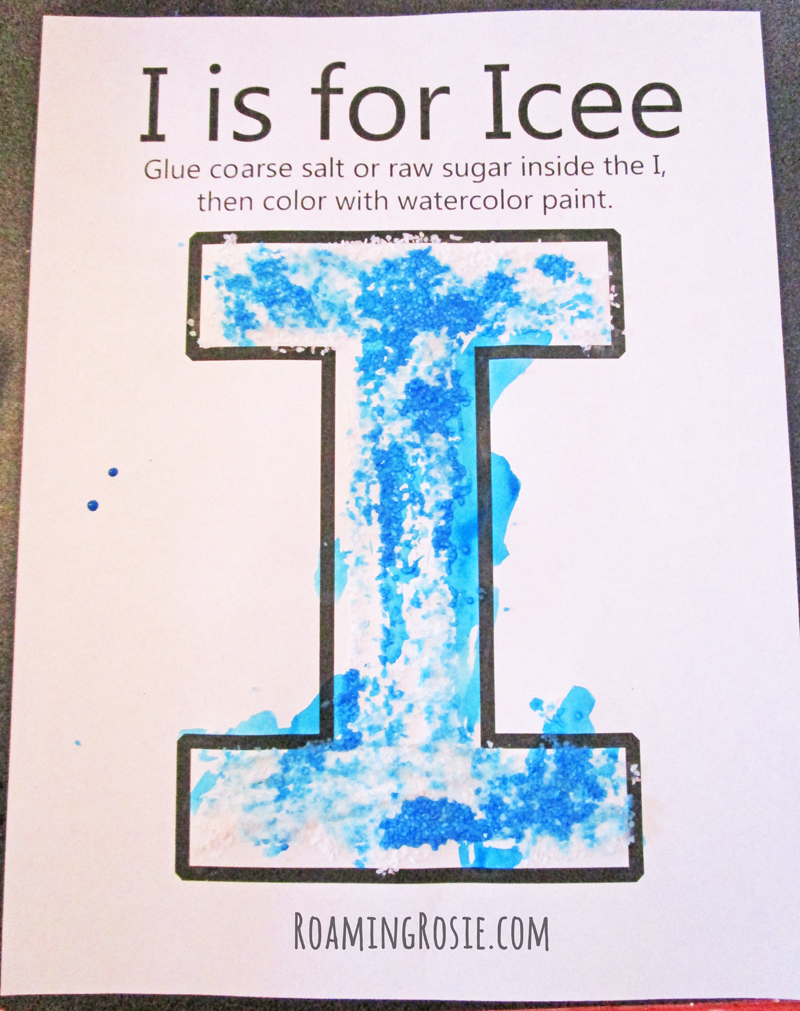
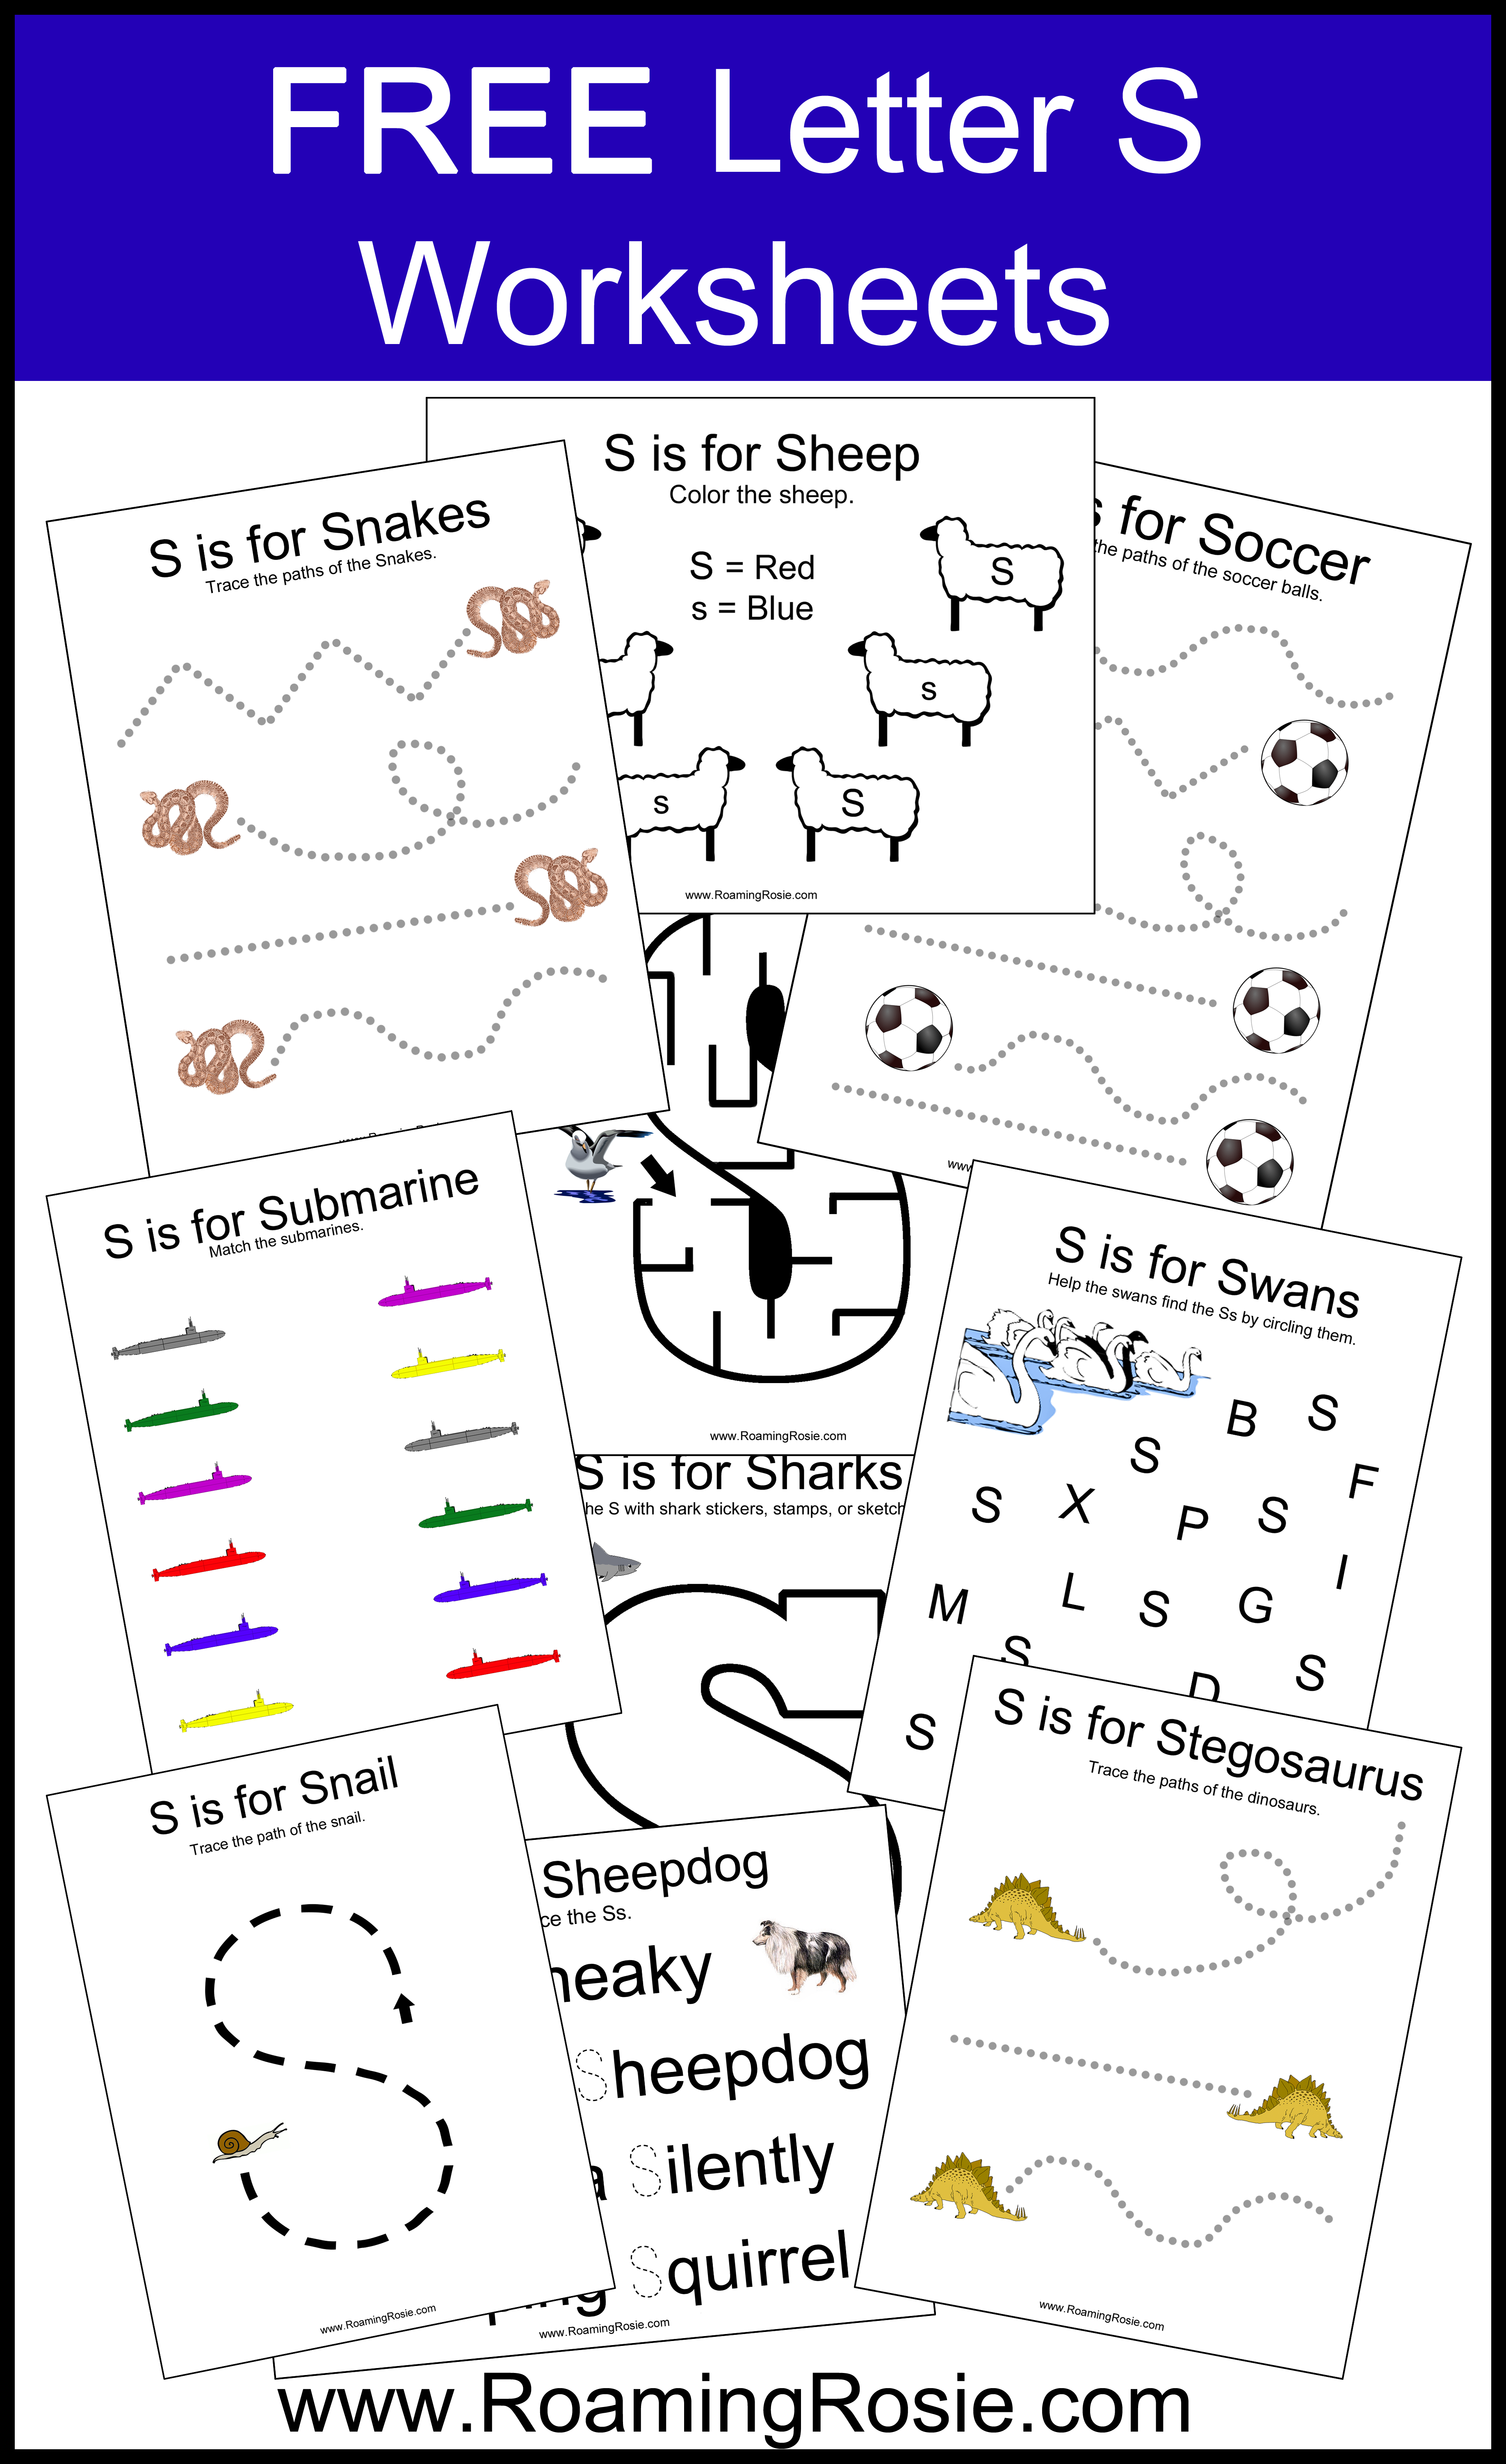
Now for the free worksheets! To get them, simply click on the links listed below this preview:

Welcome to LETTER T DAY!
Here are a few suggestions of fun food you can make or incorporate into meals:
- Tomatoes
- Tamarillos
- Tangerines
- Tangelos
- Toast (perhaps this Tropical French Toast or this Teddy Bear Toast)
- Tortilla
- Tacos
- Teriyaki
- Tempura
- Tofu
- Tabbouleh
- Turkey (roasted, sure, but what about turkey cookies?)
- Trout or Tuna
- Tagliatelle (a type of pasta)
- Texas Toast (my kid’s favorite garlic bread)
- Tatar tots
- Tabasco sauce
- Tarts
- Truffles (one of my favorites is this Ginger Cookie Truffle)
- Tiramisu
- Taffy
- Toffee
Here are a few activities you may want to try:
- Letter Shape Construction Paper Craft: make a tyrannosaurus rex, tiger, turtle, or train out of paper pieces into the shape of a letter T.
- Letter Sorting Craft: print, draw, or cut out two trees, teapots, tomatoes, or tacos and sort onto them capital and lowercase letter Ts.
- Put on some temporary tattoos.
- Play toss with a tennis ball.
- Do some of your alphabet activities inside of a blanket tent in your living room, or a camping tent outside.
- Set out some letters, such as from a puzzle, and have your Little touch them as you call them out. Like, “touch the T! Now touch the G!”
- Teach each other how to do something new, like signing the letter T in ASL or BSL, or how to do the yoga pose for turtle.
- Tap out a thunder tune by mimicking the sound of thunder on a drum or upside down pots and bowls.
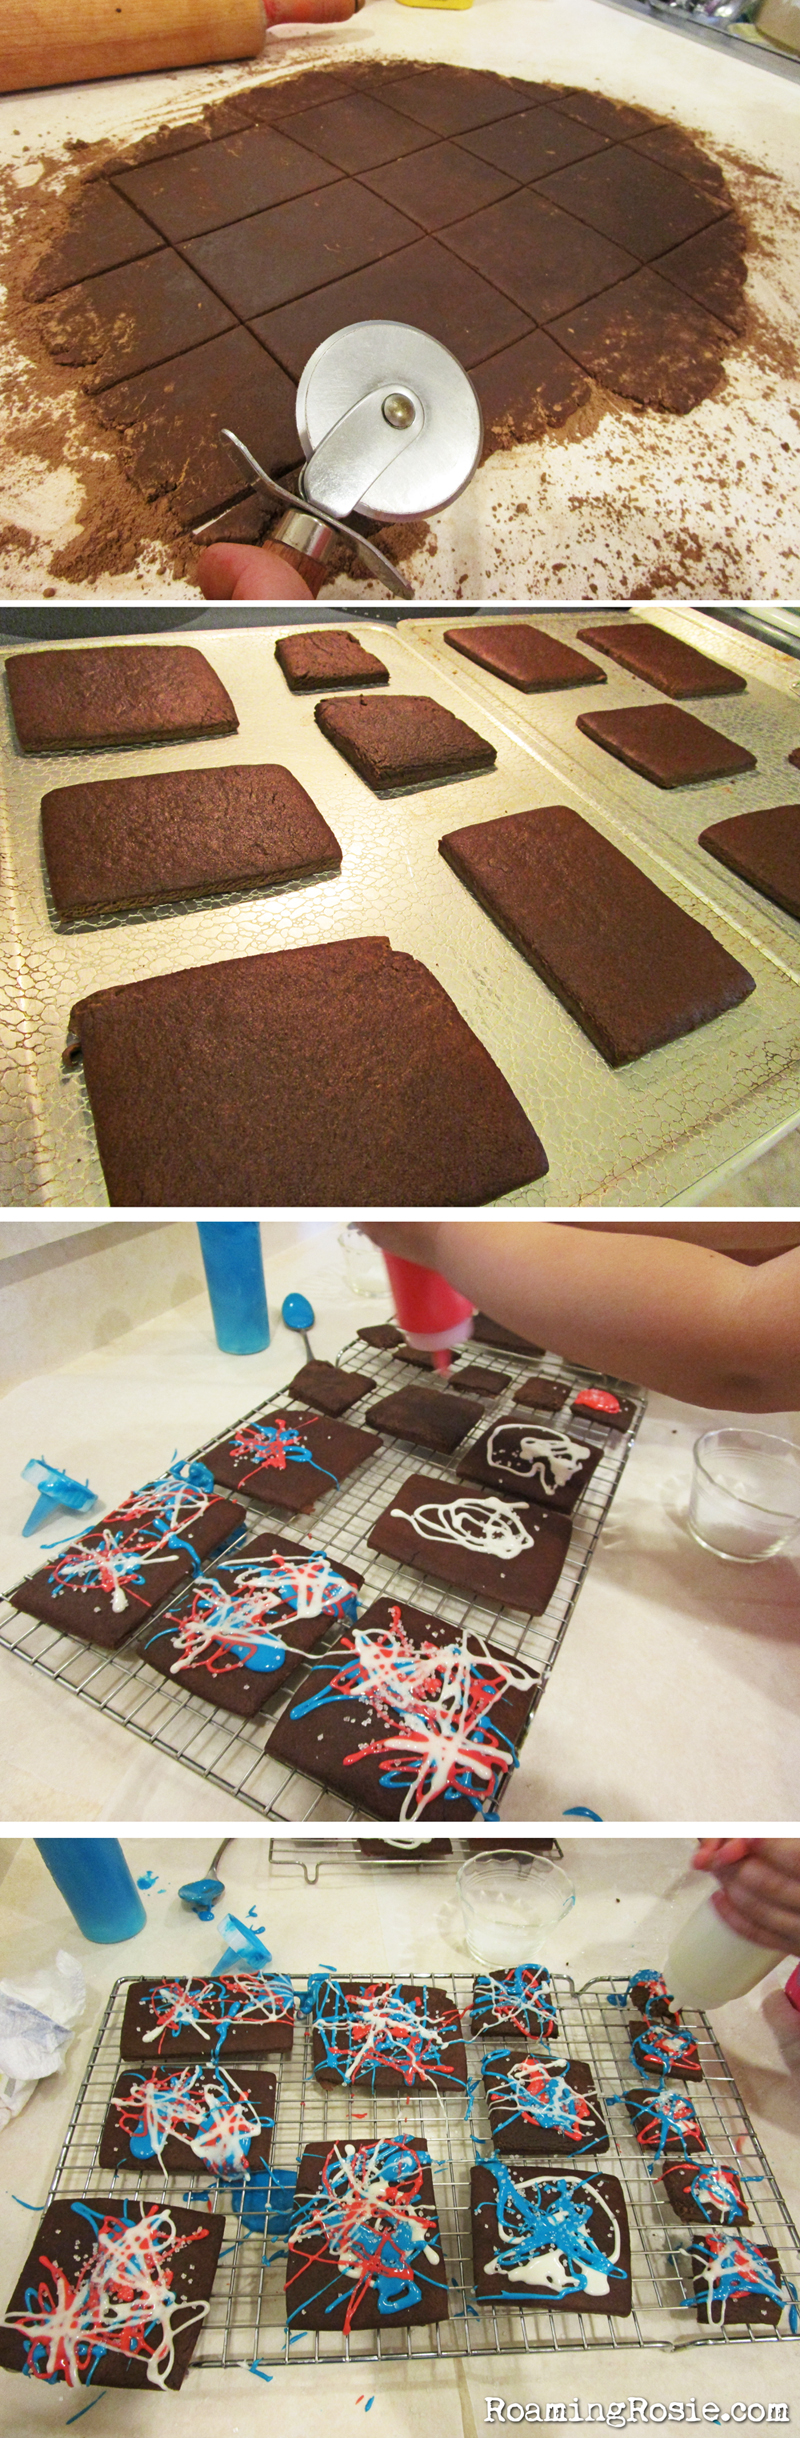
- Have a tea party along with some alphabet cookies, especially cookies shaped like the letter T.
- Tear up some paper to create a letter T by gluing the pieces onto some construction paper.
- Create a tower out of cardboard boxes or blocks. Make pathways to drive toy trucks between the towers. Or make the tower in the shape of a T and drive the toy trucks around it.
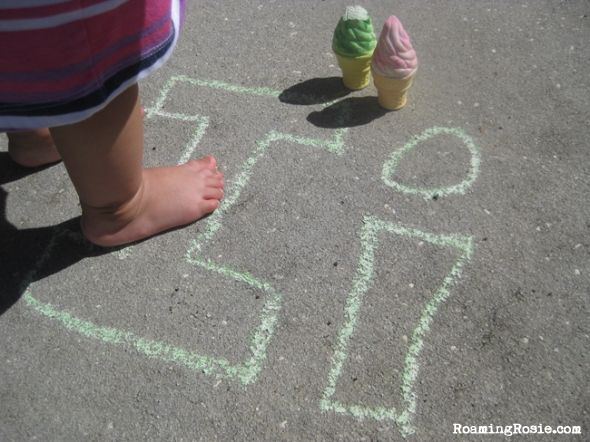
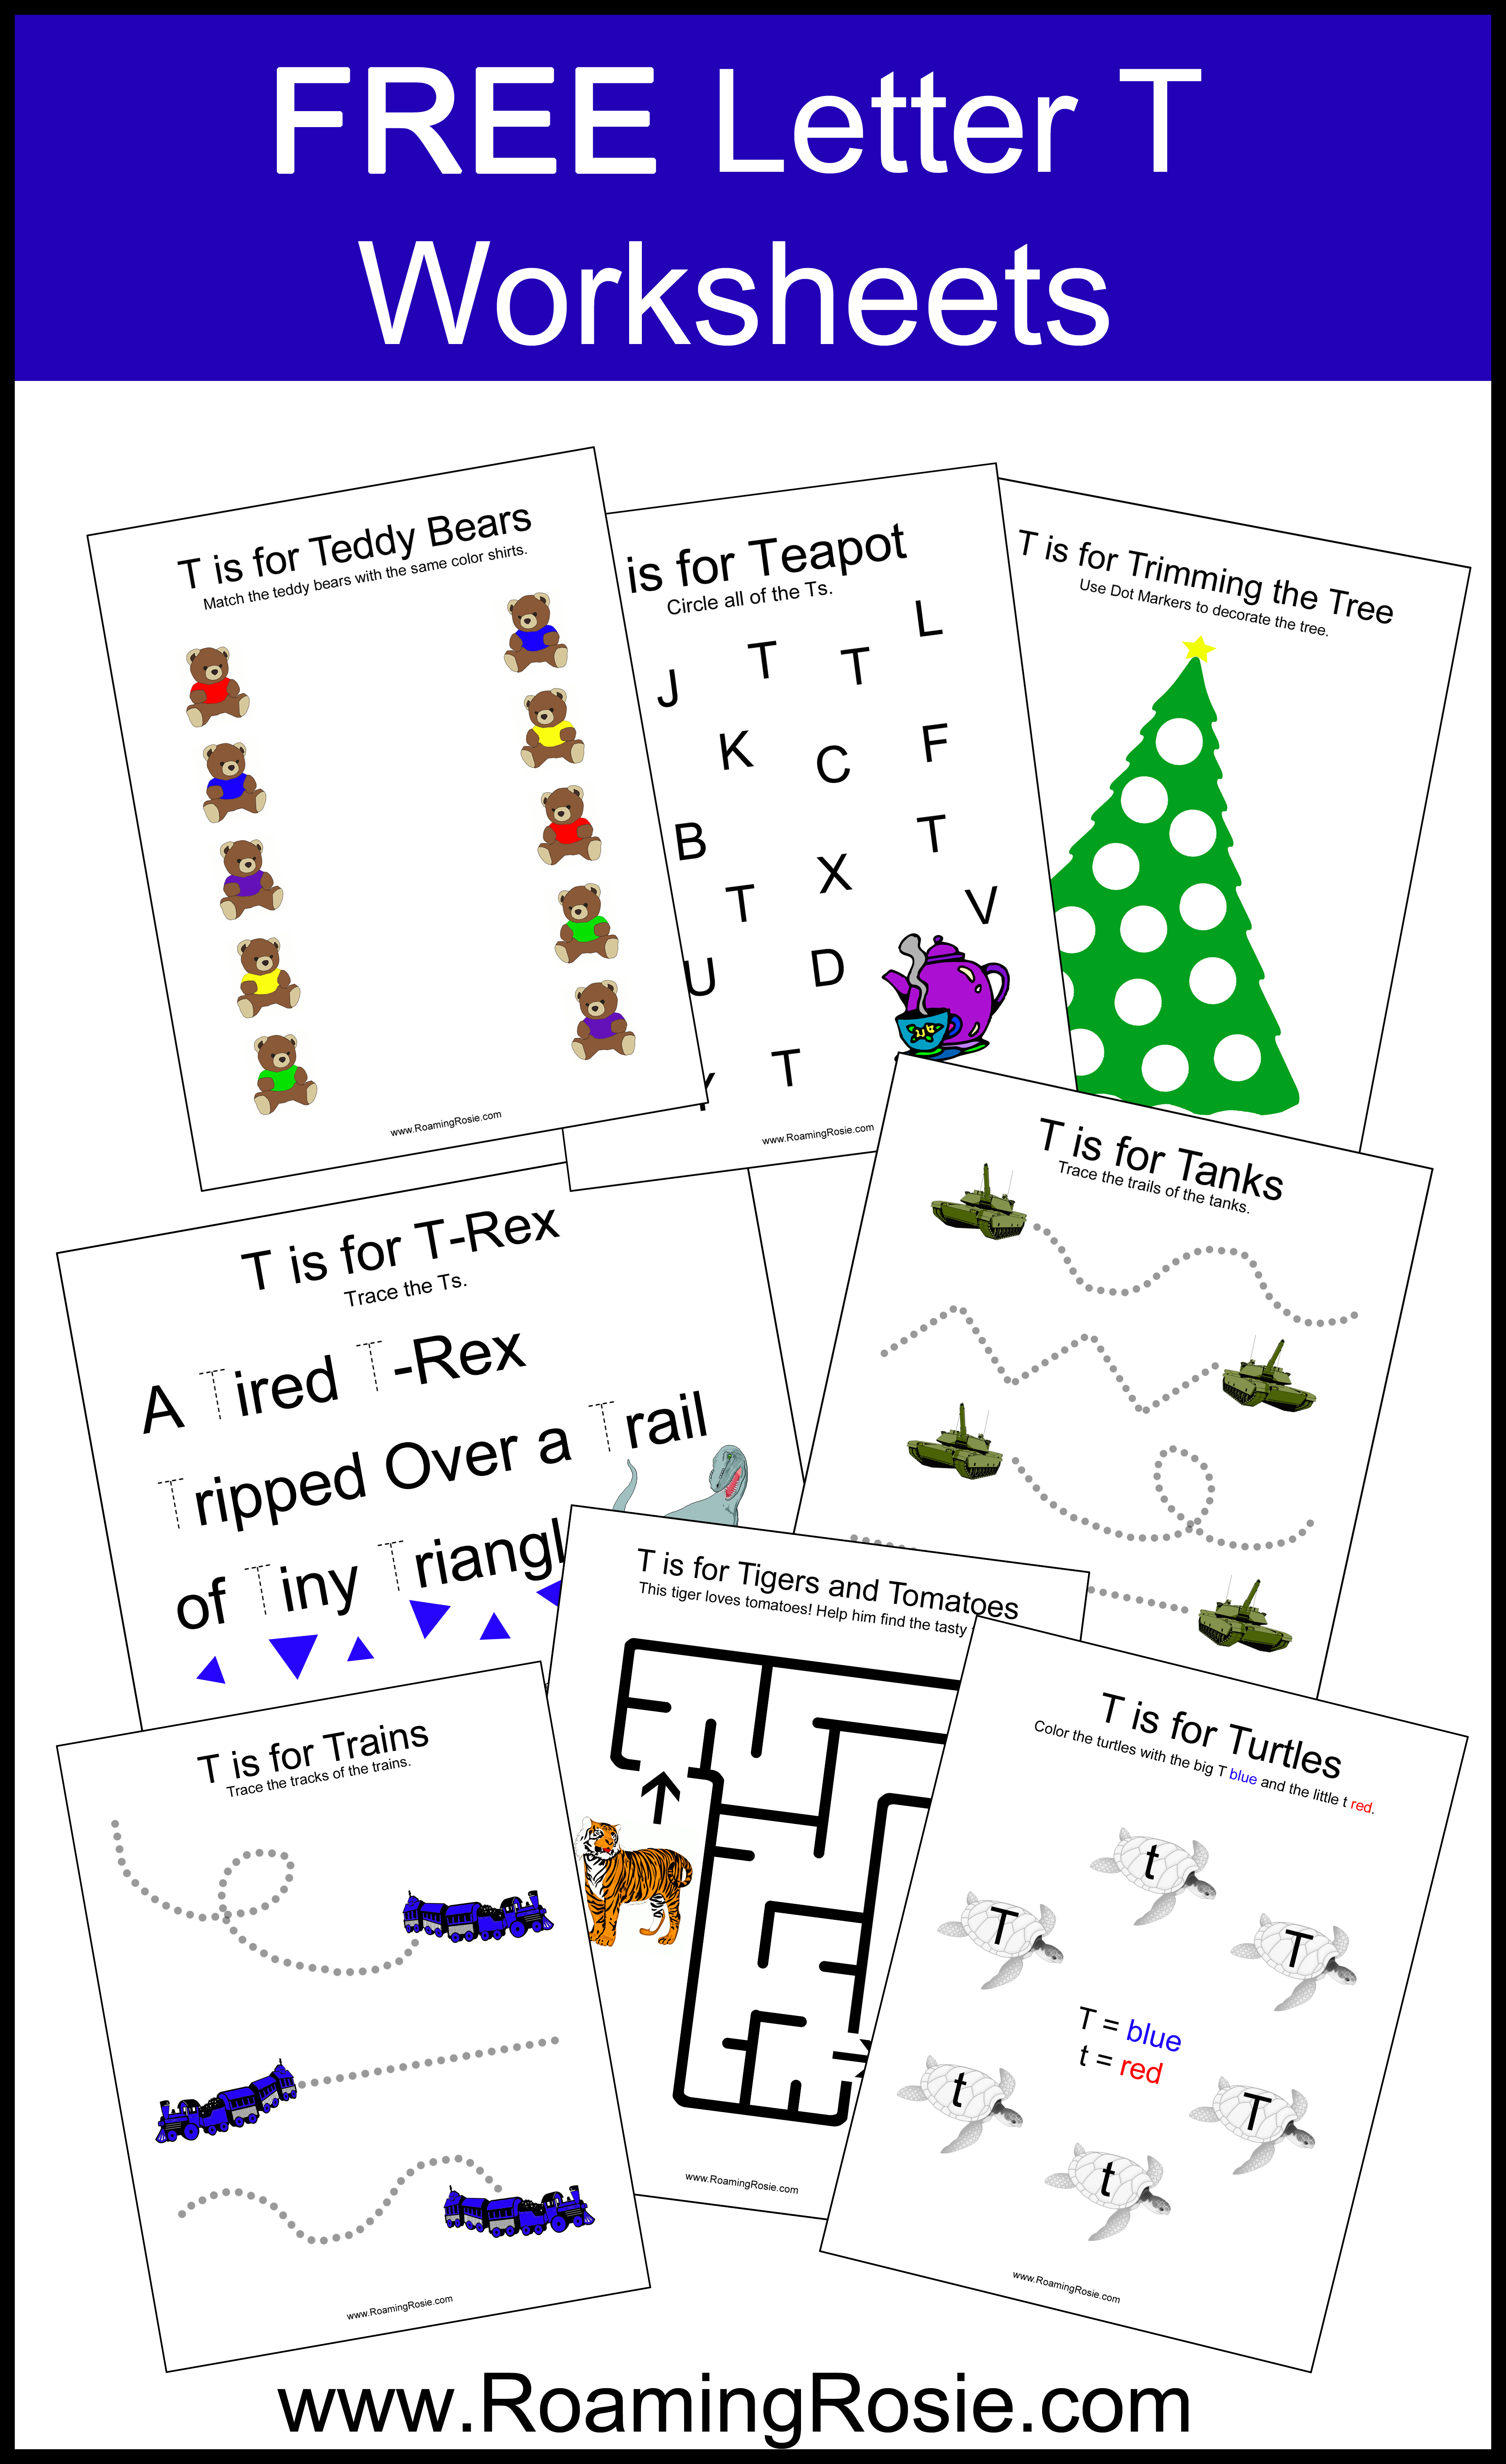
Now for the free worksheets! To get them, simply click on the links listed below this preview:
That’s it for today!
Be sure to subscribe so you get a notification of my next post.
Don’t forget to Pin the images on this page to Pinterest to help you find it again!
Check out the ALPHABET ACTIVITIES PAGE to find a list of all of the letters.
And please share with me on Facebook if you have any photos of you and your Littles enjoying your alphabet days!
Have fun!