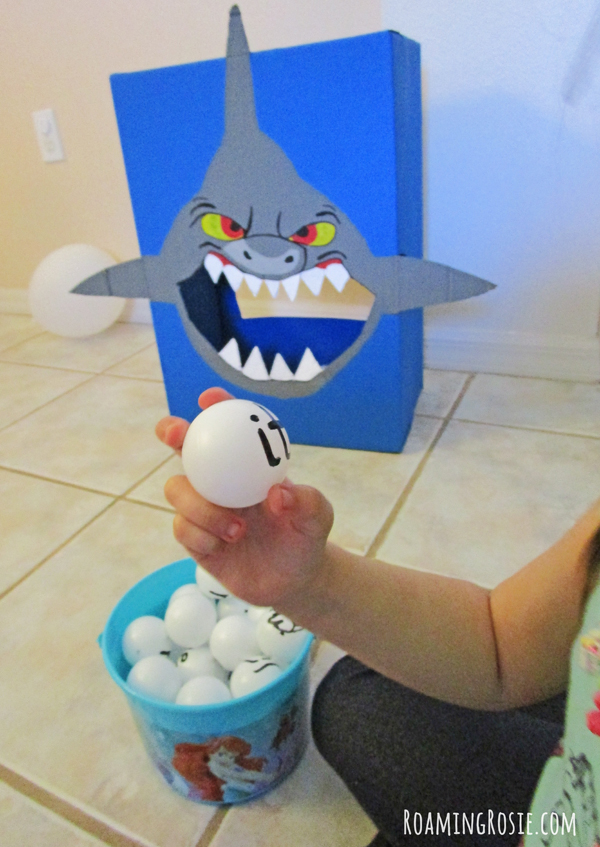
This “Feed the Shark” game was intended to teach my daughter her sight words vocabulary, but can easily be adapted to be used to teach the alphabet to preschoolers, too.
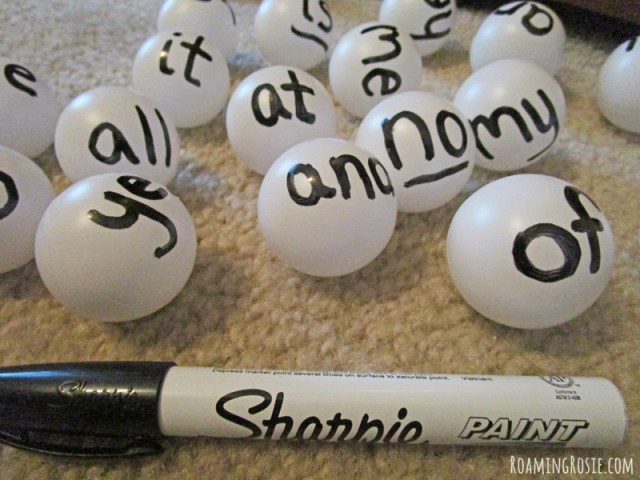
I wanted to try something a little different, but still very tactile and involving movement, so I wrote some of my daughter’s words on ping pong ballsthat I picked up at our local dollar store.
I wrote the words with a paint pen. Not a permanent marker since I’ve found that those sometimes rub off.
Then I put the balls in a little bucket. We took turns pulling out a ball, saying the words, and then tossing it into the shark’s mouth if we got it right.
My kindergartner helped her younger sister with the words, of course, and even though she wanted to make a rule about only getting a certain number of guesses to read the word, we didn’t worry about missing the shark’s mouth. We just kept throwing until we got it.
And I happened to have made that shark (Glut from The Little Mermaid) about two years ago and I have all the photos from the birthday party I threw for my girls for which the shark was one of our featured games and I’ve been meaning to write a blog post about it… but I guess I’m running a little behind. Oops. #Momlife.
Anyway, you can obviously throw the balls into anything – it doesn’t HAVE to be a shark’s mouth. We keep Glut around and play with him from time to time, but you could toss the ping pong balls into any basket, laundry basket, bucket, box, or boots that you happen to have lying around.
If it’s winter, try tossing them into a Christmas wreath lying flat on the floor. If it’s Halloween, try tossing them into a plastic jack o’ lantern. If it’s spring, try tossing them into a watering can from the garden. Or flower pots. Whatever you have handy.
First, as always, we did our construction paper craft. But instead of one big letter that we decorated, we did a bunch of little letters.
I had cut out a pile of Letter Js and a rounded top so that my kids could make their own jellyfish with the letters as tentacles.
And googly eyes. I swear they get more excited about the letters that need eyes…
Then for our Letter Sorting activity, where they needed to separate out the capital and lowercase letters, I went with jack o’ lanterns.
My kids were still kind of little at this point in out Alphabet Activities, so I had cut out the pumpkins and faces ahead of time and all they did was glue the finished jack o’ lantern to the paper before gluing on the letters.
Now that they’re older, I might still have cut out the face pieces but I would have let them make the faces themselves first, probably from a selection of eyes and mouths.
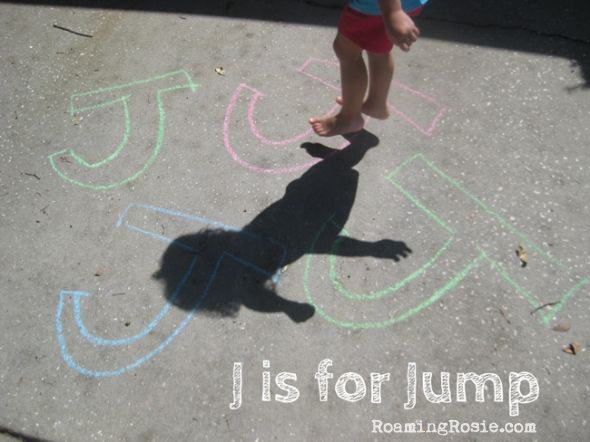
Back to the chalk!
I love that my girls love being outdoors, so chalk letters are great way to get them moving.
I drew a bunch of big Letter Js to represent the word “jump.” And then we did just that – jump from J to J.
This was a TON of fun for my girls.
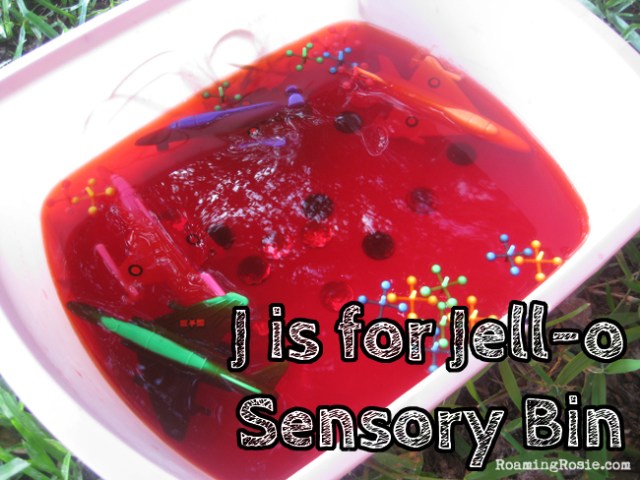
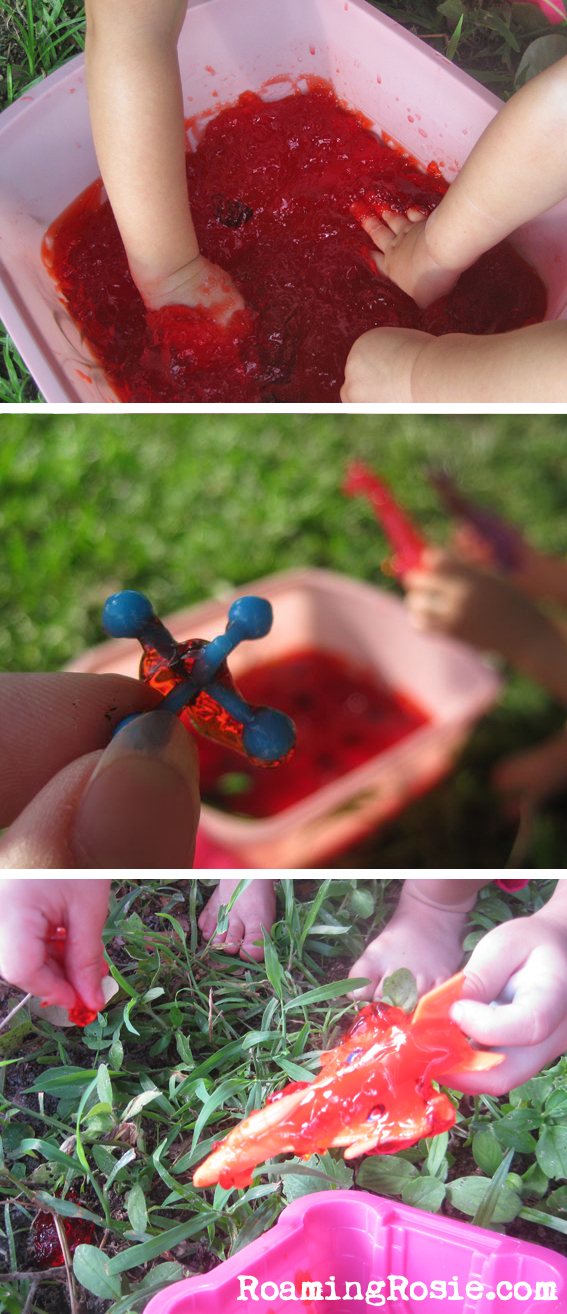
The night before Letter J Day, I made a couple of boxes of Jell-O in a big plastic bin and I threw a bunch of toys into it that started with the Letter J.
I didn’t get all fancy with worrying about where the toys would stay once the Jell-O solidified. I just tossed ’em in. Most of the toys floated to the top, but they were still partially submerged and, thus, still had to be dug out by little fingers that were eager to get messy.
We did it outside to keep the mess out of the house, but I suppose you could do it on a tile floor somewhere if you covered it in a tarp or with a tablecloth.
We made a pile of the toys in another bin (the sand castle-shaped container you see at the bottom), and then we rinsed off everything with the hose when we were done.
The toys we used were probably ones I found in the dollar store, but here are some examples of the plastic Jet party favors, craft Jewels, and plastic Jacks that are similar to what is pictured above.
I would check the party sections of your local store for similar items that are sold as party favors, and the craft section for the jewels.
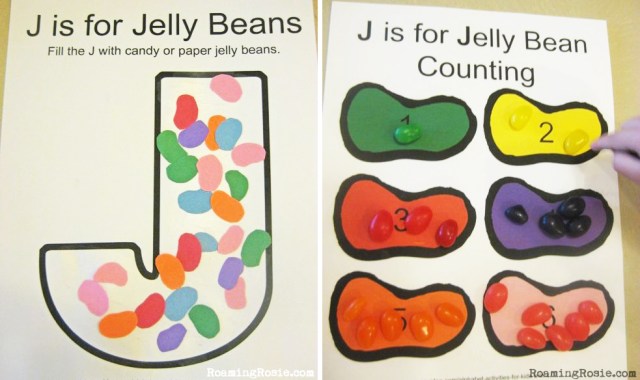
We did a few worksheets, as always. There were my typical letter searches and mazes and such, but the jelly bean ones were the favorites of the day.
So we watched the video above, which my girls love because they enjoy watching kids doing things (plus he’s really good), and then we tried juggling with some light balls we had around the house.
We weren’t terribly successful, except at producing lots of giggles. :)
Gotta love jelly toast!
I cut out the J shapes with our letter cookie cutters, then slathered the toast in some butter and strawberry jelly.
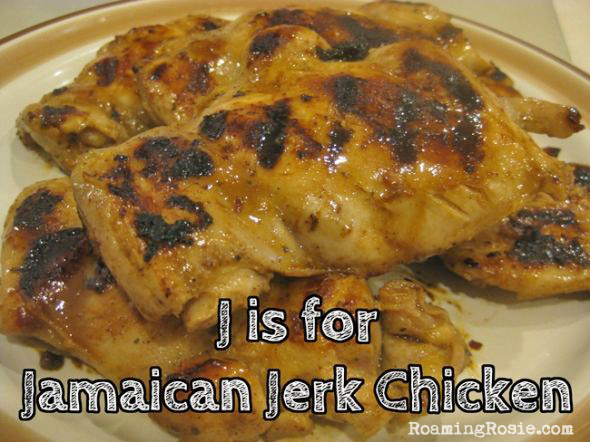
I didn’t want to make a big, complicated dinner in between our projects, so I kept things simple with this chicken.
I marinated a package of boneless thighs in some Jamaican Jerk Marinade that I picked up in the supermarket and threw them on a grill pan. Easy Peasy. (Don’t forget to have the Little Ones seek out the Letter J on the bottle of marinade!)
That’s it for Letter J! Except for the free printable worksheets I made, which you can get here:
Our construction paper project was making an island.
The island itself, in the shape of an uppercase I, is cut from brown paper. I made some little palm trees ahead of time (I free-handed those and they must have been close enough because my daughter knew what they were ;).
They we used some craft sand to represent the beach. You can sometimes find craft sand in the same place where they sell artificial flowers, or just in the craft section.
We probably should have tried gluing the trees down first, but my daughter was excited about the sand. We used white glue (not glue sticks) for this project, though, so that helped with getting the palm trees to stick to the sand once the glue below it was dry.
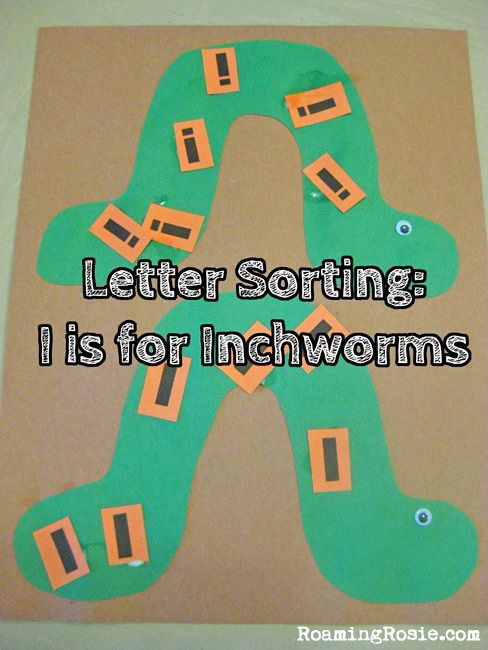
For our Letter Sorting, we made inchworms.
And watched the Sesame Street version of the Inchworm Song:
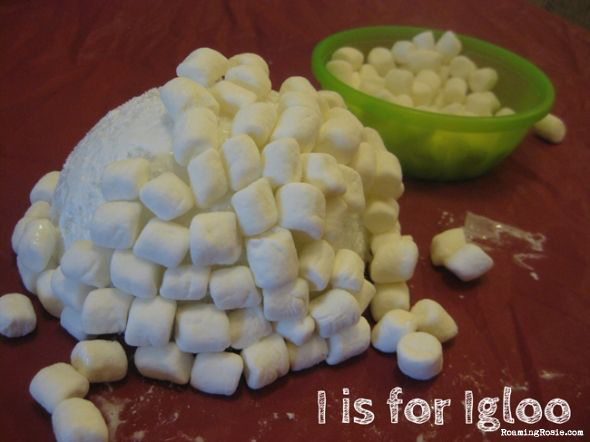
Then we tried to make marshmallow igloos.
This particular attempt didn’t work. We spread white glue all over a Styrofoam dome, and tied to stick mini marshmallows to it.
They fell off.
It occurred to me a few days afterwards that what we should have done instead was to slather the dome in white cake icing (icing is an I word!) and stick the marshmallows into that. That would have totally worked. And if I owned a dome cake pan we could have made a cake interior for our marshmallow igloo.
Next time.
Or, you know, you could just turn a bowl upside down and slather that with icing. There are actually plenty of options.
Either way, I would suggest having a separate (small) bowl of marshmallows available for snacking, to help keep the kiddos from eating the ones for the project.
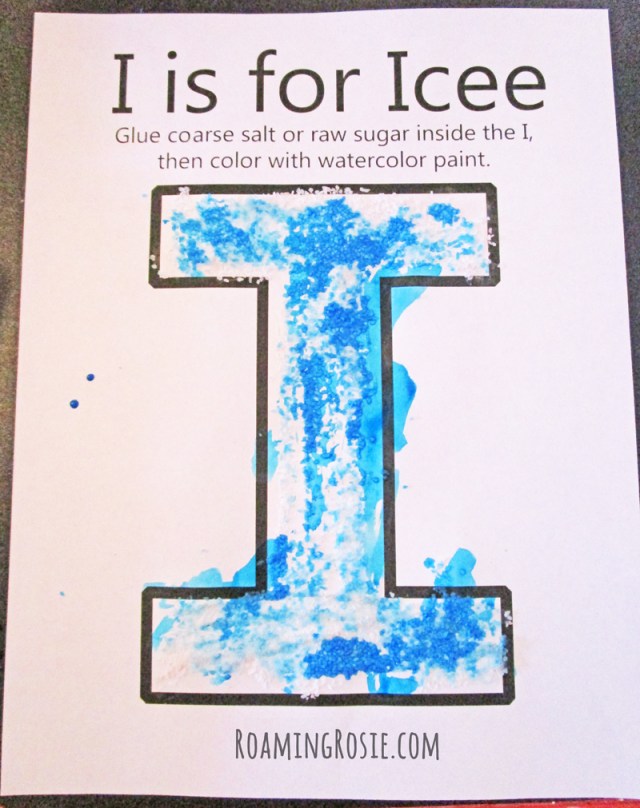
You glue down some course salt or raw sugar and, once the glue is dry, add some watercolor paints.
We used kosher salt which was attached via glue stick.
It’s a fun way to play with texture. Just make sure you shake off all of the excess salt once the glue is dry and before you paint. That way you won’t end up with pieces of salt in your watercolor tray.
Oh – and this project is meant to represent an “Icee,” which is a crushed ice drink. Just in case that’s not a thing where you lived and you were wondering why I spelled “icy” incorrectly. ;)
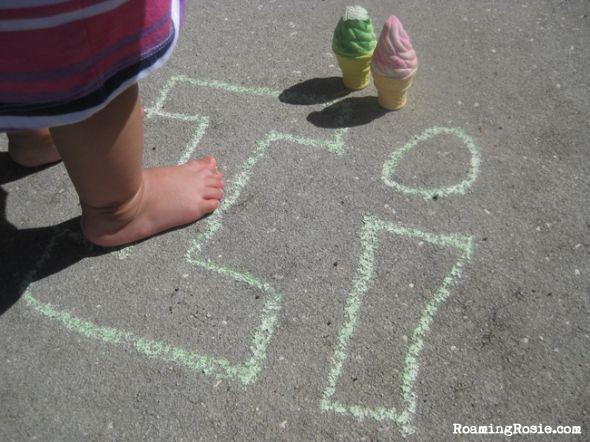
I found this really cool ice cream shaped chalk at the dollar store, so we did some chalk drawings.
We often do practice our letters with chalk, but it was even more exciting this time around. :)
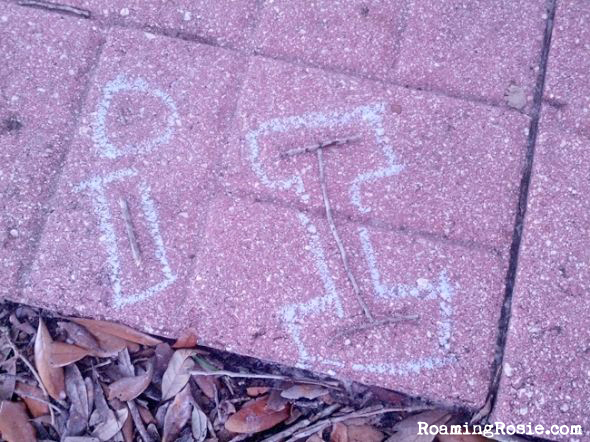
Then, we used our ice cream shaped chalk to trace around some letters we made out of sticks we found in the yard.
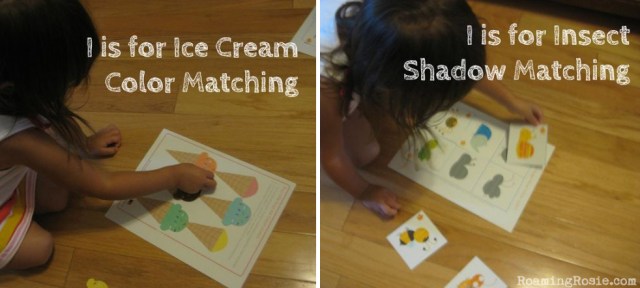
This was a lot of fun, especially since my girls love puzzles. I still have these in our Folder Games binder.
You can find similar things by doing an internet search, but these are a color matching worksheet with ice cream cones and an insect shadow matching worksheet which I got from Busy Little Bugs.
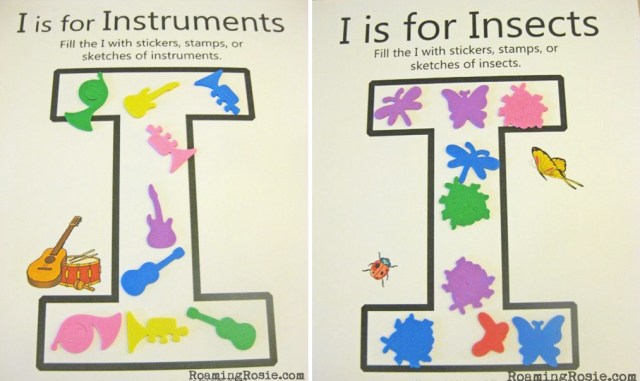
Of course, you could always use any type of sticker or stamp for these, or just make little sketches.
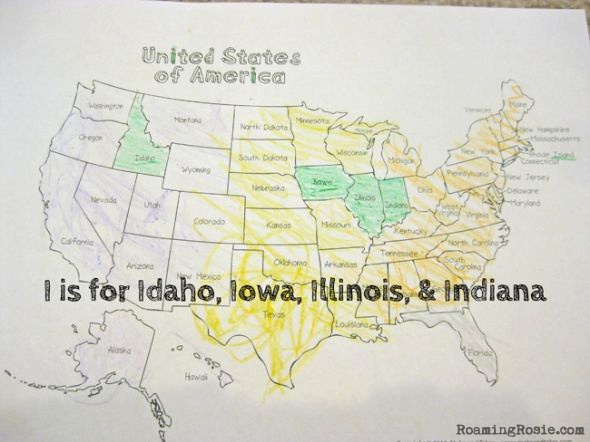
This was a map I found on a random internet search. There’s a very similar one at Free US and World Maps.
First we found all the states that began with our letter of the day, colored them and the letters in the title green, and then my daughter colored the rest of the map however she felt like it. (We also underlined the “island” part of Rhode Island.)
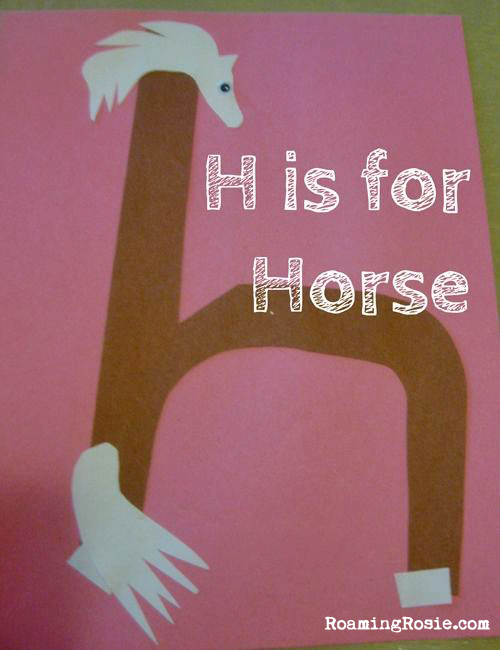
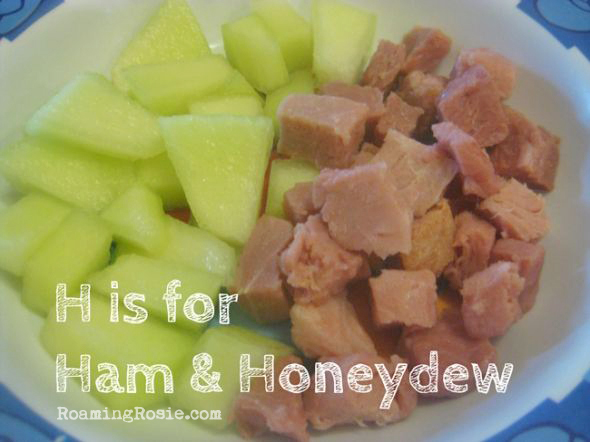
We made a construction paper Hamburger, and although my daughter didn’t put it together quite as I had conceived she would, we still got the point across. :)
I had cut out an H in brown to represent the burger patty, and there’s a bun in orange, a tomato in red, lettuce in green, and some Swiss cheese in white.
I also made a lowercase H and cut out some pieces in white that vaguely represented a horse’s head, tail, and hooves.
And my kids always love combining glue and construction paper, but if you throw in a googly eye then it’s really a party.
For our Letter Sorting, I cut out two shapes that looked kind of like houses and drew on some doors and windows and roof shingles. My daughter was pretty young when I did this, but she’s old enough now that I’d let her draw the doors and windows herself if we did it again.
Then she put the lowercase Hs on one house and the uppercase on the other.
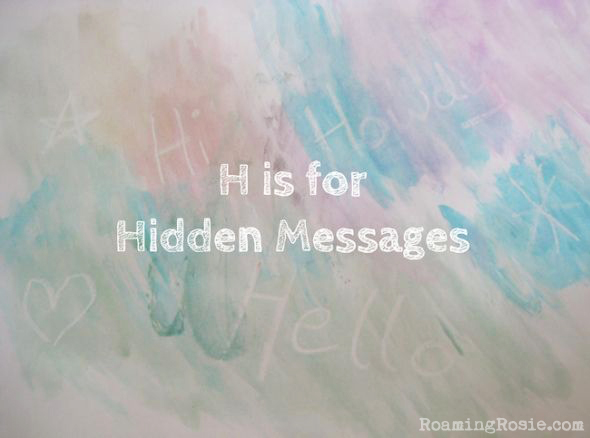
Making Hidden Messages was pretty fun. This was the example I did for her, and I can’t remember why I don’t have a picture of the one she did. I think I didn’t photograph as well.
Anyway, you draw designs on a white piece of heavy or construction paper with a white crayon, and then you paint over it with water colors.
The crayon resists the paint and your designs show through.
You could always prep some hidden messages for them, kind of like I did. I used Letter H words: Hi, Hello, and Howdy.
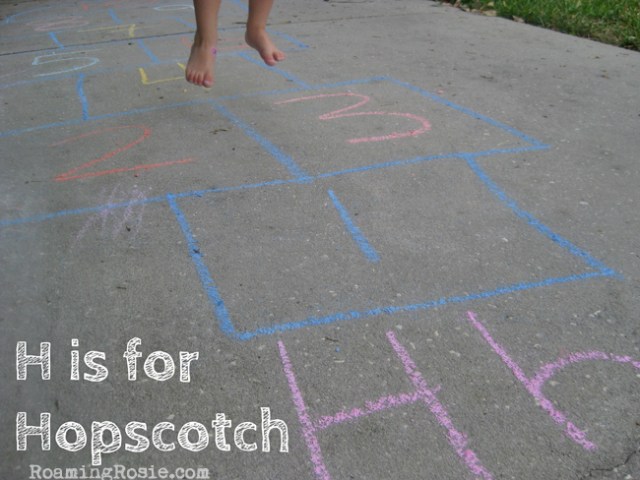
Hopscotch is always a big hit in our house, and it’s great for practicing numbers.
This time I drew a big and little H at the start of the Hopscotch.
You could also make a version that’s like our Power Word Hopscotch, and fill the squares with H words (Hi, Hello, Hand, Happy, etc.) instead of numbers and have your child shout out the words as they hop over the board.
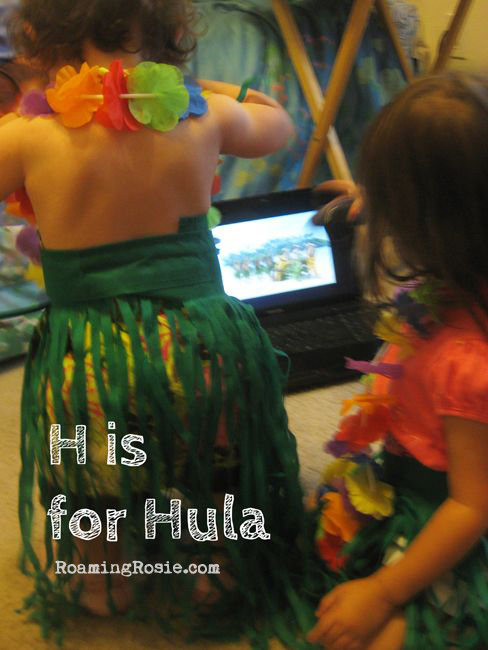
This was SO much fun. After discussing how “hula” started with H, we pretty much went right into dancing and dressing up.
During the summertime, it’s pretty easy to find hula skirts and leis at the local dollar stores around here. Or you could try a party store or check online.
Then we danced to some videos, including The Hula Song from The Lion King (just for laughs):
Then we watched the He Mele No Lilo scene from Lilo & Stitch:
And finally, we watched a more traditional He Mele No Lilo. My girls really loved this and we watched it over and over, dancing along with them. My older daughter also spent some time studying the little girls and the way they moved:
Then it was back to our projects…
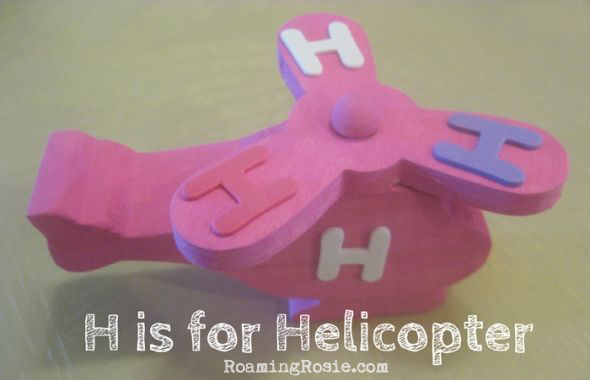
I found these little wooden helicopters in the craft section of Walmart.
I think I paid about a dollar apiece for them.
After we painted them, we attached some of the little foam letter stickers that I had picked up in the bargain section of Target.
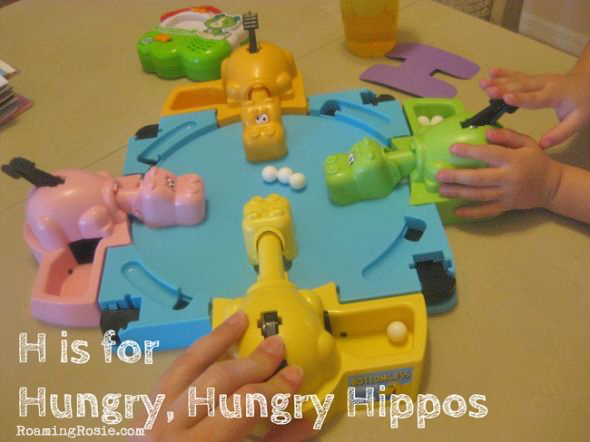
You can also see our LeapFrog Fridge Phonics magnet in the background (which is the older version of this one and kind of similar to this bucket set), because – of course – we had to discuss how both Hungry and Hippos started with H before we went on a crazy marble-eating rampage.
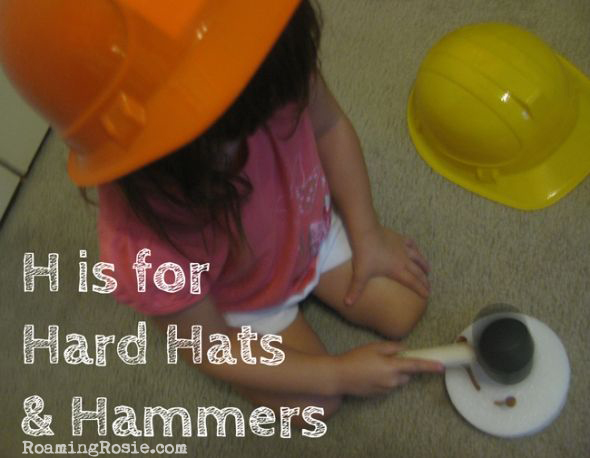
This was a fun activity for practicing fine motor skills.
I found some plastic hard hats and the dollar store and we hammered some gold tees into a piece of Styrofoam with a rubber mallet.
This one definitely needs close supervision because you may have to hold the golf tee steady for them at first or (preferably) you may want to stick it in the foam a little before allowing them to hammer it further down.
But it was fun. And we still play with the hats sometimes. :)
It just wouldn’t be Letter H day without a discussion of my favorite play.
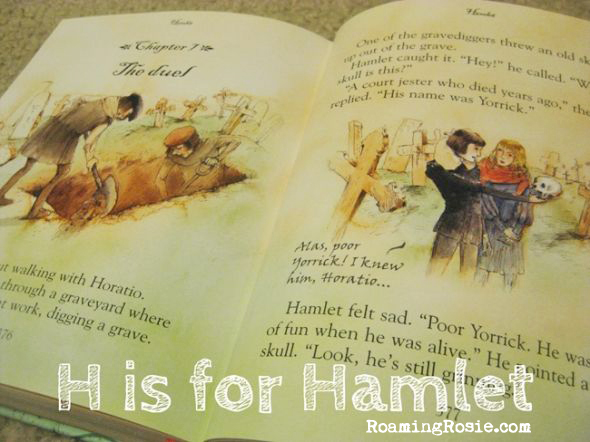
My girls are quite familiar with Shakespeare and a few of his plays, and one of these days I’ll get around to posting some of the Hamlet crafts and recipes we’ve done, but for now you can still see some of the kid-friendly books about him.
The one pictured above is from the very first Usborne book I ever purchased (which has led to a serious obsession with Usborne, but that’s a little off topic). It’s called Illustrated Stories from Shakespeare, and is filled with gorgeous paintings and a story version of Hamlet and five other plays that are short enough to read to children.
Or, if you’d rather have a box set with five separate hardback books, including Hamlet, you could get The Shakespeare Gift Collection instead.
Depending on the age of your kids, there’s also the Shakespeare Sticker Dressing, recommended for age 5 and up, where you can dress up characters from the plays (like Hamlet) with stickers, and then there’s also the incredible Where’s Will book that’s like a “Where’s Waldo” book but with characters from Shakespeare’s plays (like Hamlet). The second book is recommended from ages 7 and up (and I really bought it for myself anyway….) but even my three-year-old enjoyed searching with me.
Yesterday, I posted our Power Word Hopscotch, and I also wanted to share this game that we played to practice my daughter’s vocabulary (or sight words) for Valentine’s Day.
This was a versatile way to play with some of the words she needs to know. Her school calls them power words, so this is our Power Word Pom Pom Toss.
And since it was February when I made it, I just had to do it with cute little hearts!
I picked up some Valentine-colored pom poms and dollies at the dollar store.
Being February, it was easy to find these things in red and pink, but you can often get this stuff when it’s not Valentine’s Day. For example, you can buy heart dollies most of the year, sometimes in the cake baking section of a large retail store, or in a party store, and the pom poms are usually stocked in the craft section all year, though maybe not with little hearts on the label. :)
My daughter had a list of 60 power words, so I bought two packs of 30 dollies each and wrote out each word on a separate heart.
Then we would pick a handful and lay them out on the floor. For the game above, we would call out a word and then try to throw a pom pom onto that word.
Even for me it took a few tries, but that allowed up to repeat the word a few times.
Then, we would trade those few words out for a few others.
Then, we did a game where we would call out each word and hop onto them, kind of like our Power Word Hopscotch from yesterday.
Just be careful with this one, and be sure to put the dollies onto carpet or something similar. If you put them onto tile or some wood floor, they will slip right out from under you when you jump onto them.
And for the younger crowd, like preschoolers, you could substitute individual alphabet letters for the sight words!
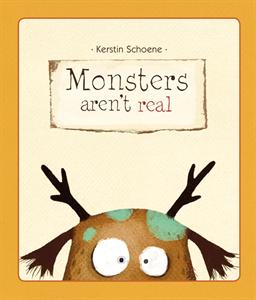
Monsters Aren’t Real by Kerstin Schoene is an enchanting picture book that my kids are absolutely in love with.
It’s 44 pages long, but many of the pages have no words at all, or only a few. Wordless picture books are great for Little Ones. Plus, the story is packed full of laughs, which always makes reading fun.
The book is about a monster who’s keeps hearing “monster’s aren’t real,” which leads him to wonder, “then what am I?” He’s as big as a monster… as strong as a monster… so monsters MUST be real. Right??
Our gentle monster tries to prove that he’s real by attempting to scare people. He says “boo” and he juggles cows, but nobody is scared. He tried to spread propaganda via helium balloons and posters {my girls always giggle about the poster that’s upside down}, but nobody’s paying attention.
He gets sad and concludes that monsters aren’t, in fact, real. But then another crazy-looking monster shows up {this one’s my 3yo’s favorite} and insists that they ARE real.
I often have to reread and reread and reread those last two pages. My girls read them along with me, bursting into laughter every single time.
When the book is over, I always ask, “are monsters real?” and they shout, “NO!”
And then they laugh some more.
You can watch me reading the book in the video below:
And you can purchase the book from Usborne Books & More: