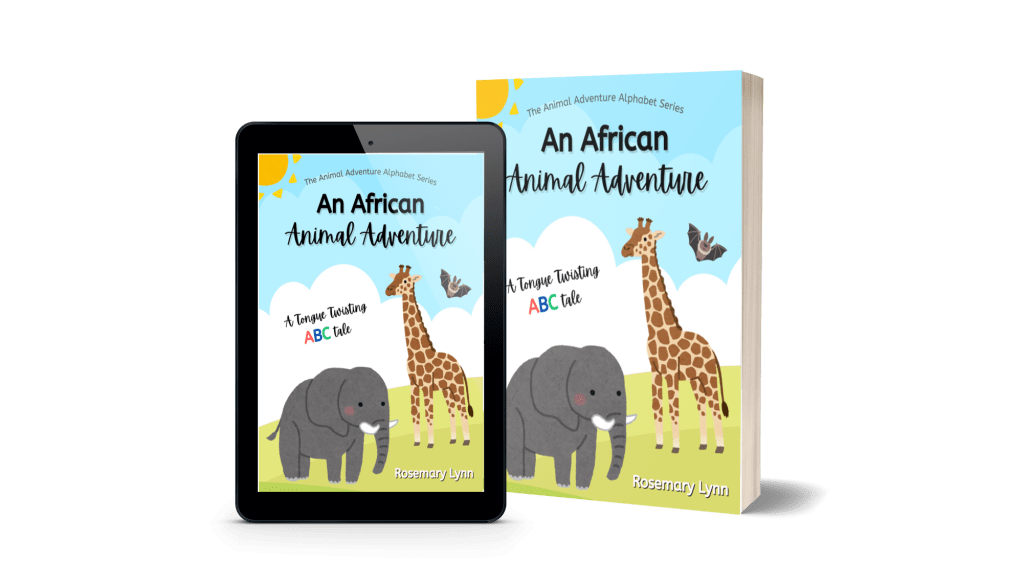
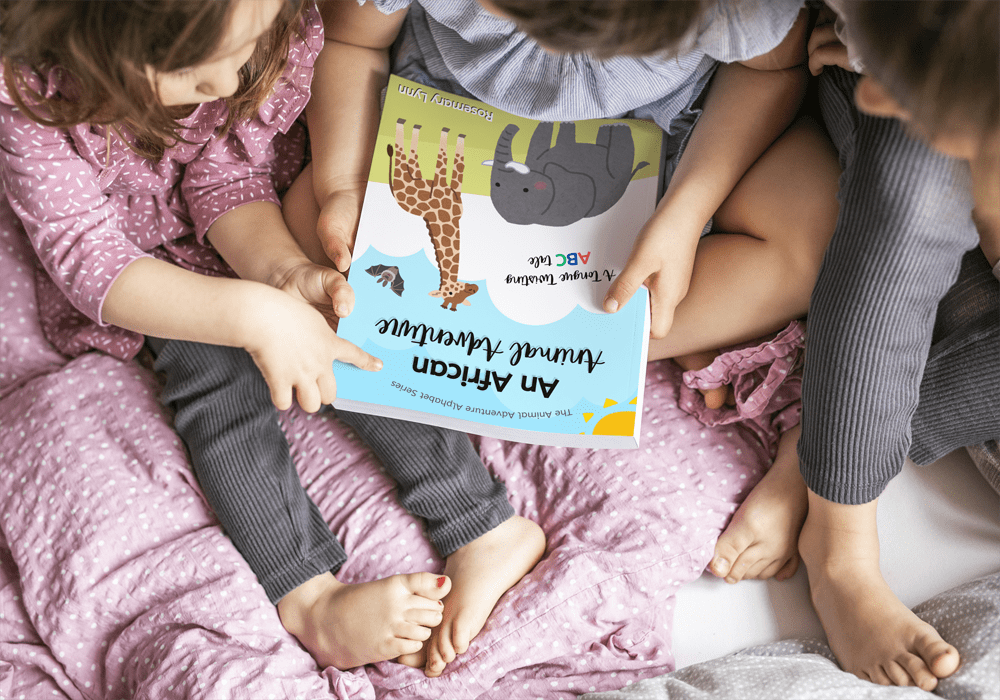
I’ve got a new book series coming out! The first title is one you maaaay have seen before, if you’re a long-time follower of this blog. It’s a re-edited, re-formatted, re-illustrated and completely redone AN AFRICAN ANIMAL ADVENTURE!
The subtitle tells it all: A Tongue-Twisting ABC Tale. The book features fun and colorful illustrations of African animals for each letter of the alphabet, alongside silly, rhyming poems.
And that’s just the first book in the series!
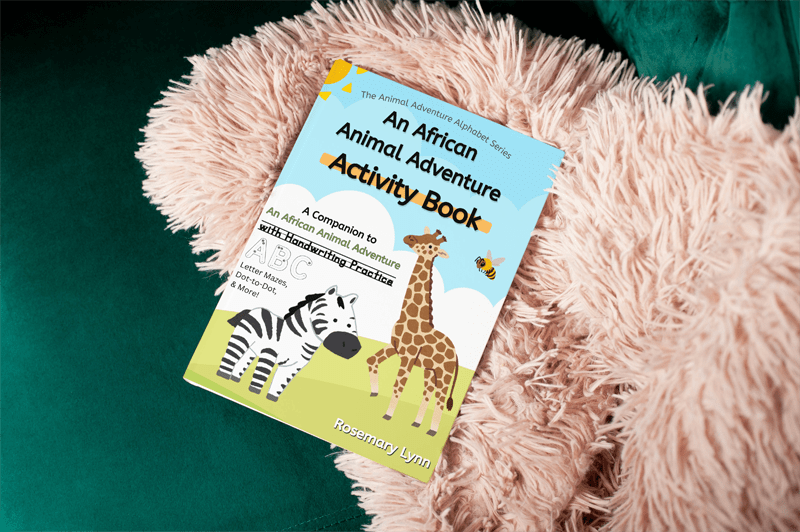
After that, I’ll be releasing an activity workbook to practice handwriting alongside of mazes, dot-to-dots, and more. And THEN there will be more storybooks and activity books for other concepts: shapes, numbers, seasons, etc. Each of these concept books will feature animals from a different region of the world.
These educational books and their matching activity books are created to introduce young children to basic concepts in an entertaining way.
I’m really excited about the re-launch of this book and the launch of the series. It’s a really amazing project to be working on and I’m happy I get to share it with all of you.
Another fun part of this launch is that I’m creating a Launch Team to gather together people who would like a FREE BOOK in exchange for an honest review.
This will allow you to get the first book in the series as an eBook for free – plus get entered to win an autographed hardcover!
Simply enter your info here and I’ll email your book:
The release date for AN AFRICAN ANIMAL ADVENTURE is 9/8/24, so the free book will be emailed out a week ahead of that.
THANK YOU for following along with me on my Roaming Rosie journey, and if you’d like to check out all of the cool stuff going on over at my author blog, please visit me at RosemaryLynnBooks.com.
Hello and welcome to the ALPHABET ACTIVITIES post for letters P through T!
Like all of our previous alphabet activity pages, you’ll find letter-themed meal ideas, letter-shaped construction paper crafts, letter sorting activities, free printable worksheets, and so much more!
If you haven’t been to the ALPHABET ACTIVITIES PAGE yet, be sure to check that out in order to see our past alphabet activities and worksheets.
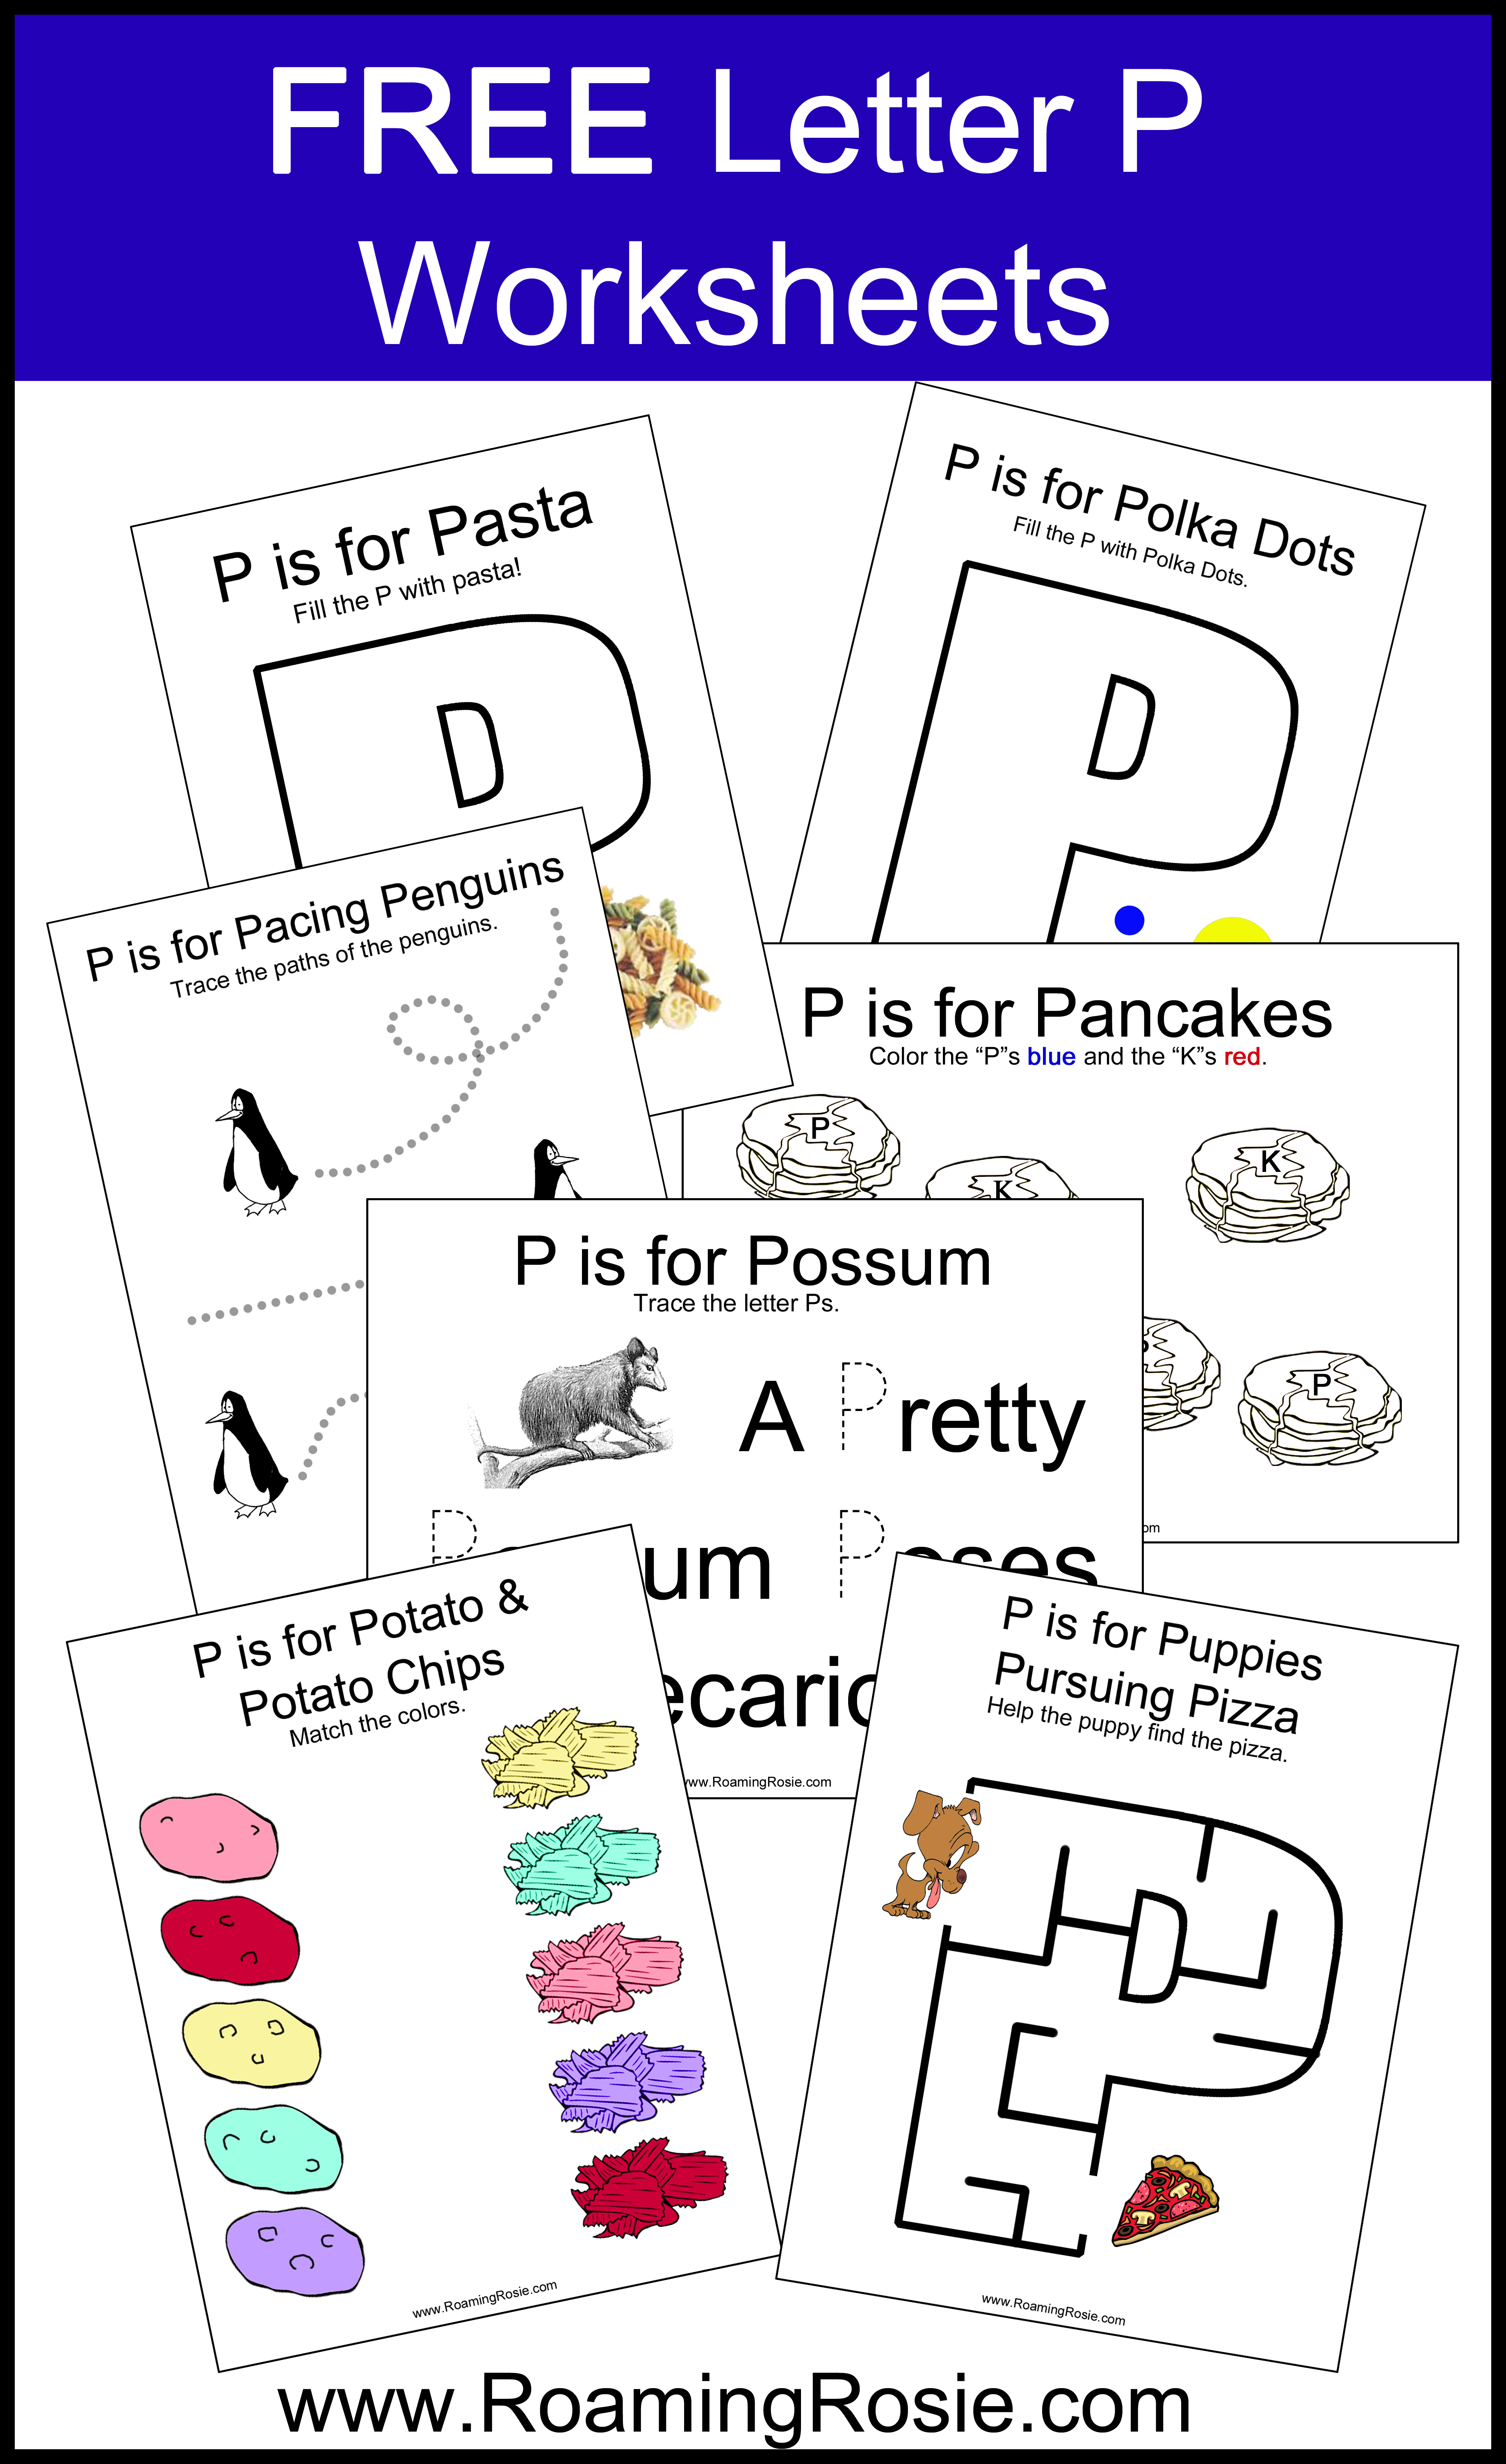
Welcome to LETTER P DAY!
First off, let’s start with a few suggestions of fun food you can make or incorporate into meals:
Letter Shape Construction Paper Craft: Make a puppy, penguin, panda, or pig out of pieces of paper scraps in the shape of a P. (See past alphabet activities for inspiration and examples, such as D is for Dragon.)
Letter Sorting Craft: Cut out 2 pelicans (a pair of them) and sort onto them capital and lowercase letter Ps that have been cut out in the shape of tiny fish. You could also cut out 2 pencils out of construction paper and sort letters onto them. (You can print capital and lowercase letters in a simple font like Arial, or you can draw them neatly. See this example for D is for Dolphins.)
Draw a parrot or peacock and have your Little glue feathers to it.
Create a phantom (ghost) out of white chalk on black construction paper. (Which will look kind of like these Valentine Chalkboard Hearts.)
Walk a pirate plank by drawing one in chalk on the sidewalk that leads to some grass the Little can jump into, or by shaping one out of painter’s tape that leads to a small ball pit or mini trampoline.
Do some finger painting by painting with your palms.
Now for the free worksheets! To get them, simply click on the links listed below this preview:
Here are a few suggestions of fun food you can make or incorporate into meals:
Quiche
Quaker Oats (oatmeal)
Quinoa
Queso Fresco
Quark (type of cheese that’s easier to find in Europe than the US)
Quarter Pounder (or make your own burger and give it the McD name)
Quesadillas
Quail
Quick Bread
Quince Tart
Here are a few activities you may want to try:
Letter Shape Construction Paper Craft: Create a queen, quokka, or quilt out of paper pieces and assemble into the shape of a Q.
Letter Sorting Craft: draw or cut out 2 quails or quartz crystals, and sort cut-out capital and lowercase Qs onto them.
Play a game of going from one room to another in your house quietly and quickly.
Create a quiz out of some of the letters you’ve already learned by holding up letters (possibly puzzle pieces) and have your Little call them out.
Make a quilt out of construction paper. Cut pieces of different colored paper into 4 squares or rectangles and punch holes around the outside of the shape. Use yarn to “sew” them together into a quilt.
Go on a quest. Perhaps make a scavenger hunt for items in your own kitchen or yard. You can make a map ahead of time to help with the quest.
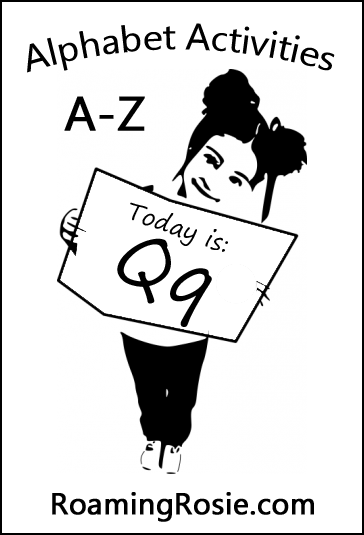
Now for the free worksheets! To get them, simply click on the links listed below this preview:
Here are a few suggestions of fun food you can make or incorporate into meals:
Raspberries
Raisins
Red Peppers
Romaine Lettuce
Ranch Dressing
Ravioli
Ratatouille
Risotto
Rice
Ramen
Rigatoni
Red Potatoes
Red Cabbage
Reuben Sandwich
Ribs
Rice Pudding
Red Velvet Cake
Root Beer Float
Rice Krispie Treats
anything Raw or Roasted
Here are a few activities you may want to try:
Letter Shape Construction Paper Craft: Make a raccoon, red panda, rattlesnake, or reindeer out of pieces of paper into the shape of a big R.
Letter Sorting Craft: Make 2 robots, rockets, rhinos, rays (stingrays or manta rays), rabbits, or rats and sort out some cut-out capital and lowercase Rs onto them.
Hold a race where you run, preferably outdoors.
Rotate the R. Put out a capital and lowercase R, whether printed on paper or from a puzzle, and when you call out the word “rotate,” your Little can rotate them. Like: “Rotate BIG R,” then “Rotate LITTLE R!”
Read your favorite books. Try to find a rhyming book to read.
Create a recipe with your favorite foods. Or follow one of your favorite recipes from a cookbook.
Use a ruler to measure different objects around your house, especially if you can find objects that start with the letter R (like a rubber ball or rope) or are red.
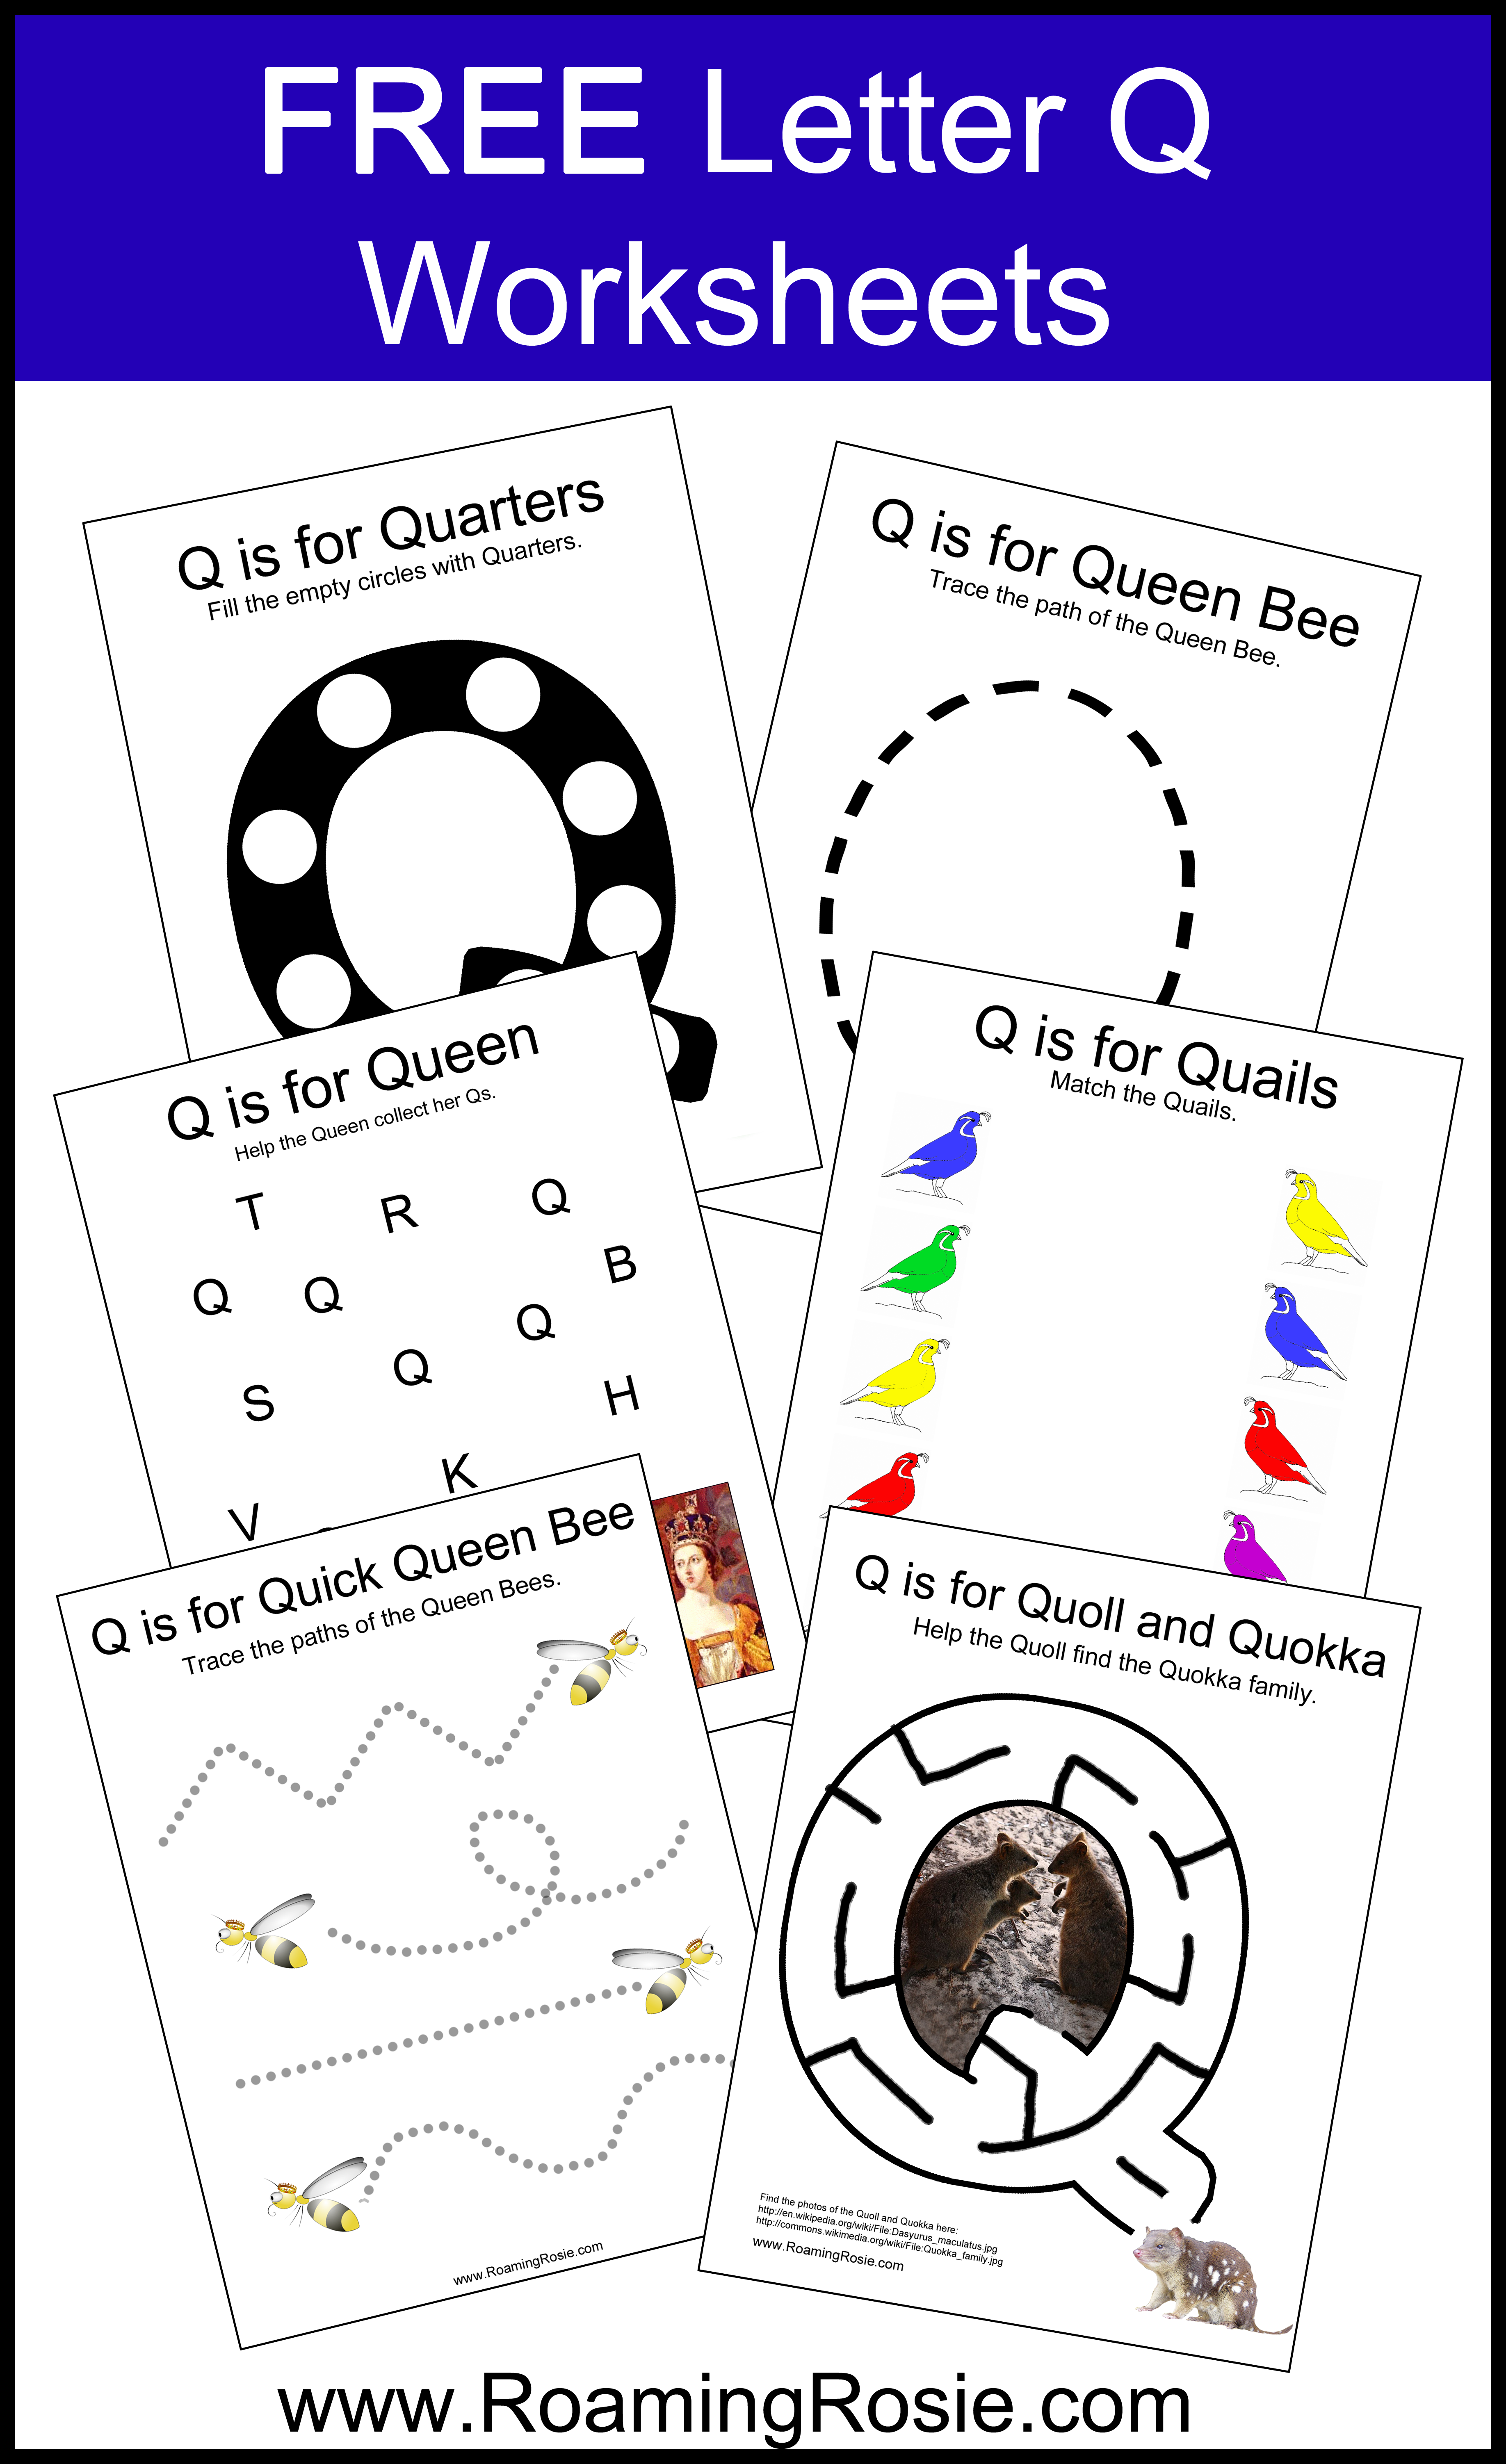
Now for the free worksheets! To get them, simply click on the links listed below this preview:
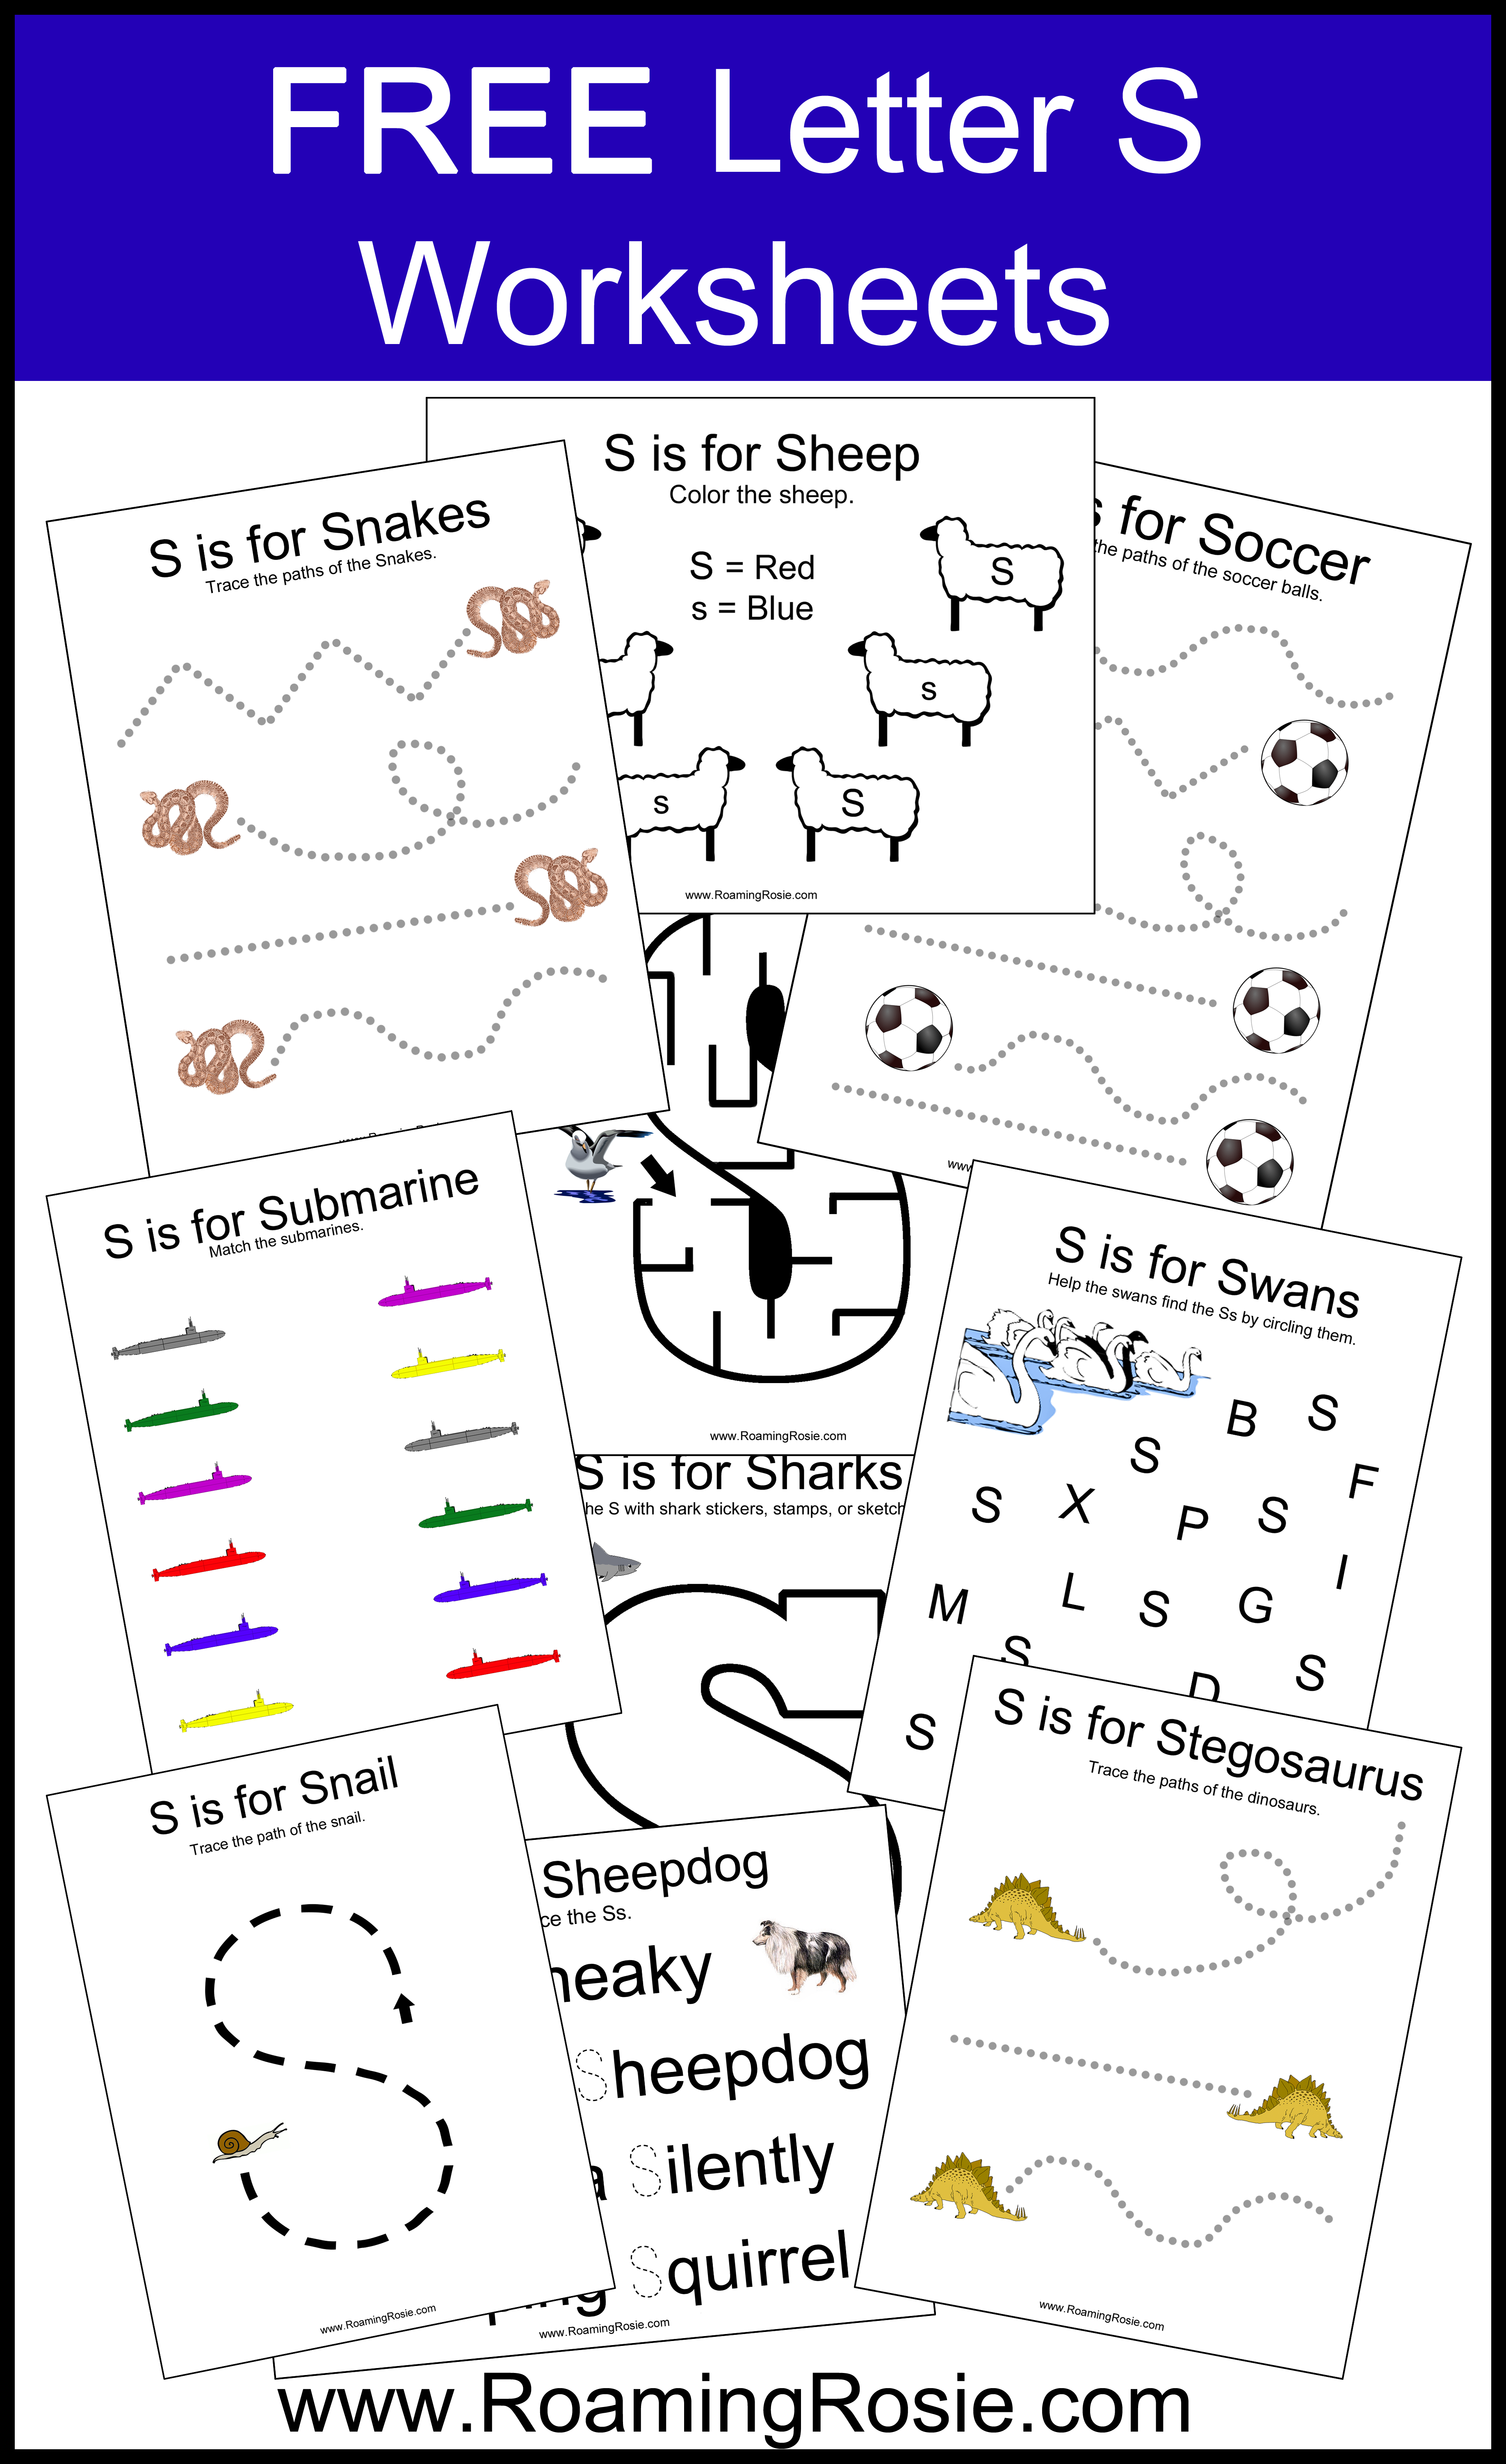
Letter Shape Construction Paper Craft: Make a snake, squirrel, or swan out of paper pieces into the shape of a letter S.
Letter Sorting Craft: Draw or cut out two swords, sharks, snails, or stegosaurus and sort onto them capital and lowercase letter S’s that you’ve printed or drawn.
Slither like a snake on the ground. You could trace out a path with painter’s tape in the shape of a letter S if you like. This will be easier on a wood or tile floor. Beware of rug burns on carpet!
Make Snail Slime, kind of like the Green Goo and Green Glitter Goo from Letter G Day.
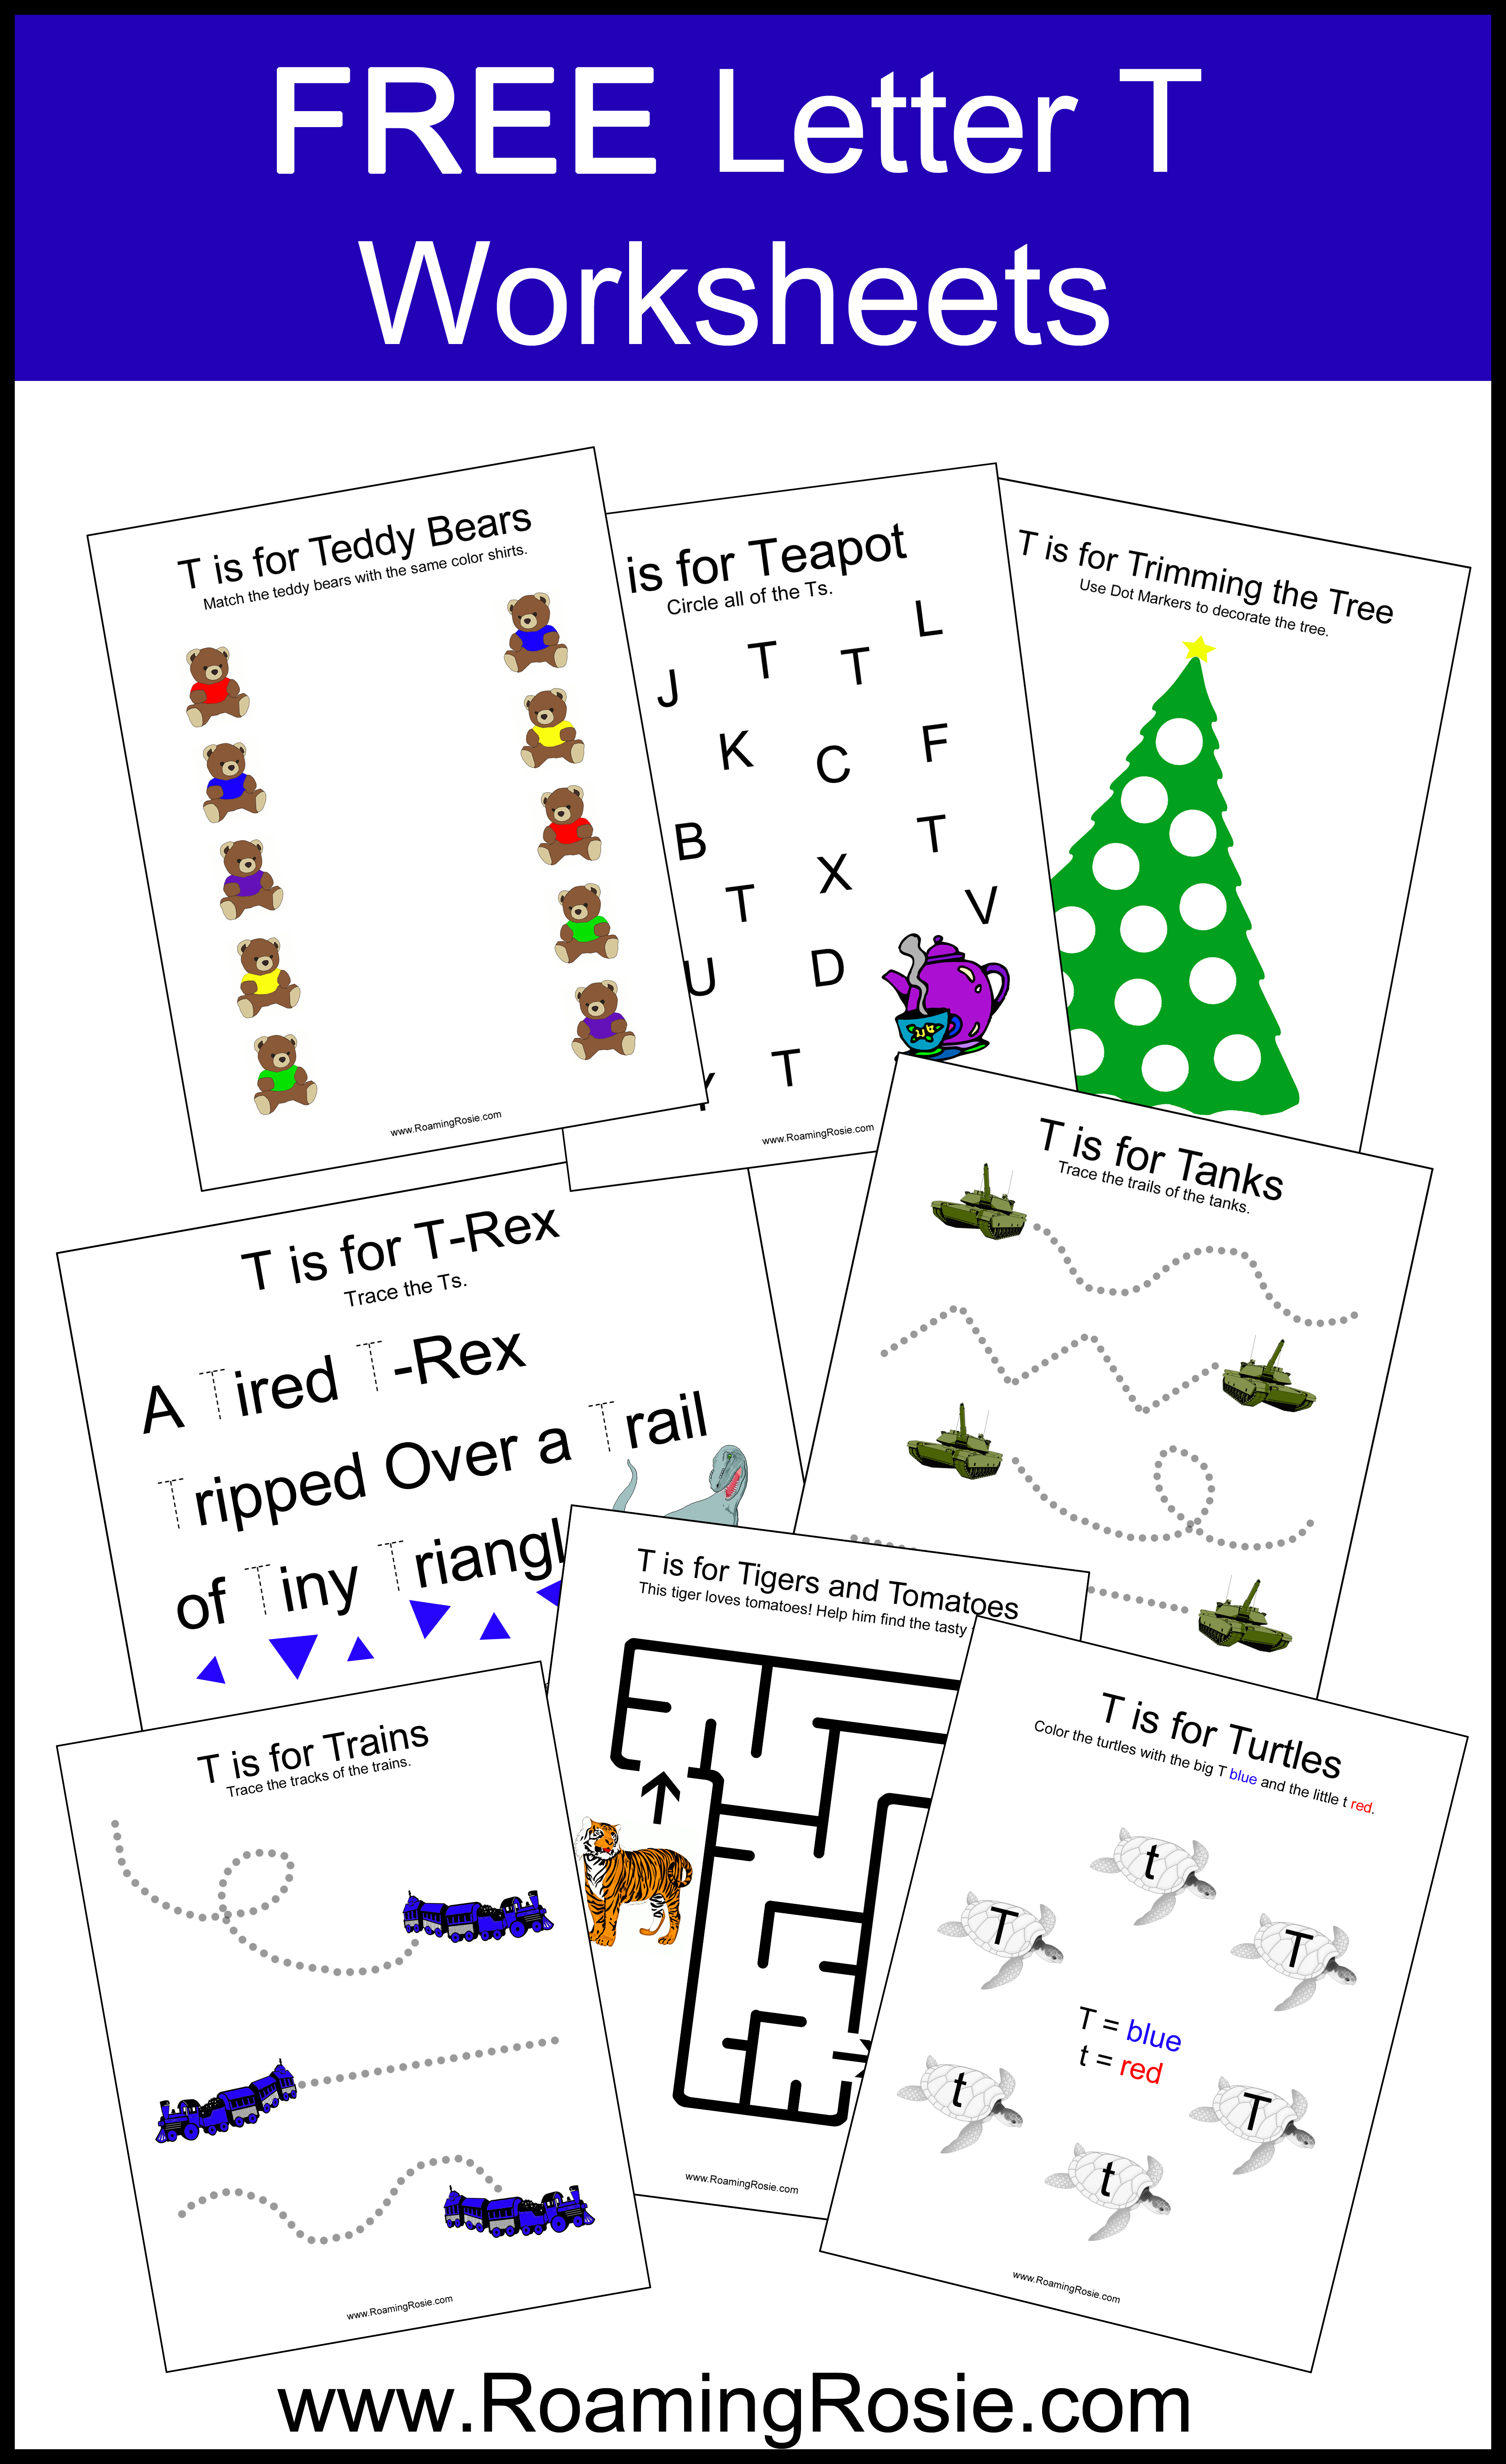
Letter Shape Construction Paper Craft: make a tyrannosaurus rex, tiger, turtle, or train out of paper pieces into the shape of a letter T.
Letter Sorting Craft: print, draw, or cut out two trees, teapots, tomatoes, or tacos and sort onto them capital and lowercase letter Ts.
Put on some temporary tattoos.
Play toss with a tennis ball.
Do some of your alphabet activities inside of a blanket tent in your living room, or a camping tent outside.
Set out some letters, such as from a puzzle, and have your Little touch them as you call them out. Like, “touch the T! Now touch the G!”
Teach each other how to do something new, like signing the letter T in ASL or BSL, or how to do the yoga pose for turtle.
Tap out a thunder tune by mimicking the sound of thunder on a drum or upside down pots and bowls.
Have a tea party along with some alphabet cookies, especially cookies shaped like the letter T.
Tear up some paper to create a letter T by gluing the pieces onto some construction paper.
Create a tower out of cardboard boxes or blocks. Make pathways to drive toy trucks between the towers. Or make the tower in the shape of a T and drive the toy trucks around it.
Now for the free worksheets! To get them, simply click on the links listed below this preview:
Our “Alphabet Day” suggestions include food and meal ideas to incorporate, crafts, physical activities, and the free printable worksheets that I created. Each letter has its own section!
Like all of our previous alphabet activity pages, you’ll find letter-themed meal ideas, letter-shaped construction paper crafts, letter sorting activities, free printable worksheets, and so much more!
And while I said in my announcement email that I lost most of my photos, I do have a few, so I’ll include them here.
Welcome to LETTER K DAY!
First off, let’s start with a few suggestions of fun food you can make or incorporate into meals:
Kalamata Olives
Ketchup
Kale
Kefir
Kimchi
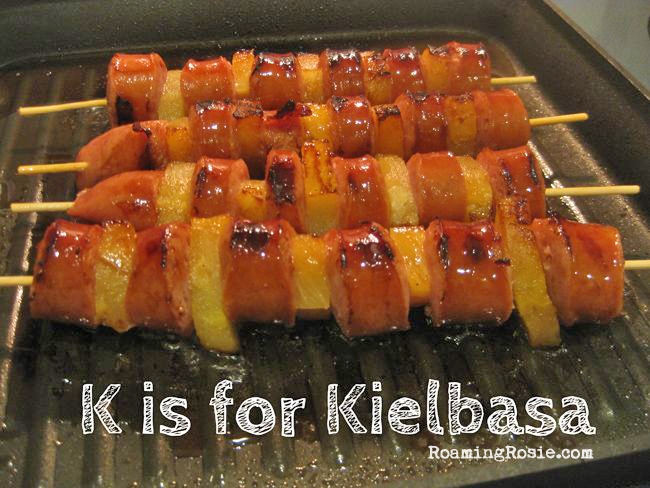
Kabobs
Kiwi
KitKats
Key Lime Pie
And here are a few activities you may want to try:
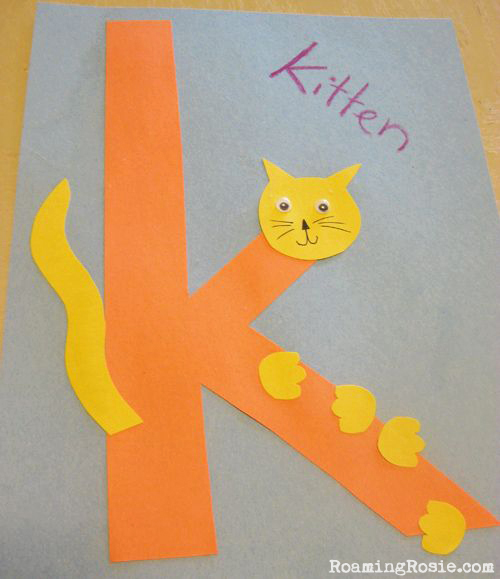
Letter Shape Construction Paper Craft: make a kitten or koala or king out of paper pieces glued together to make a giant K shape. (See past alphabet activities for inspiration and examples, such as D is for Dragon.)
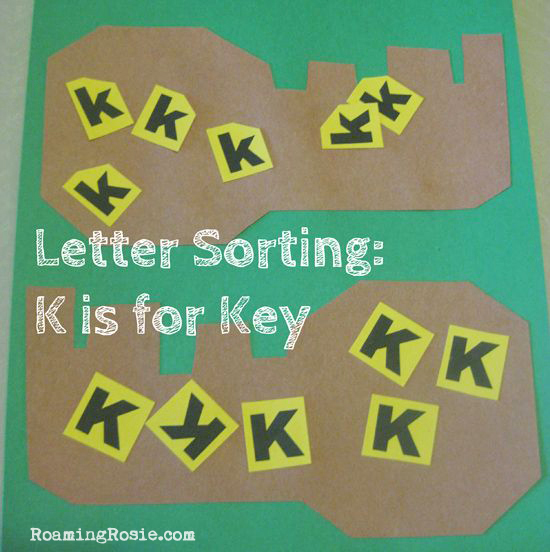
Letter Sorting Craft: draw or cut out 2 kites or keys and cut out capital and lowercase Ks to sort onto the kites. (You can print capital and lowercase letters in a simple font like Arial, or you can draw them neatly. See this example for D is for Dolphins.)
Knit: make K shapes with yarn or knitting needles. Possibly teach the child how to knit.
Knock: draw a capital and lowercase K and have them knock on the “big” or “little” K, or you can write out a few words that start with K instead for older kids to knock on when you say them out loud, like know, keep, kind, kitty.
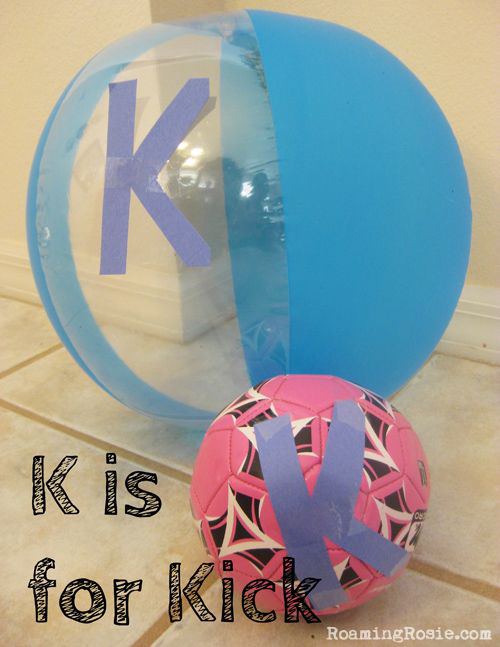
Kick or Keep: put out a line of balls or other objects, have the child stand behind each one and announce “kick” or “keep,” so that they kick the object away or leave it alone. This is probably best done outside. You could also just Kick the balls. Taping a cut out K onto them gives the Littles somewhere to aim.
Knight: dress up as a knight in shining armor.
Tell Knock, Knock jokes.
(Forgive any blurriness in the photos – these were taken waaaay back when on one of my first digital cameras, and the previews looked pretty good on those one-inch screens!)
Now for the free worksheets!
To get them, simply click on the links listed below this preview:
Most of the K worksheets are about fine motor control, but the Kangaroo and Kin one includes pictures you can cut out so that they can be sorted by size.
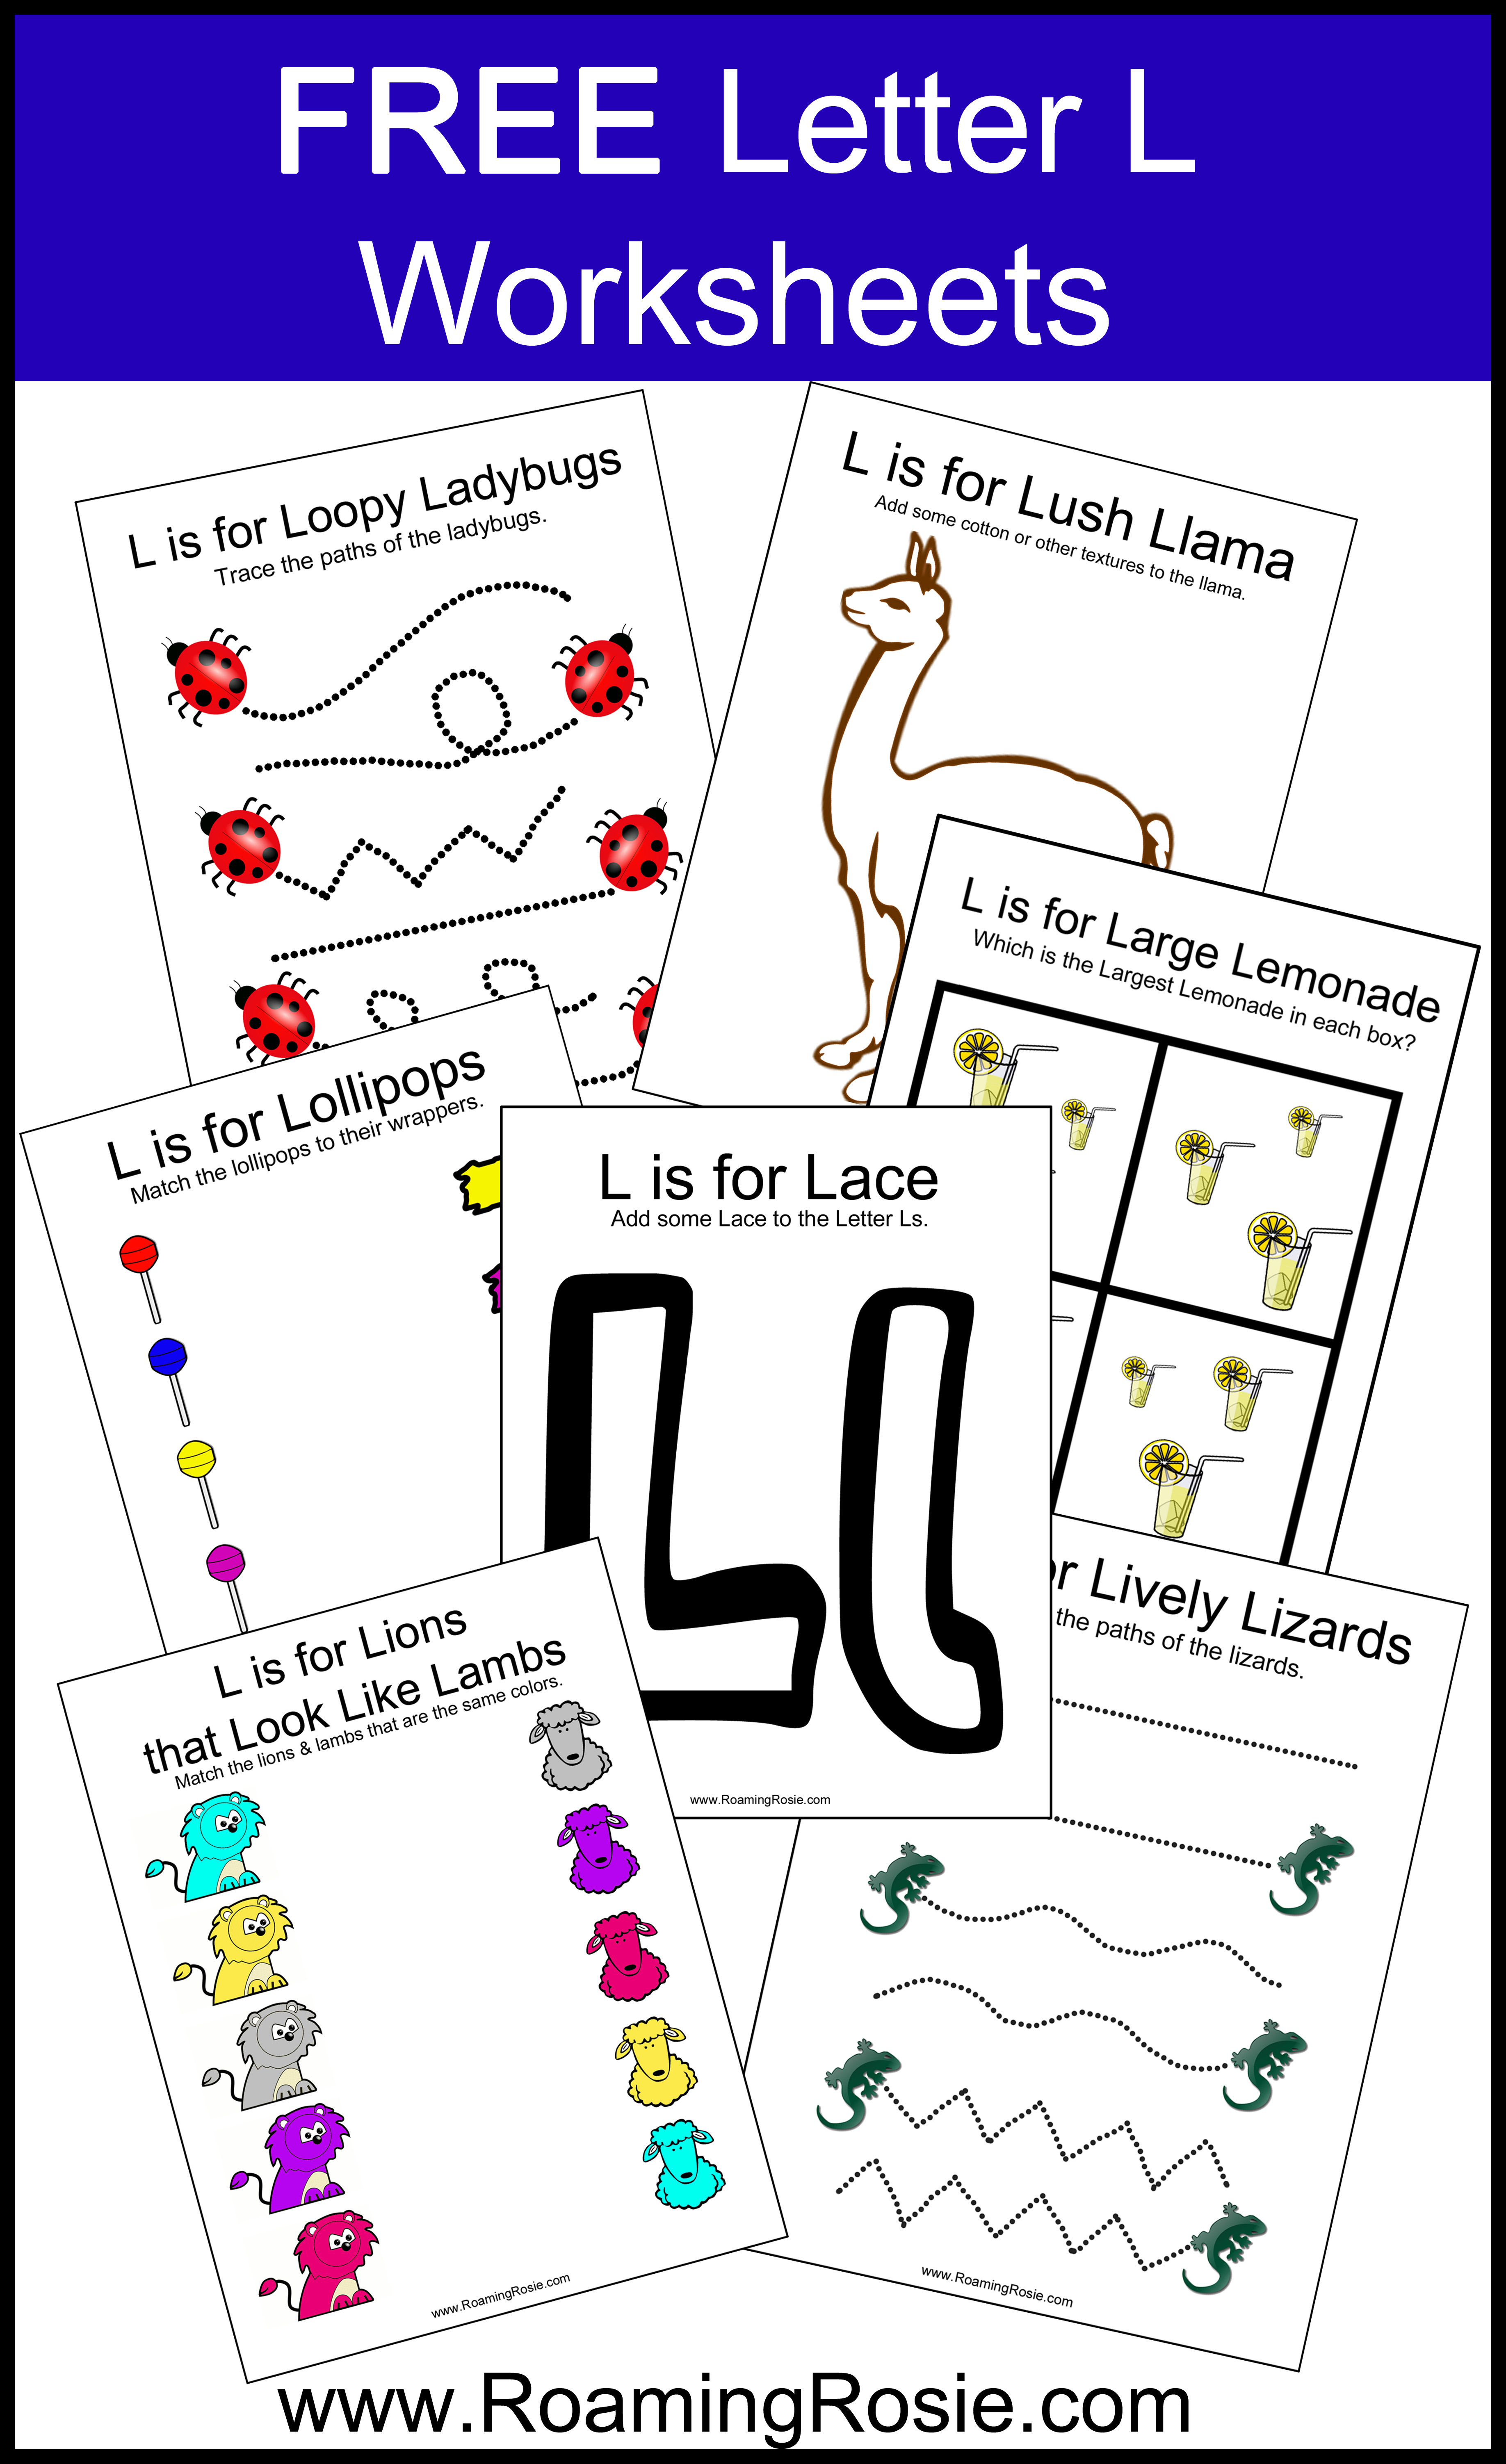
Letter Shape Construction Paper Craft: make a lemur, lobster, lizard,lion, or leopard out of paper pieces glued together into a giant L shape.
Letter Sorting Craft: Ladybugs on Leaves or water drops on Lighthouses– cut out small red bugs (or just red circles) and put a big “L” or small “l” on each. Cut out 2 leaves and label each with a big “L” or small “l” so they can sort the ladybugs (or ladybirds, depending on your location). Or cut out or draw some lighthouses and use letters on blue paper to sort the “water drops” onto the correct lighthouse. Or both. Really, you can do as many of these as you have time to make.
Leap like a lemur or a lion, possibly from L to L after drawing out Ls with chalk on the ground
Lick a lollipop
Make lemonade.
Laugh at each other’s jokes
Do a Leaf Rubbing. Place some leaves on a hard surface, cover them with paper, and rub over them with an unwrapped crayon.
Launch game: set up a line of toy cars and “launch” them on command (3,2,1 … launch!) at a target, possibly an “L” cut out of paper.
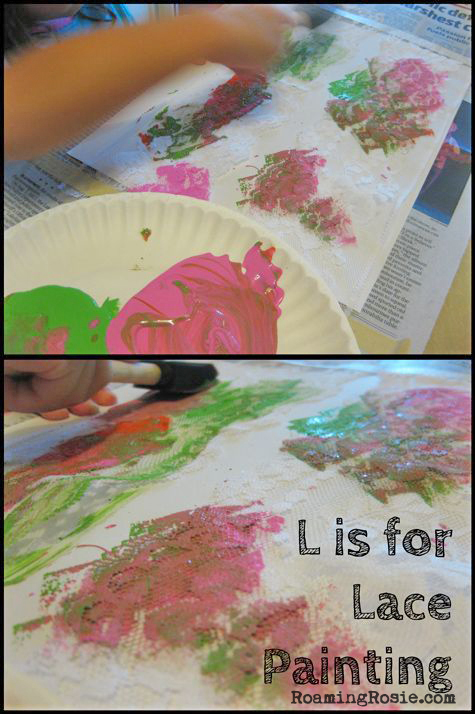
Any type of lace craft. I let my Littles just paint on the lace as a sensory activity and to explore the patterns it would make.
Now for the free worksheets!
To get them, simply click on the links listed below this preview:
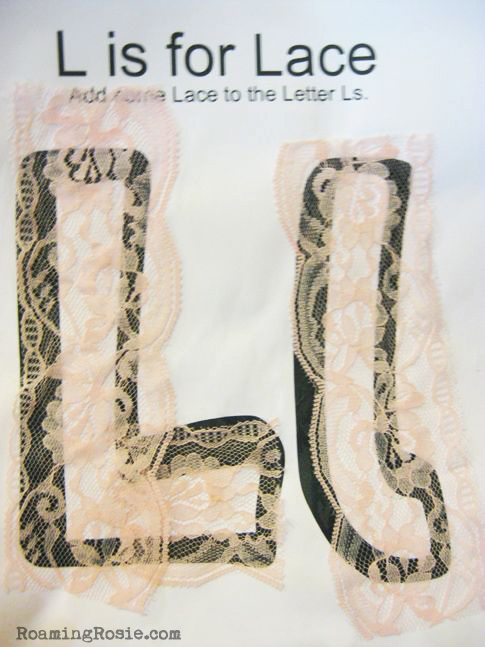
For the Lace worksheet, I found some cheap lace at the dollar store to let them cut up and play with as well as glue down on the paper. And for the Lush Llamas, they pulled apart some cotton balls to glue down. These were great for sensory play.
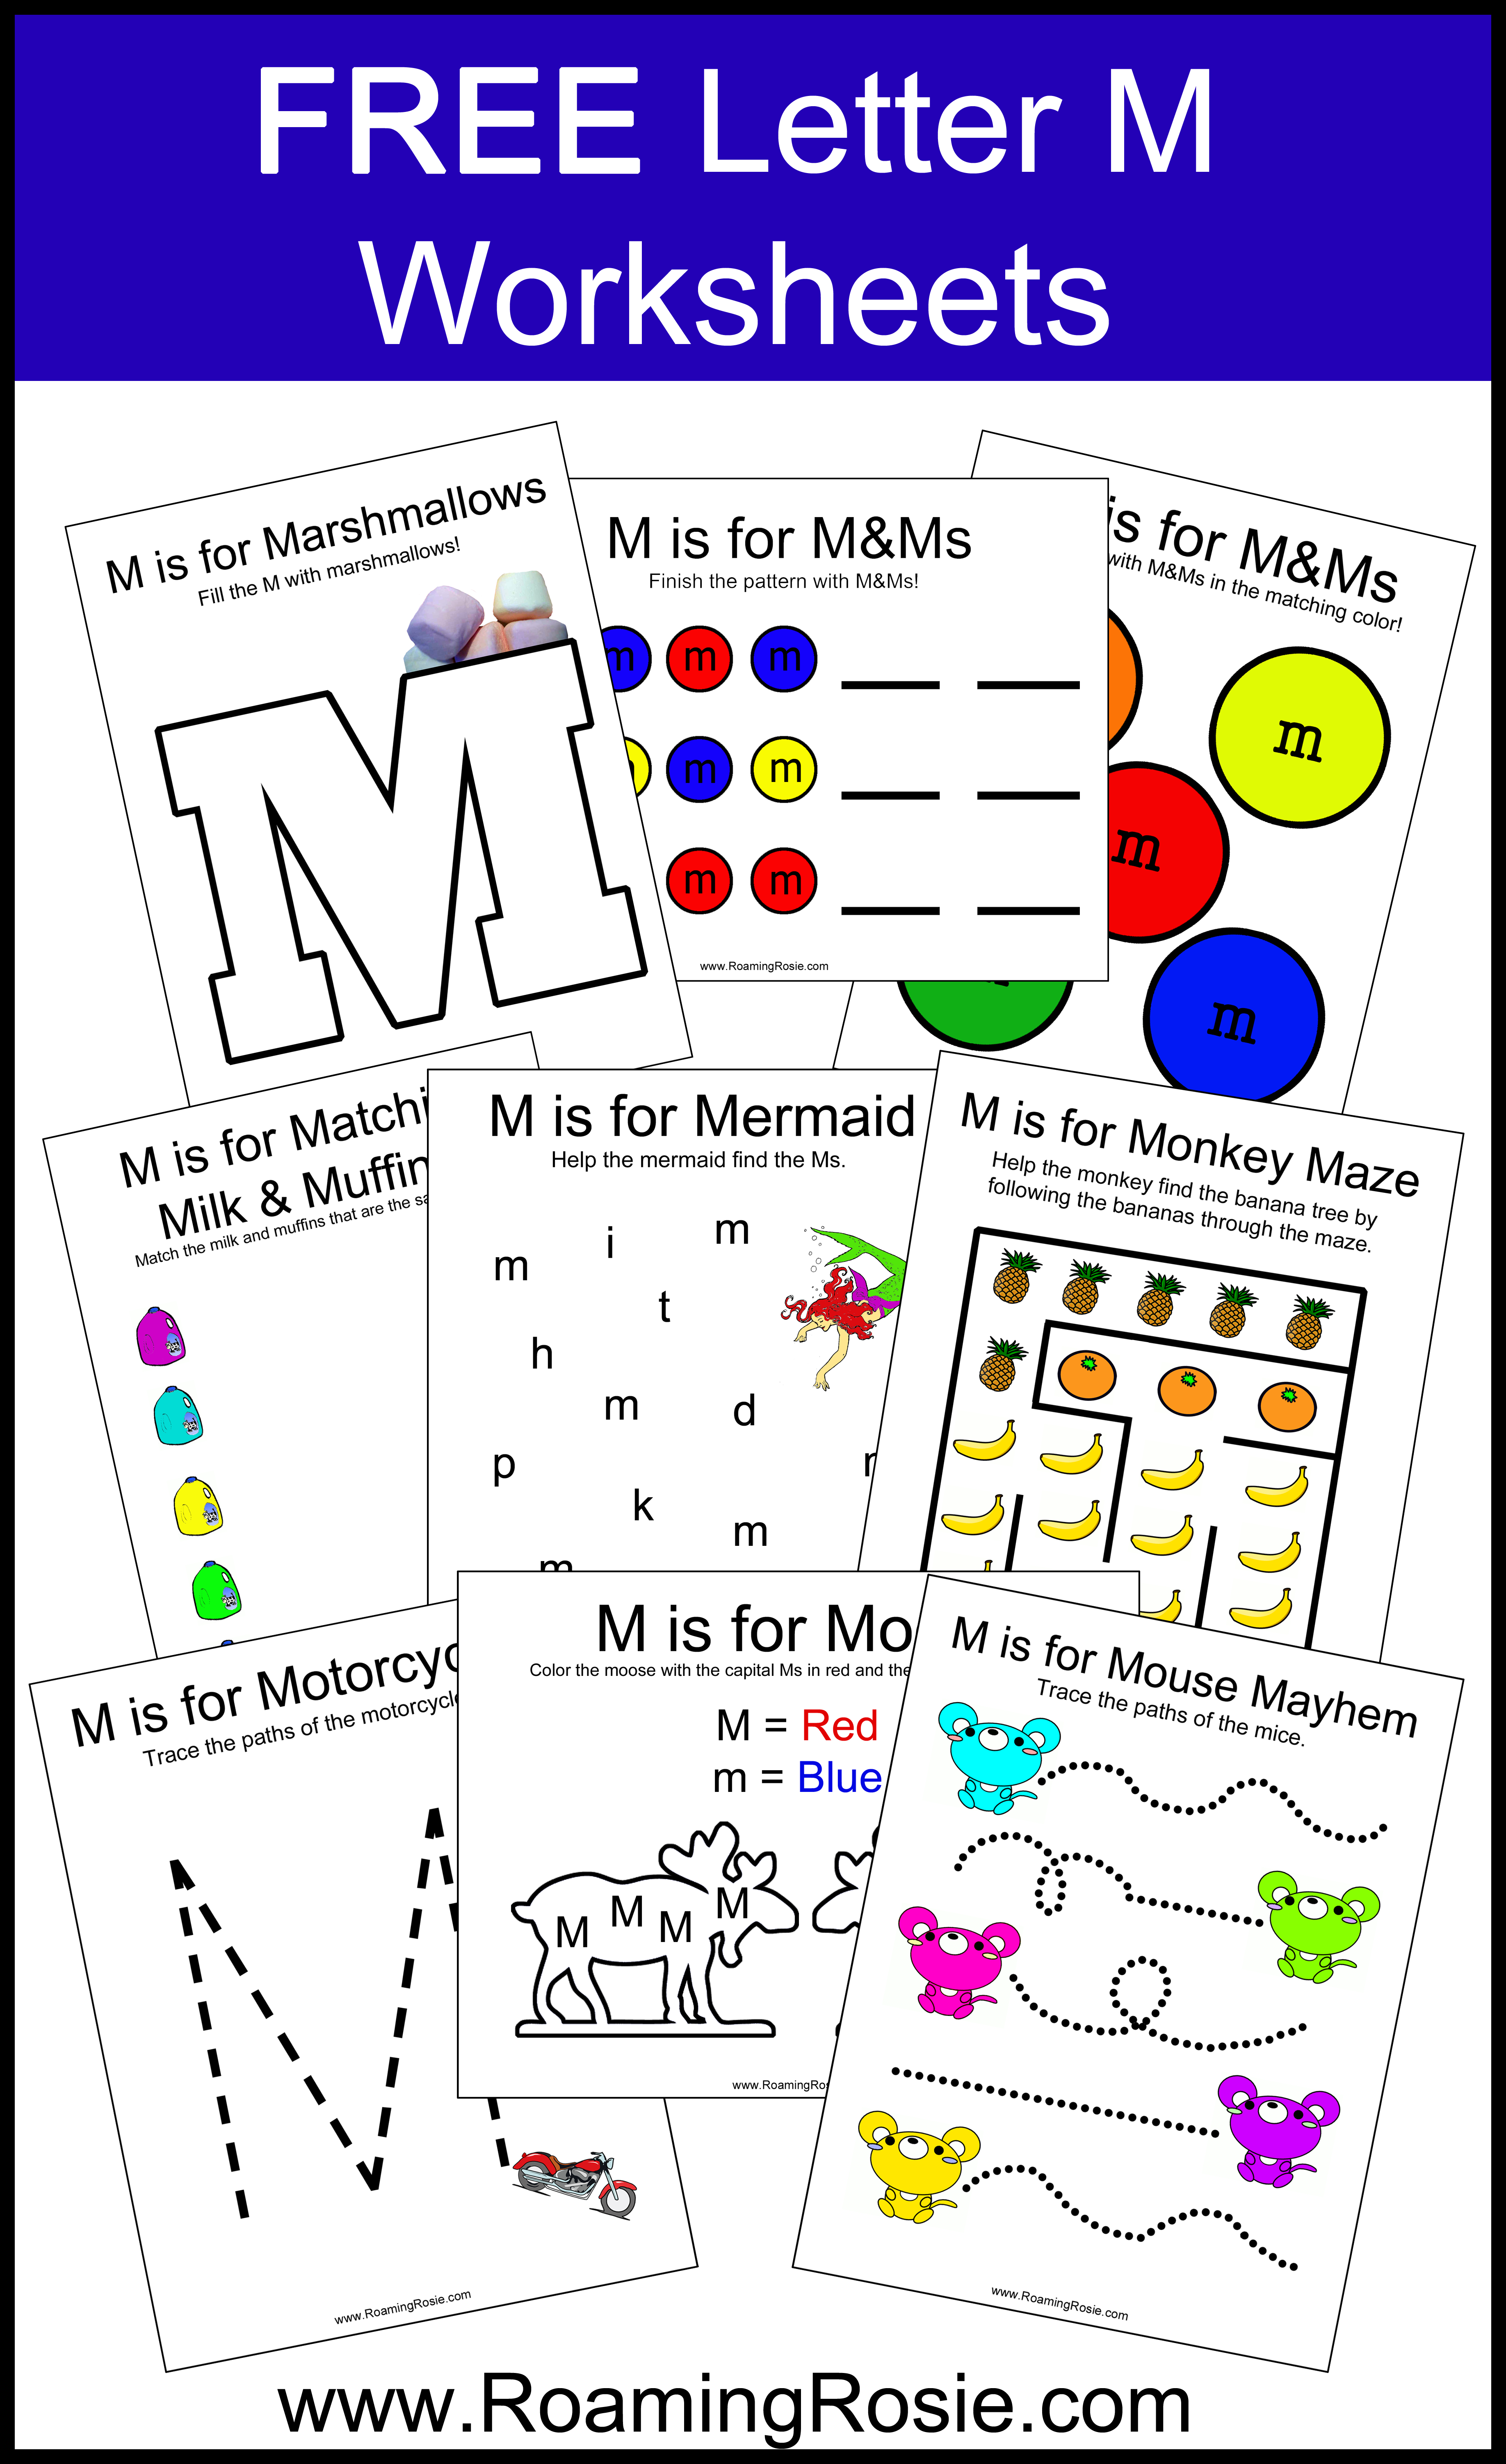
Letter Shape Construction Paper Craft: make a monkey, moose, mouse or macaw out of paper pieces in the shape of a giant M.
Letter Sorting Craft: Mud! Cut out two uneven circles of brown paper to represent mud puddles, and cut out capital “M” and lowercase “m” pieces for your child to sort into the two puddles. Or cut out 2 of the above-mentioned animals and sort the letters onto those. Sooo many options!
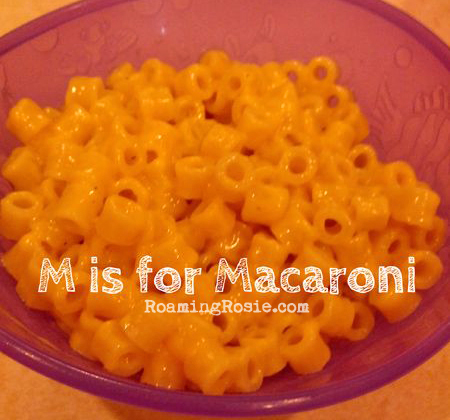
Macaroni craft: make something out of gluing dried pasta (macaroni) to paper in the shapes of a giant “M,” or make a necklace out of stringing dried pasta onto yarn. Consider coloring the macaroni with markers.
Map Making: make a map of your house or backyard or bedroom. Any type of map will do – simple squares and squiggles are great. For some more examples, see this “mystery map” we made.
Practice Mindfulness with Meditation.
Go on a Merry March! Create a giant “M” out of painters tape if indoors or out of chalk if outdoors, and march back and forth over that. (Kind of like our Footprint activity.)
“M is for Music and Mountains under the Moon.” Okay, sometimes I just picked a lot of words that start with the letter (especially if they’re relatively easy to cut out) and let my Littles make their own … wait for it … mural. (See photo below.)
Now for the free worksheets!
To get them, simply click on the links listed below this preview:
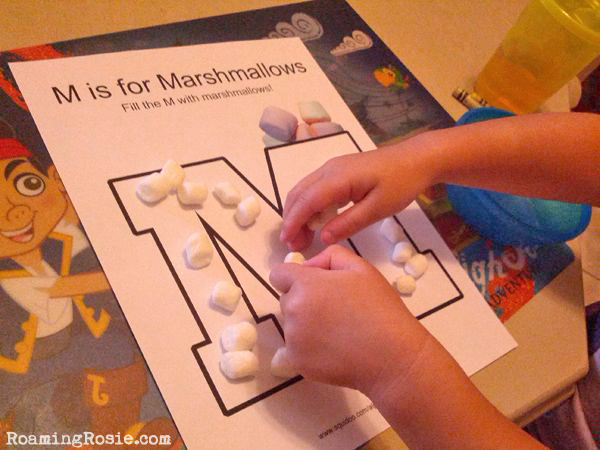
Two of these worksheets require M&M or very similar candy. And for the Marshmallow activity, I did provide a bag of mini marshmallows. You could substitute dot markers for marshmallows, I suppose, but there are plenty of worksheets without any candy if you prefer to avoid it.
Letter Shape Construction Paper Craft: make a newt or narwhal out of paper pieces in the shape of an N.
Letter Sorting Craft: cut out 2 pieces of paper in the shapes of nachos or novels or bird nests, and cut out capital “N” and lowercase “n” pieces to sort onto them.
Take a nap.
Navigate Nature by taking a hike. Perhaps in your neighborhood.
Make your name out of dried noodles. You can glue them to a piece of construction paper, or just sculpt it for fun.
You can also make a Noodle Necklace out of dried pasta and yarn. (There’s a repeating theme here with the macaroni and pasta and noodles, but what can I say? I’m Italian. I always have it in the house.)
If it happens to be winter, you could sing Noel.
Now for the free worksheets!
To get them, simply click on the links listed below this preview:
These N worksheets include one that has the child place nickles on the circle, to help with motor control, but you could also fill those in with dot markers, of course. For the Newspaper one, we ripped up tiny pieces to then glue into the N shape. Always fun to make a mess. For the Numbers worksheet, I happened to find number-shape stickers at my dollar store – don’t forget to check the mail and office supply section!
Letter Shape Construction Paper Craft: make an octopus, owl, orangutan, ostrich, or otter out of paper pieces into the shape of an O.
Letter Sorting Craft: cut out 2 paper orchids, overcoats, oysters, or oak trees and cut out capital “O” and lowercase “o” pieces to sort onto them.
If you live by a beach, visit the ocean.
Observe what happens when you drip olive oil into a bowl of water with a dropper.
Make some more of the Green Goo from Letter G Day and let is Ooze through your fingers.
Learn outdoors by moving your “office” outside.
Make a flower out of onion paper peels.
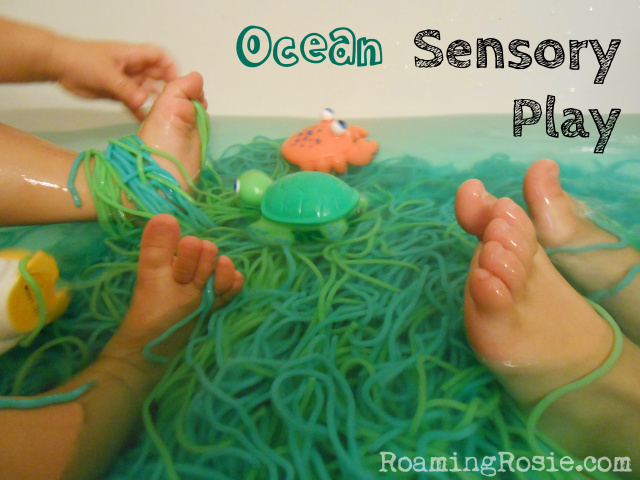
Do an Ocean sensory play bath. This is one of my all-time favorite activities, and the Littles loooved it. If you don’t have a tub, you could always make a sensory bin inside a bucket or container.
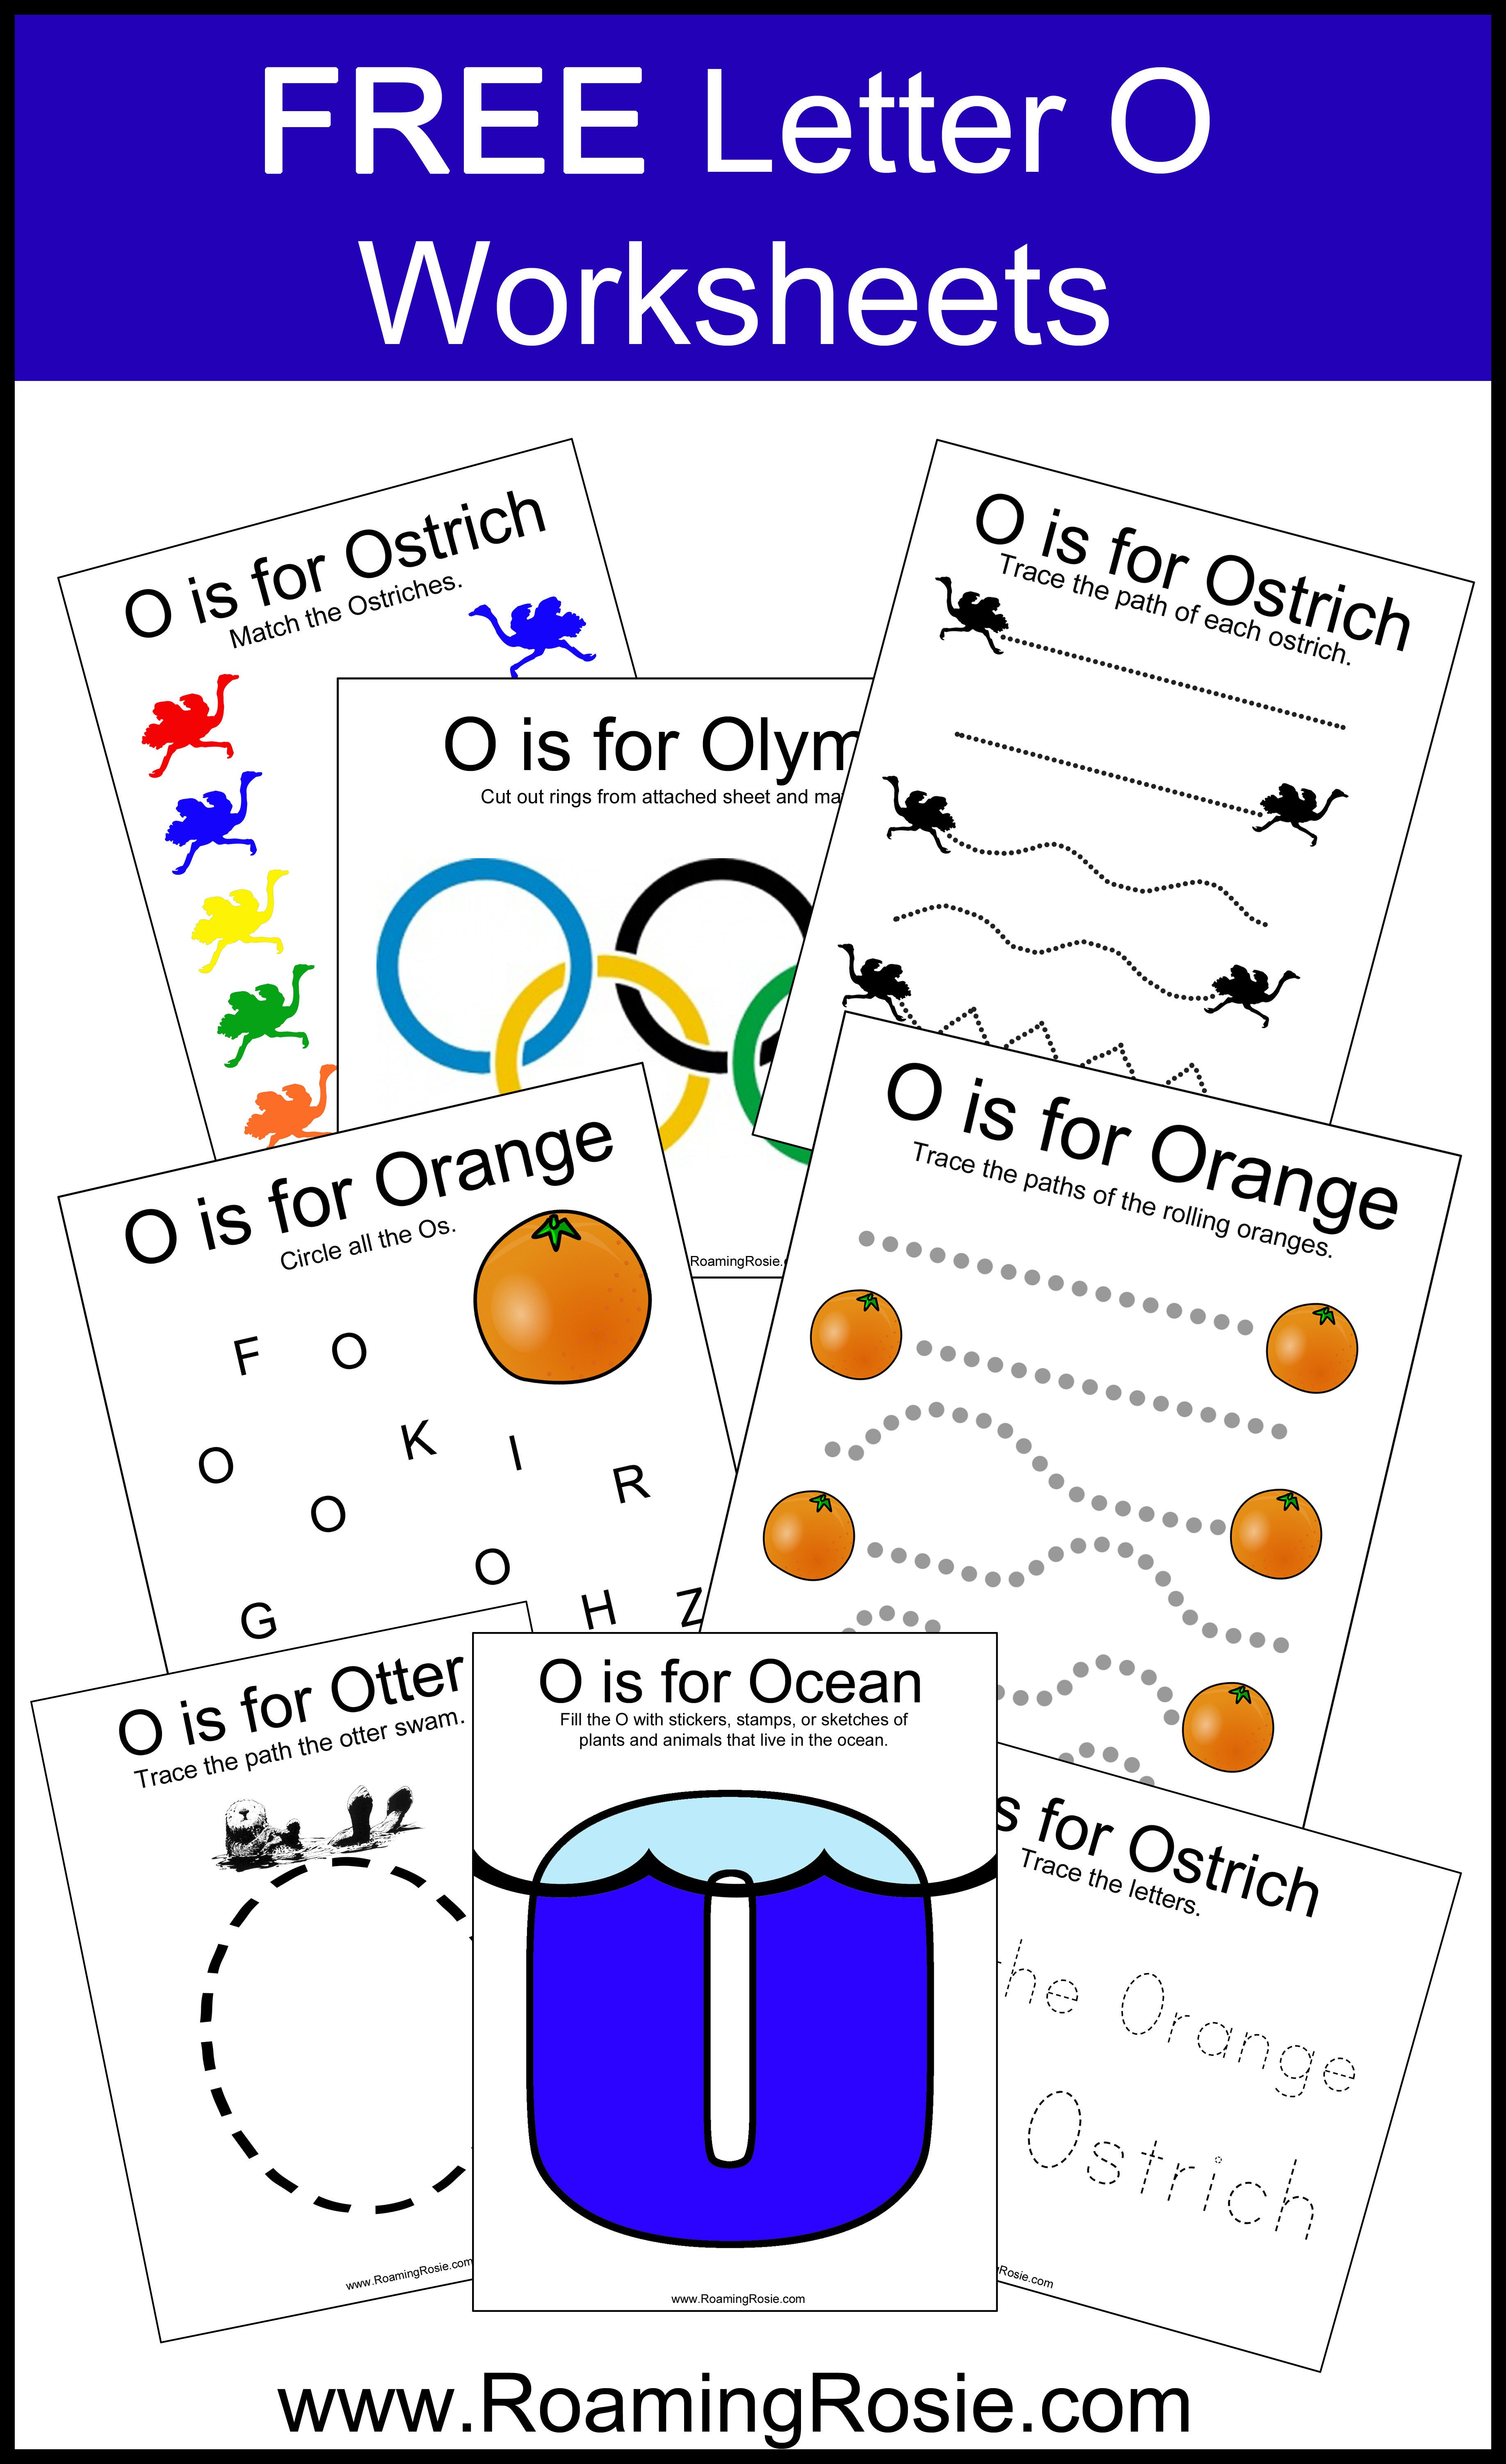
Now for the free worksheets!
To get them, simply click on the links listed below this preview:
For the Olympics worksheets, you can cut out the rings from the 2nd worksheet and let your Little match them with the 1st worksheet. For the Ocean worksheet, I happened to find animal-shaped stickers of ocean dwellers. Your Little, as always, could draw their own animals instead, or perhaps cut some photos out of an old magazine.
Here’s the thing: many years ago I was having a lot of fun making these Alphabet Activities to share with everyone while doing all of these fun activities with my own Littles:
Then, my computer crashed.
And we all know to back up our stuff, right? Of course we do. But do we always remember to?
Sigh…
So I lost a LOT of photos that I’d transferred to my computer. It wasn’t just Alphabet Activity photos I lost either – it included other recent photos of my kids and other projects I’d been working on. And I was also smack in the middle of a really messy divorce. It was a rough time.
Then … life took over. Things got busy. The kids got older.
And I kinda gave up.
But I am OBSESSED with the alphabet (is that a librarian thing?), and this was always one of my favorite projects. I even managed to find most of the worksheets that I actually HAD backed up.
I decided to reopen this project. Why not, right? It’s never too late.
Okay, my kids are admittedly too old to photograph doing toddler and preschool crafts, BUT I can still post the worksheets. I can even offer some ideas and make suggestions similar to what you’ll find on my original posts.
What I did decide to do was combine the rest of the letters. I used to make 2 posts per letter – one of just activities and one of the worksheets – but there isn’t a good reason to do that now.
I’ve planned out 3 final posts to wrap up this project: Letters K-O, Letters P-T, and Letters U-Z.
Over the next few weeks I’ll be releasing all the free worksheets – and I’m kind of excited about it!
Be sure to subscribe to my emails so you’ll be notified, and to follow me on Facebook and Pinterest so you get the updates.
It’s been a long road, but it feels good to know I’m still on my way.
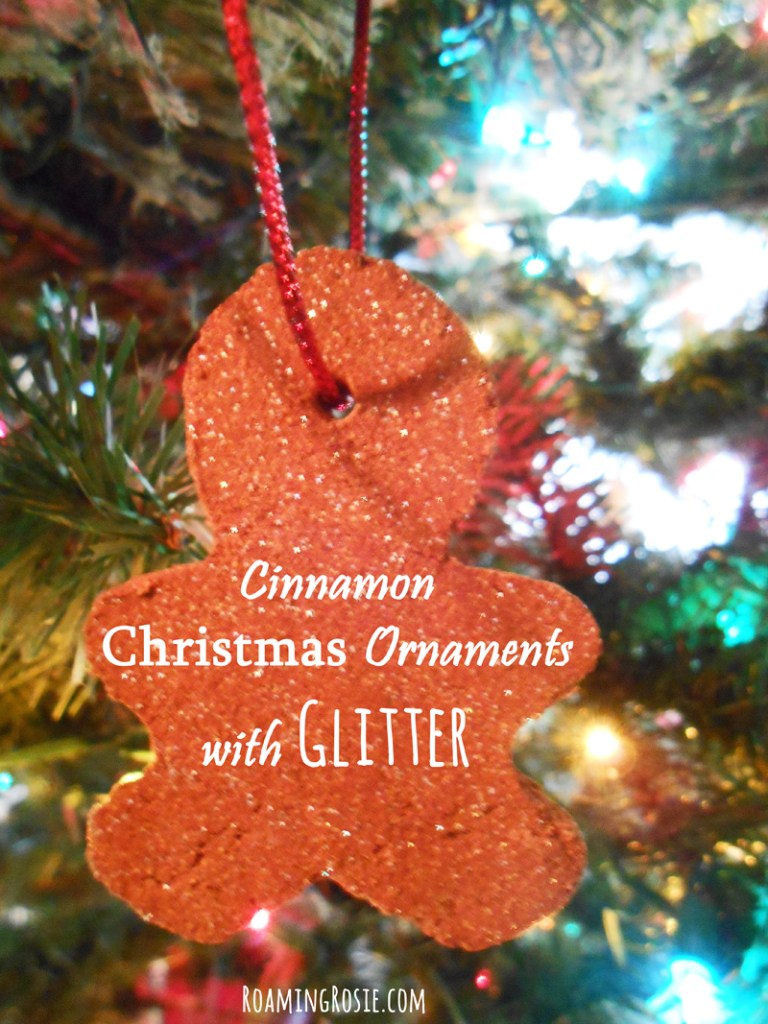
We make a new batch of these Cinnamon Christmas Ornaments every few years. They last quite a while, but I love the way the house smells when they’re baking! Plus, we try out new shapes each time.
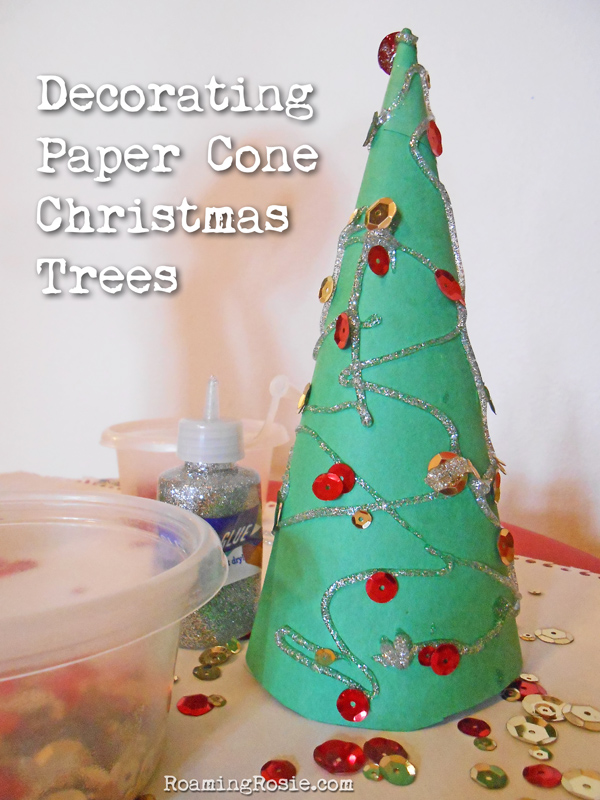
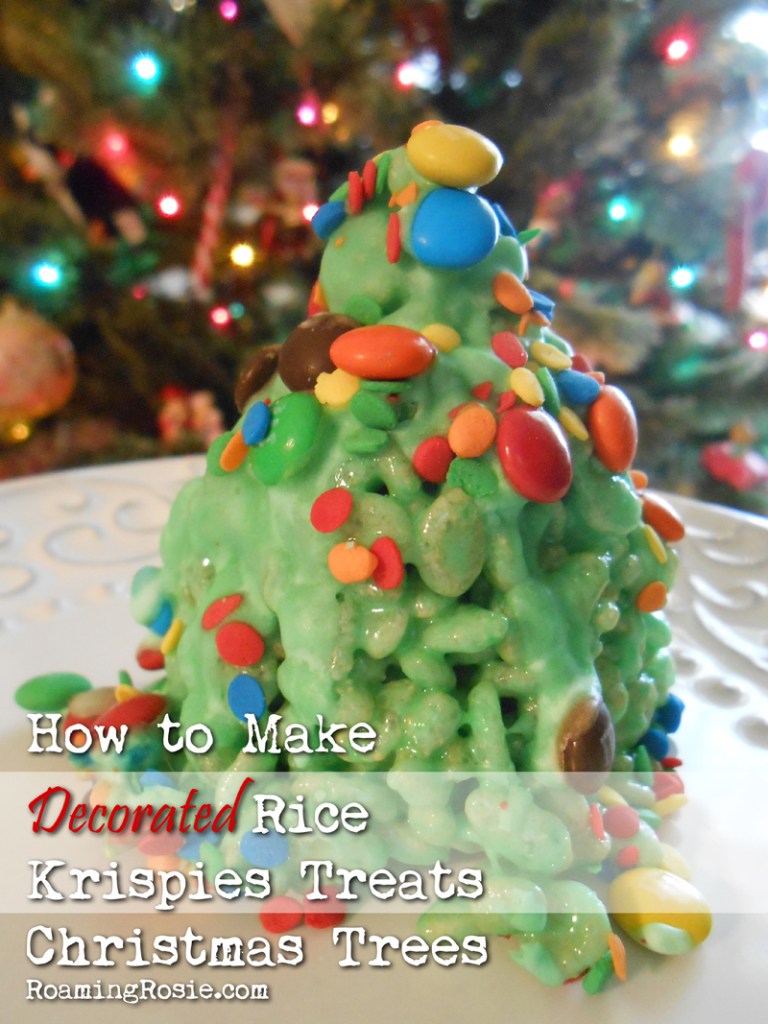
These Paper Cone Christmas Trees are perfect for little hands to keep busy with something you can proudly display!
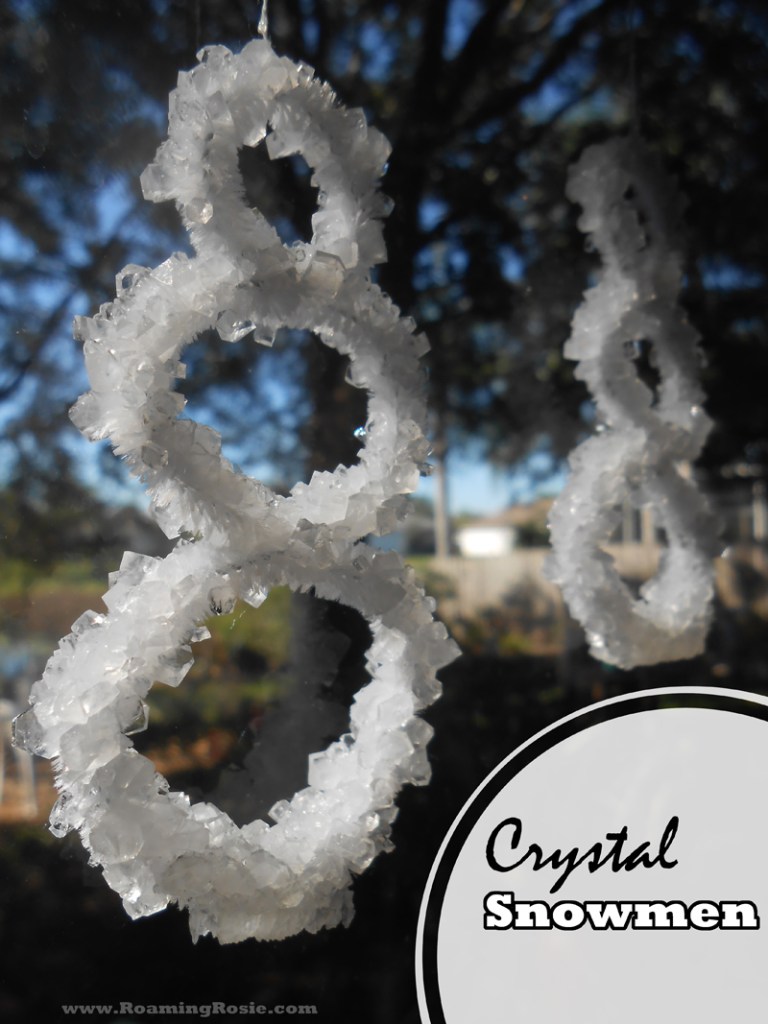
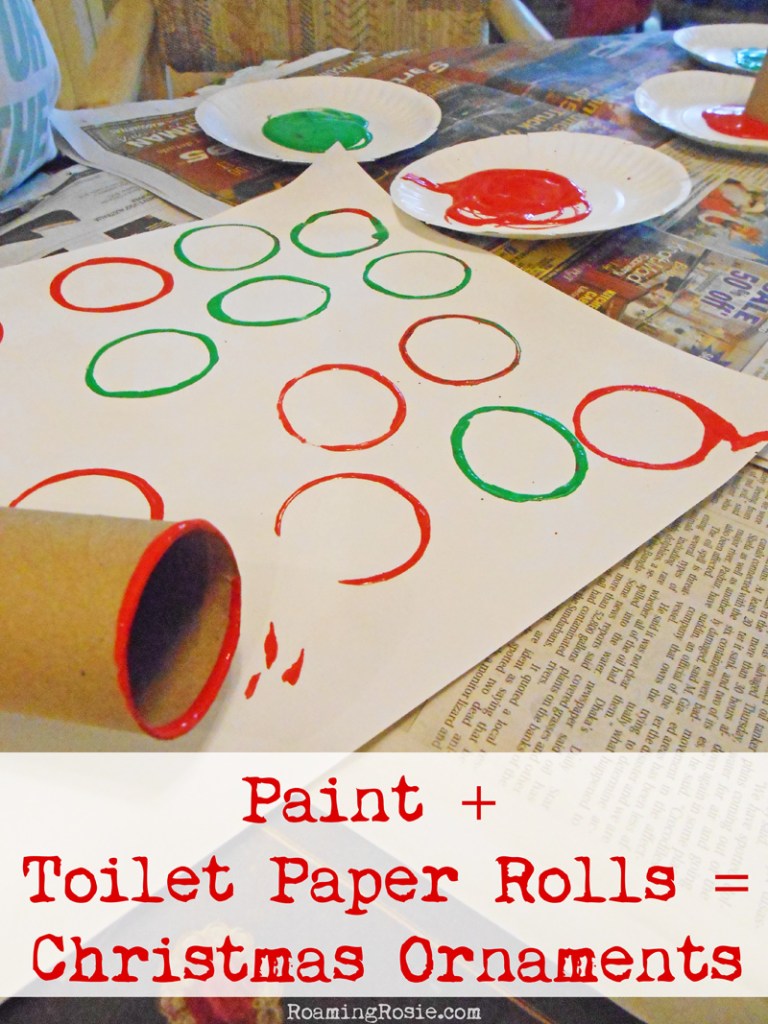
You could also make snowflakes instead of Crystal Snowmen – or sparkly circular ornaments.
Strictly speaking, this is something that I do for my kids as a surprise, but if you prefer, you could involve your littles in making their own Snowy Reindeer Feet.
This has always been one of my favorite Christmas crafts.
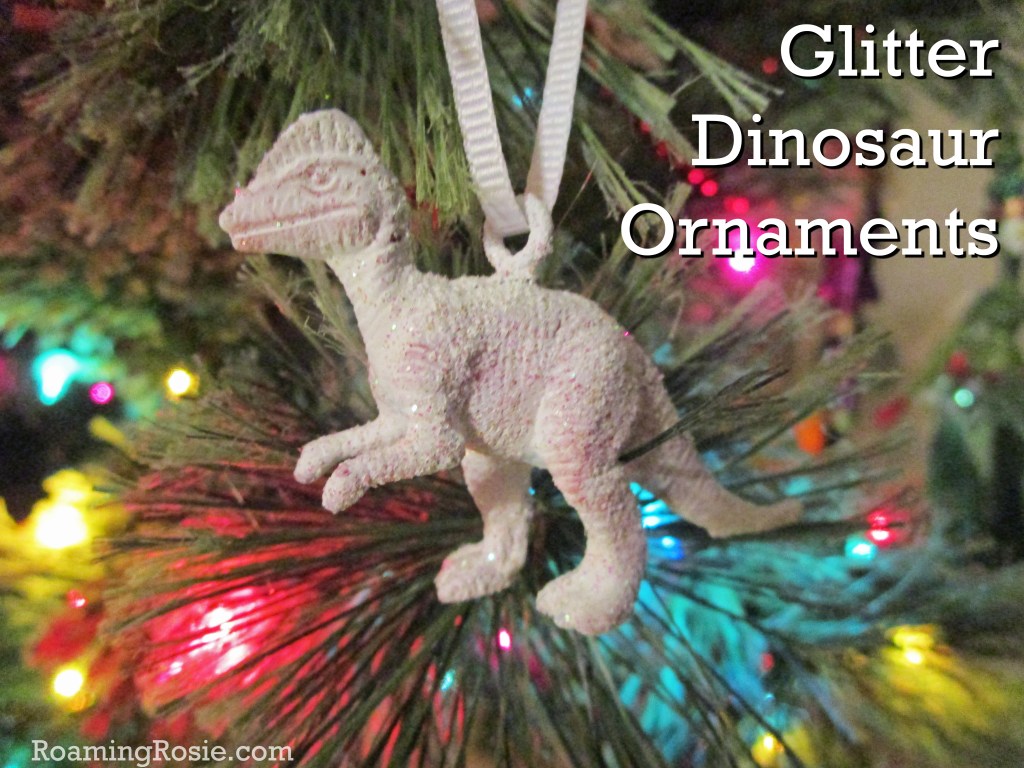
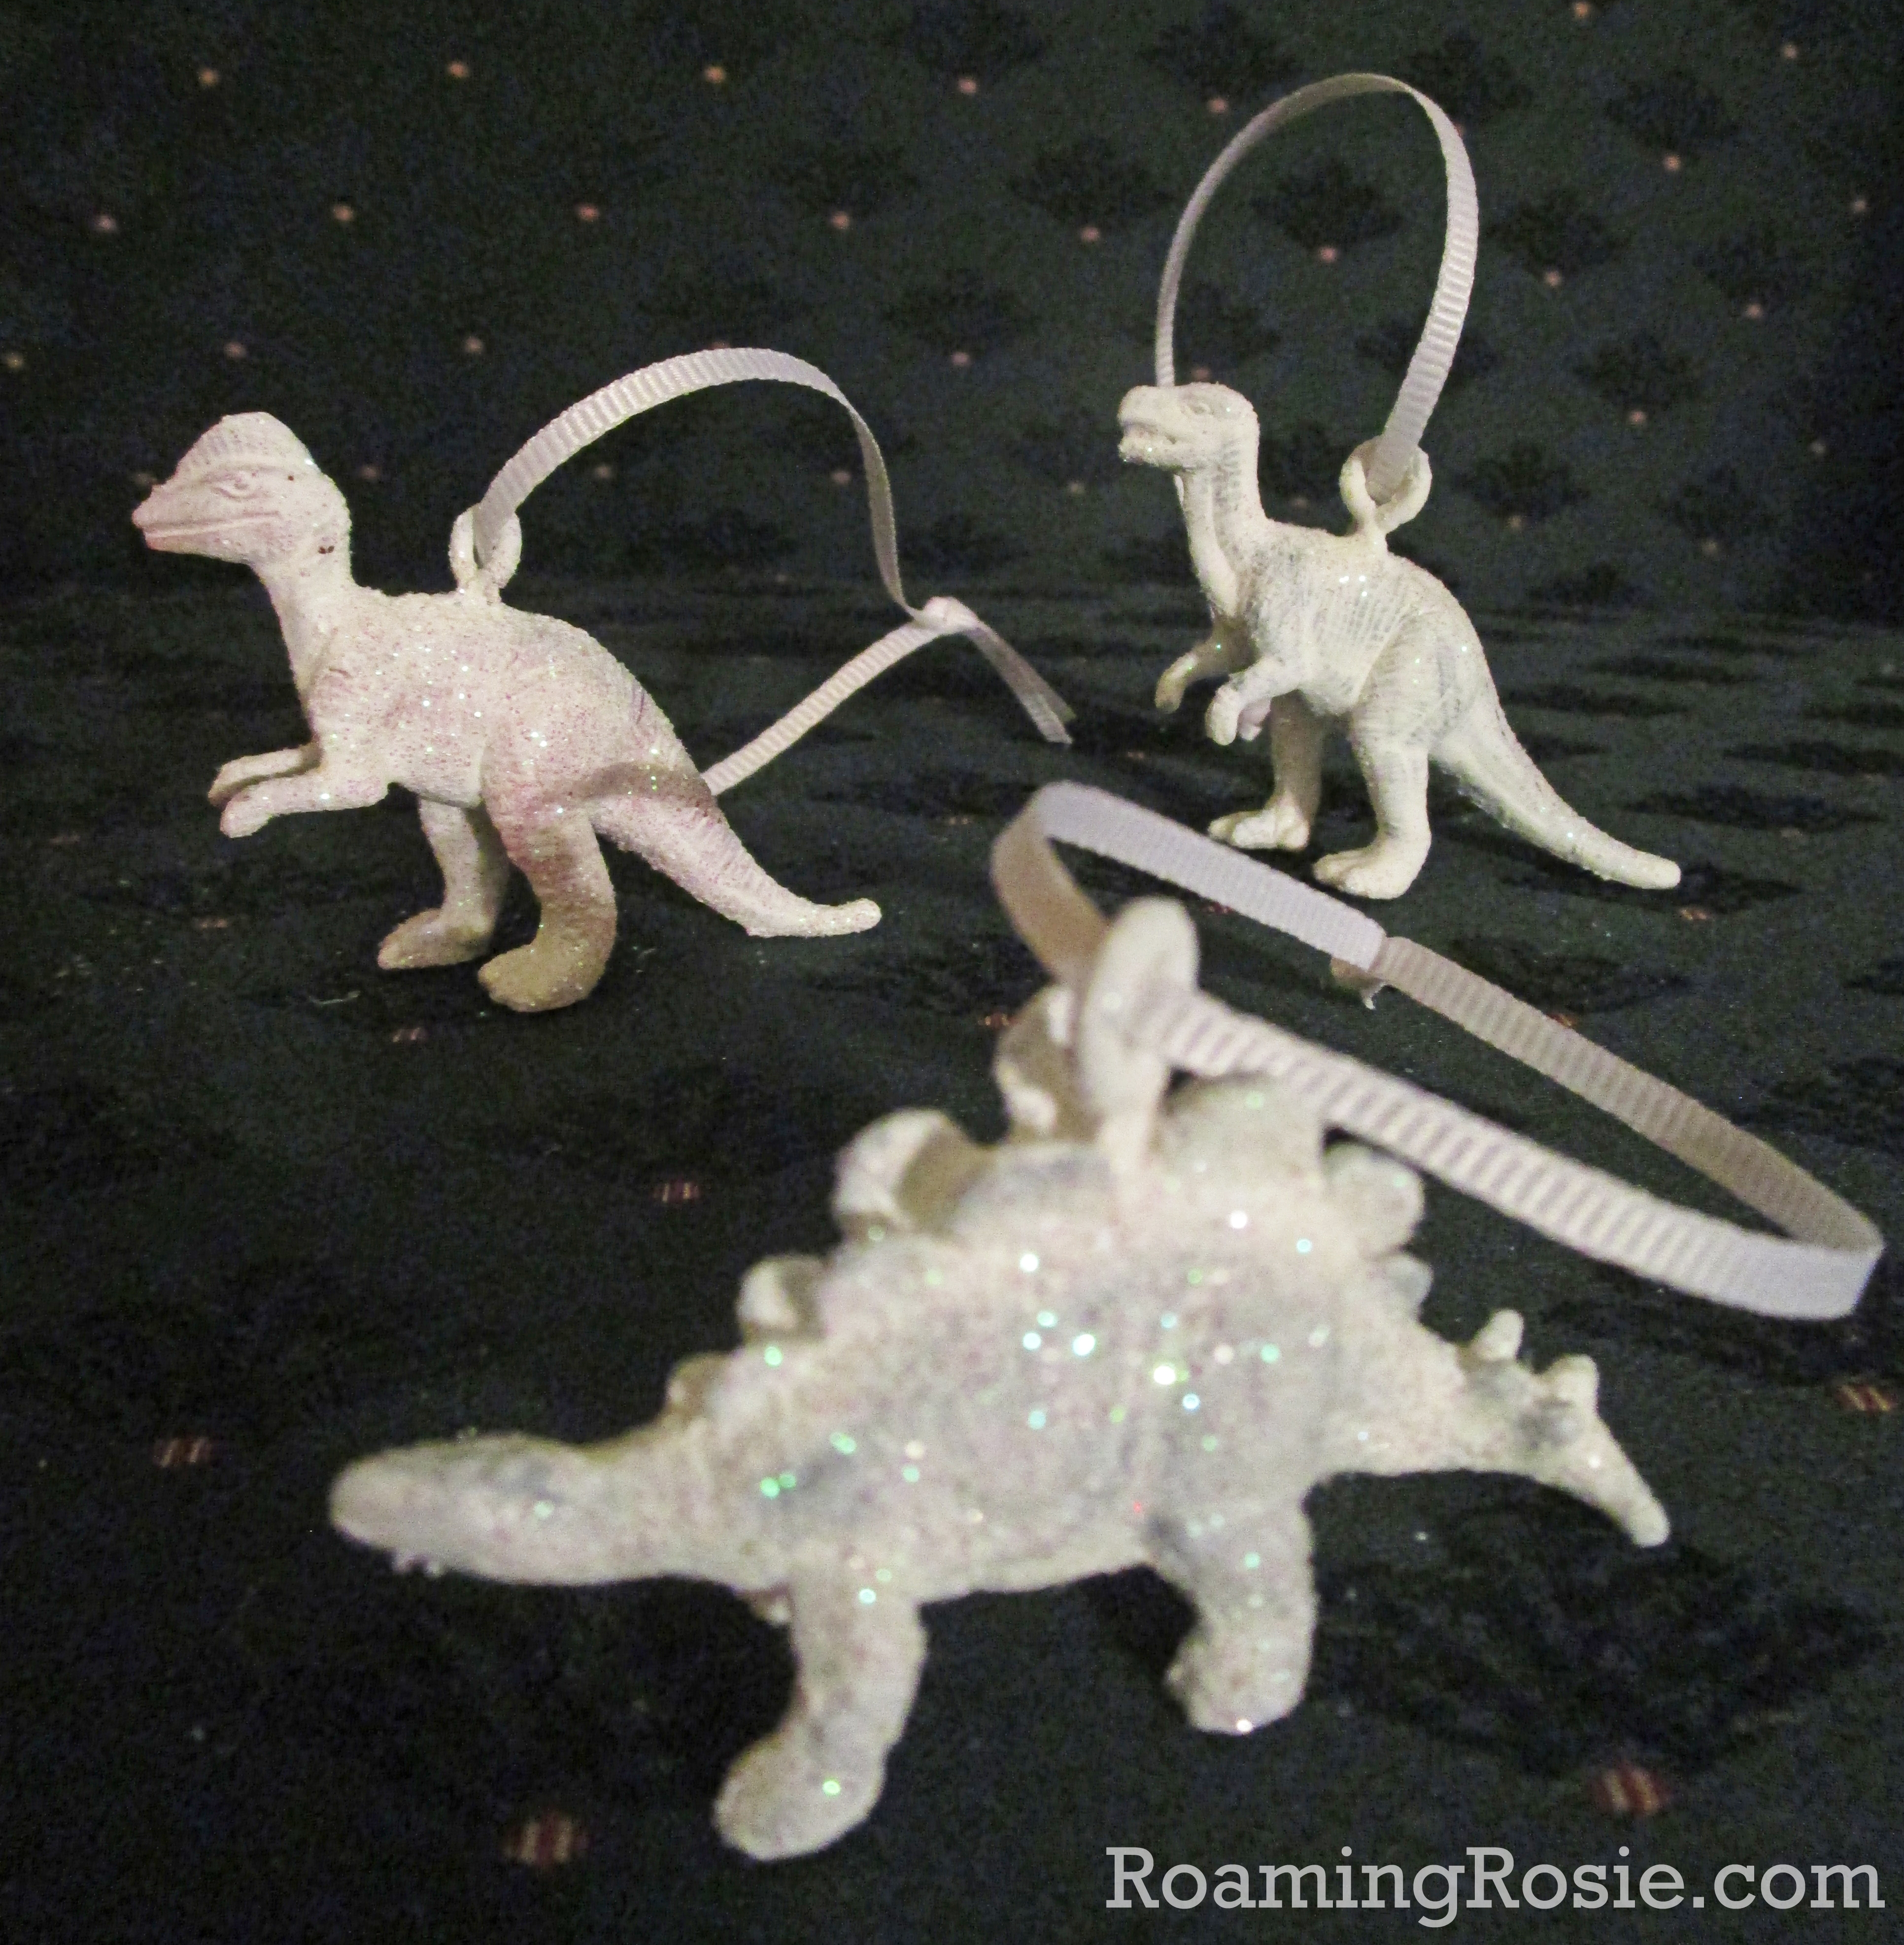
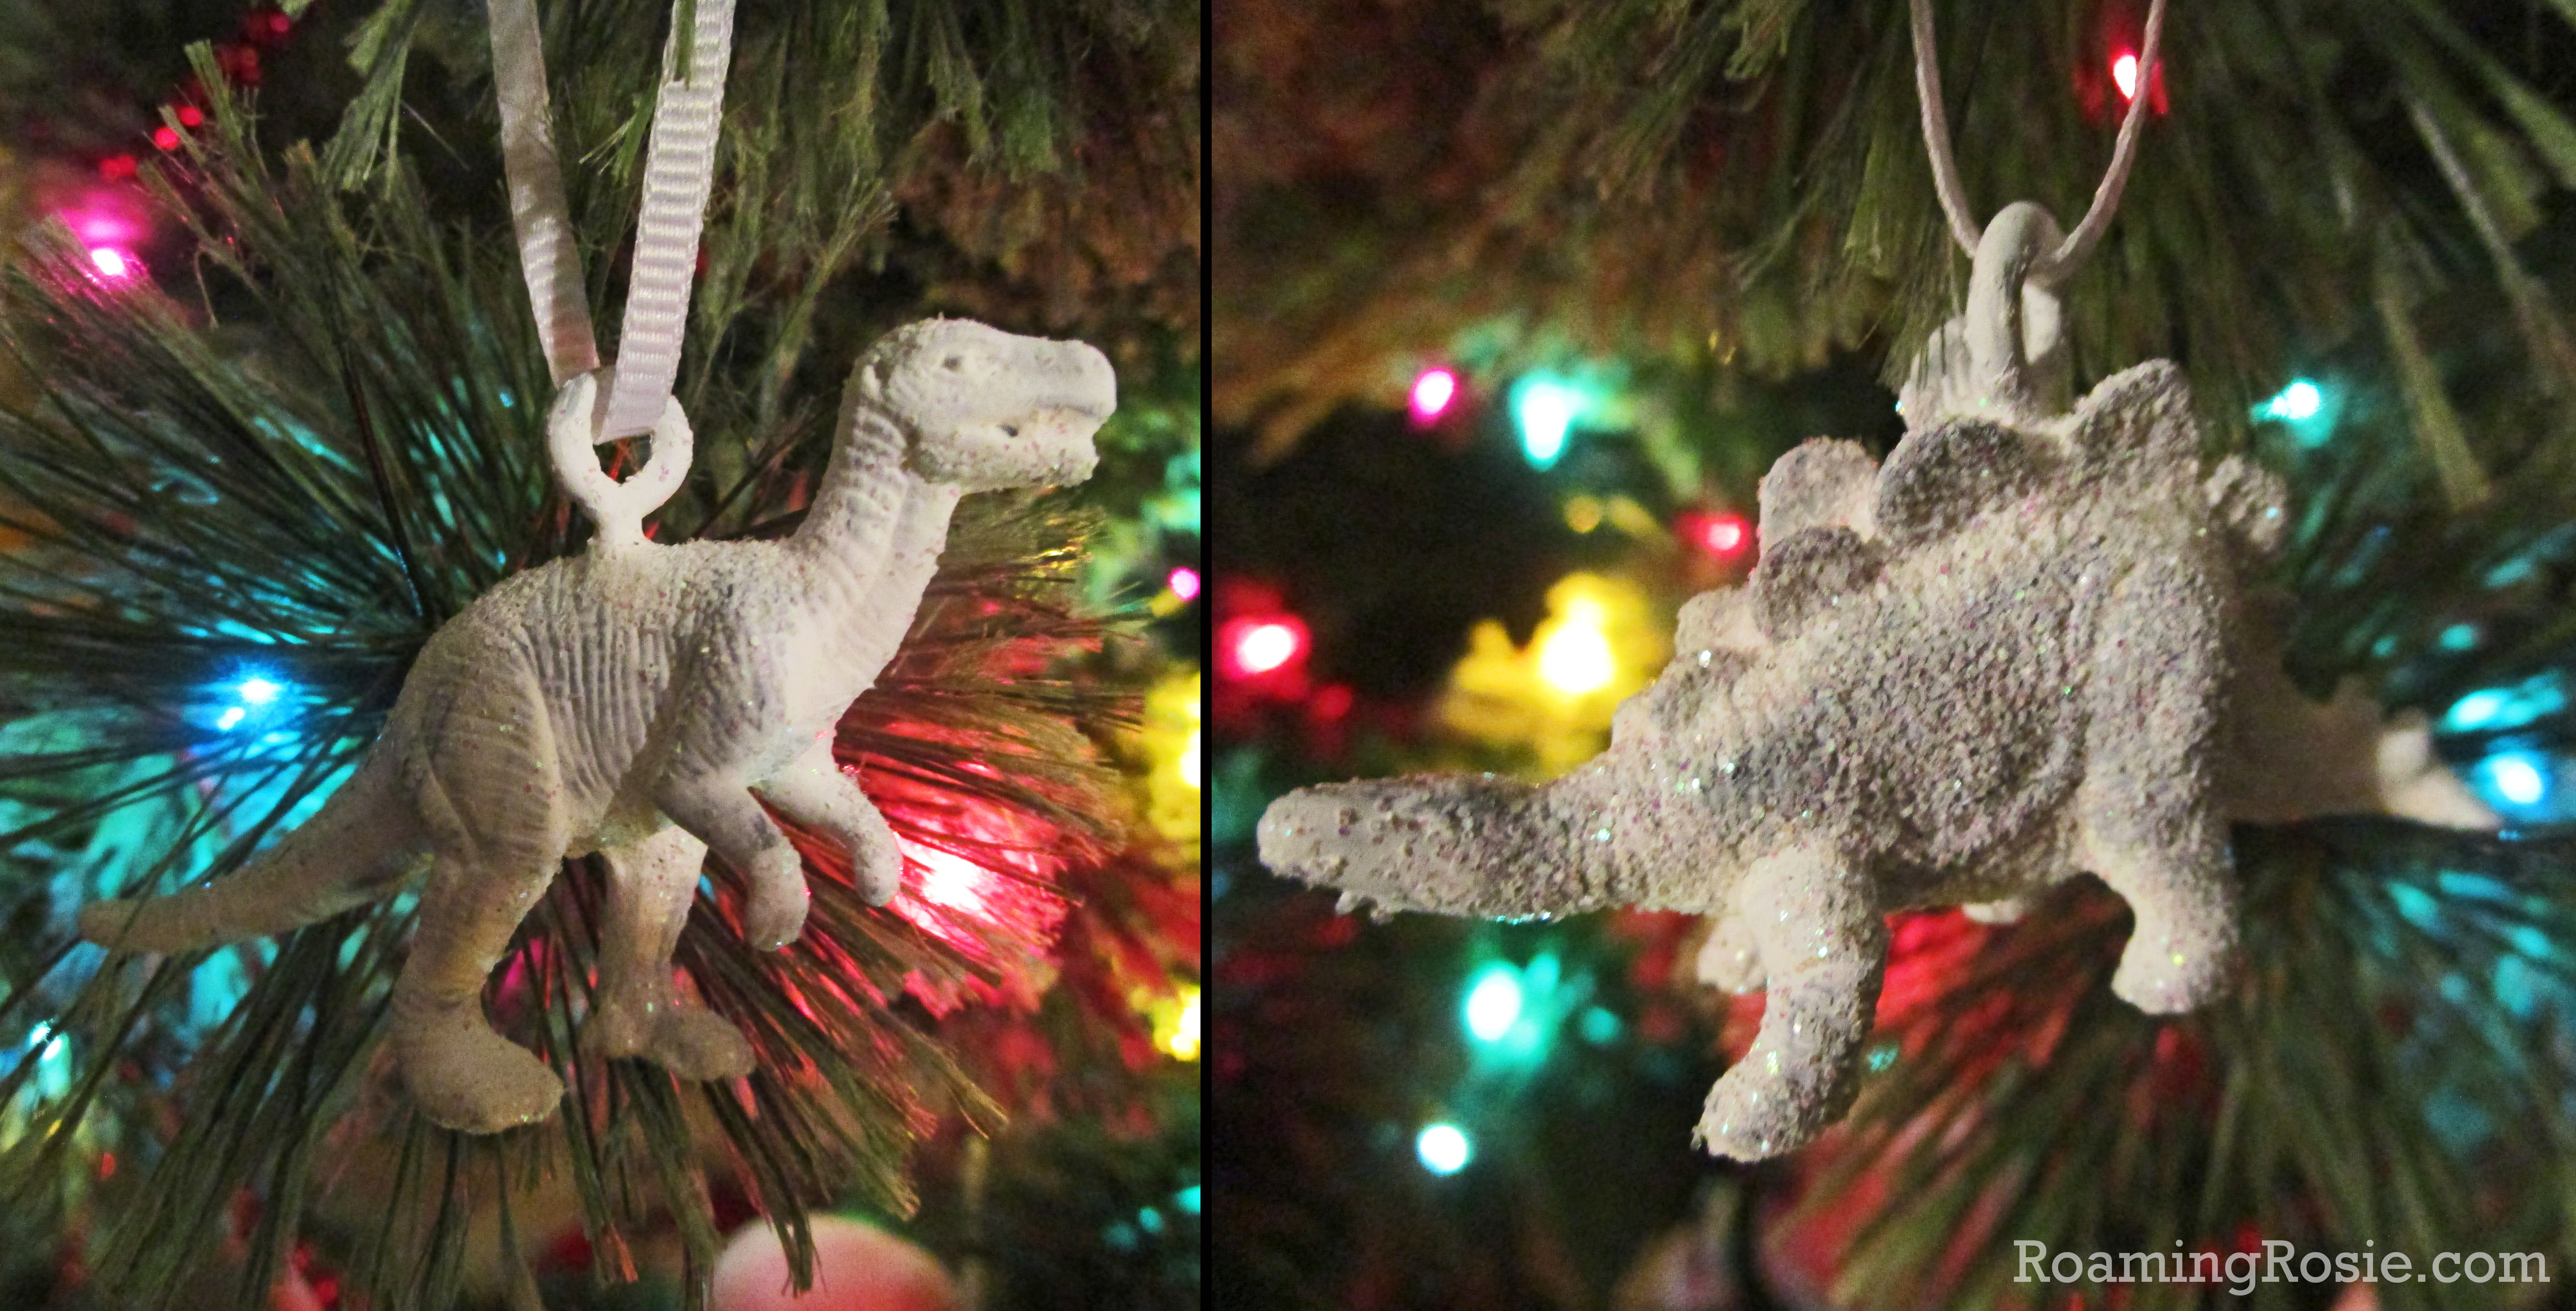
I mean, who doesn’t love dinosaurs covered in glitter??
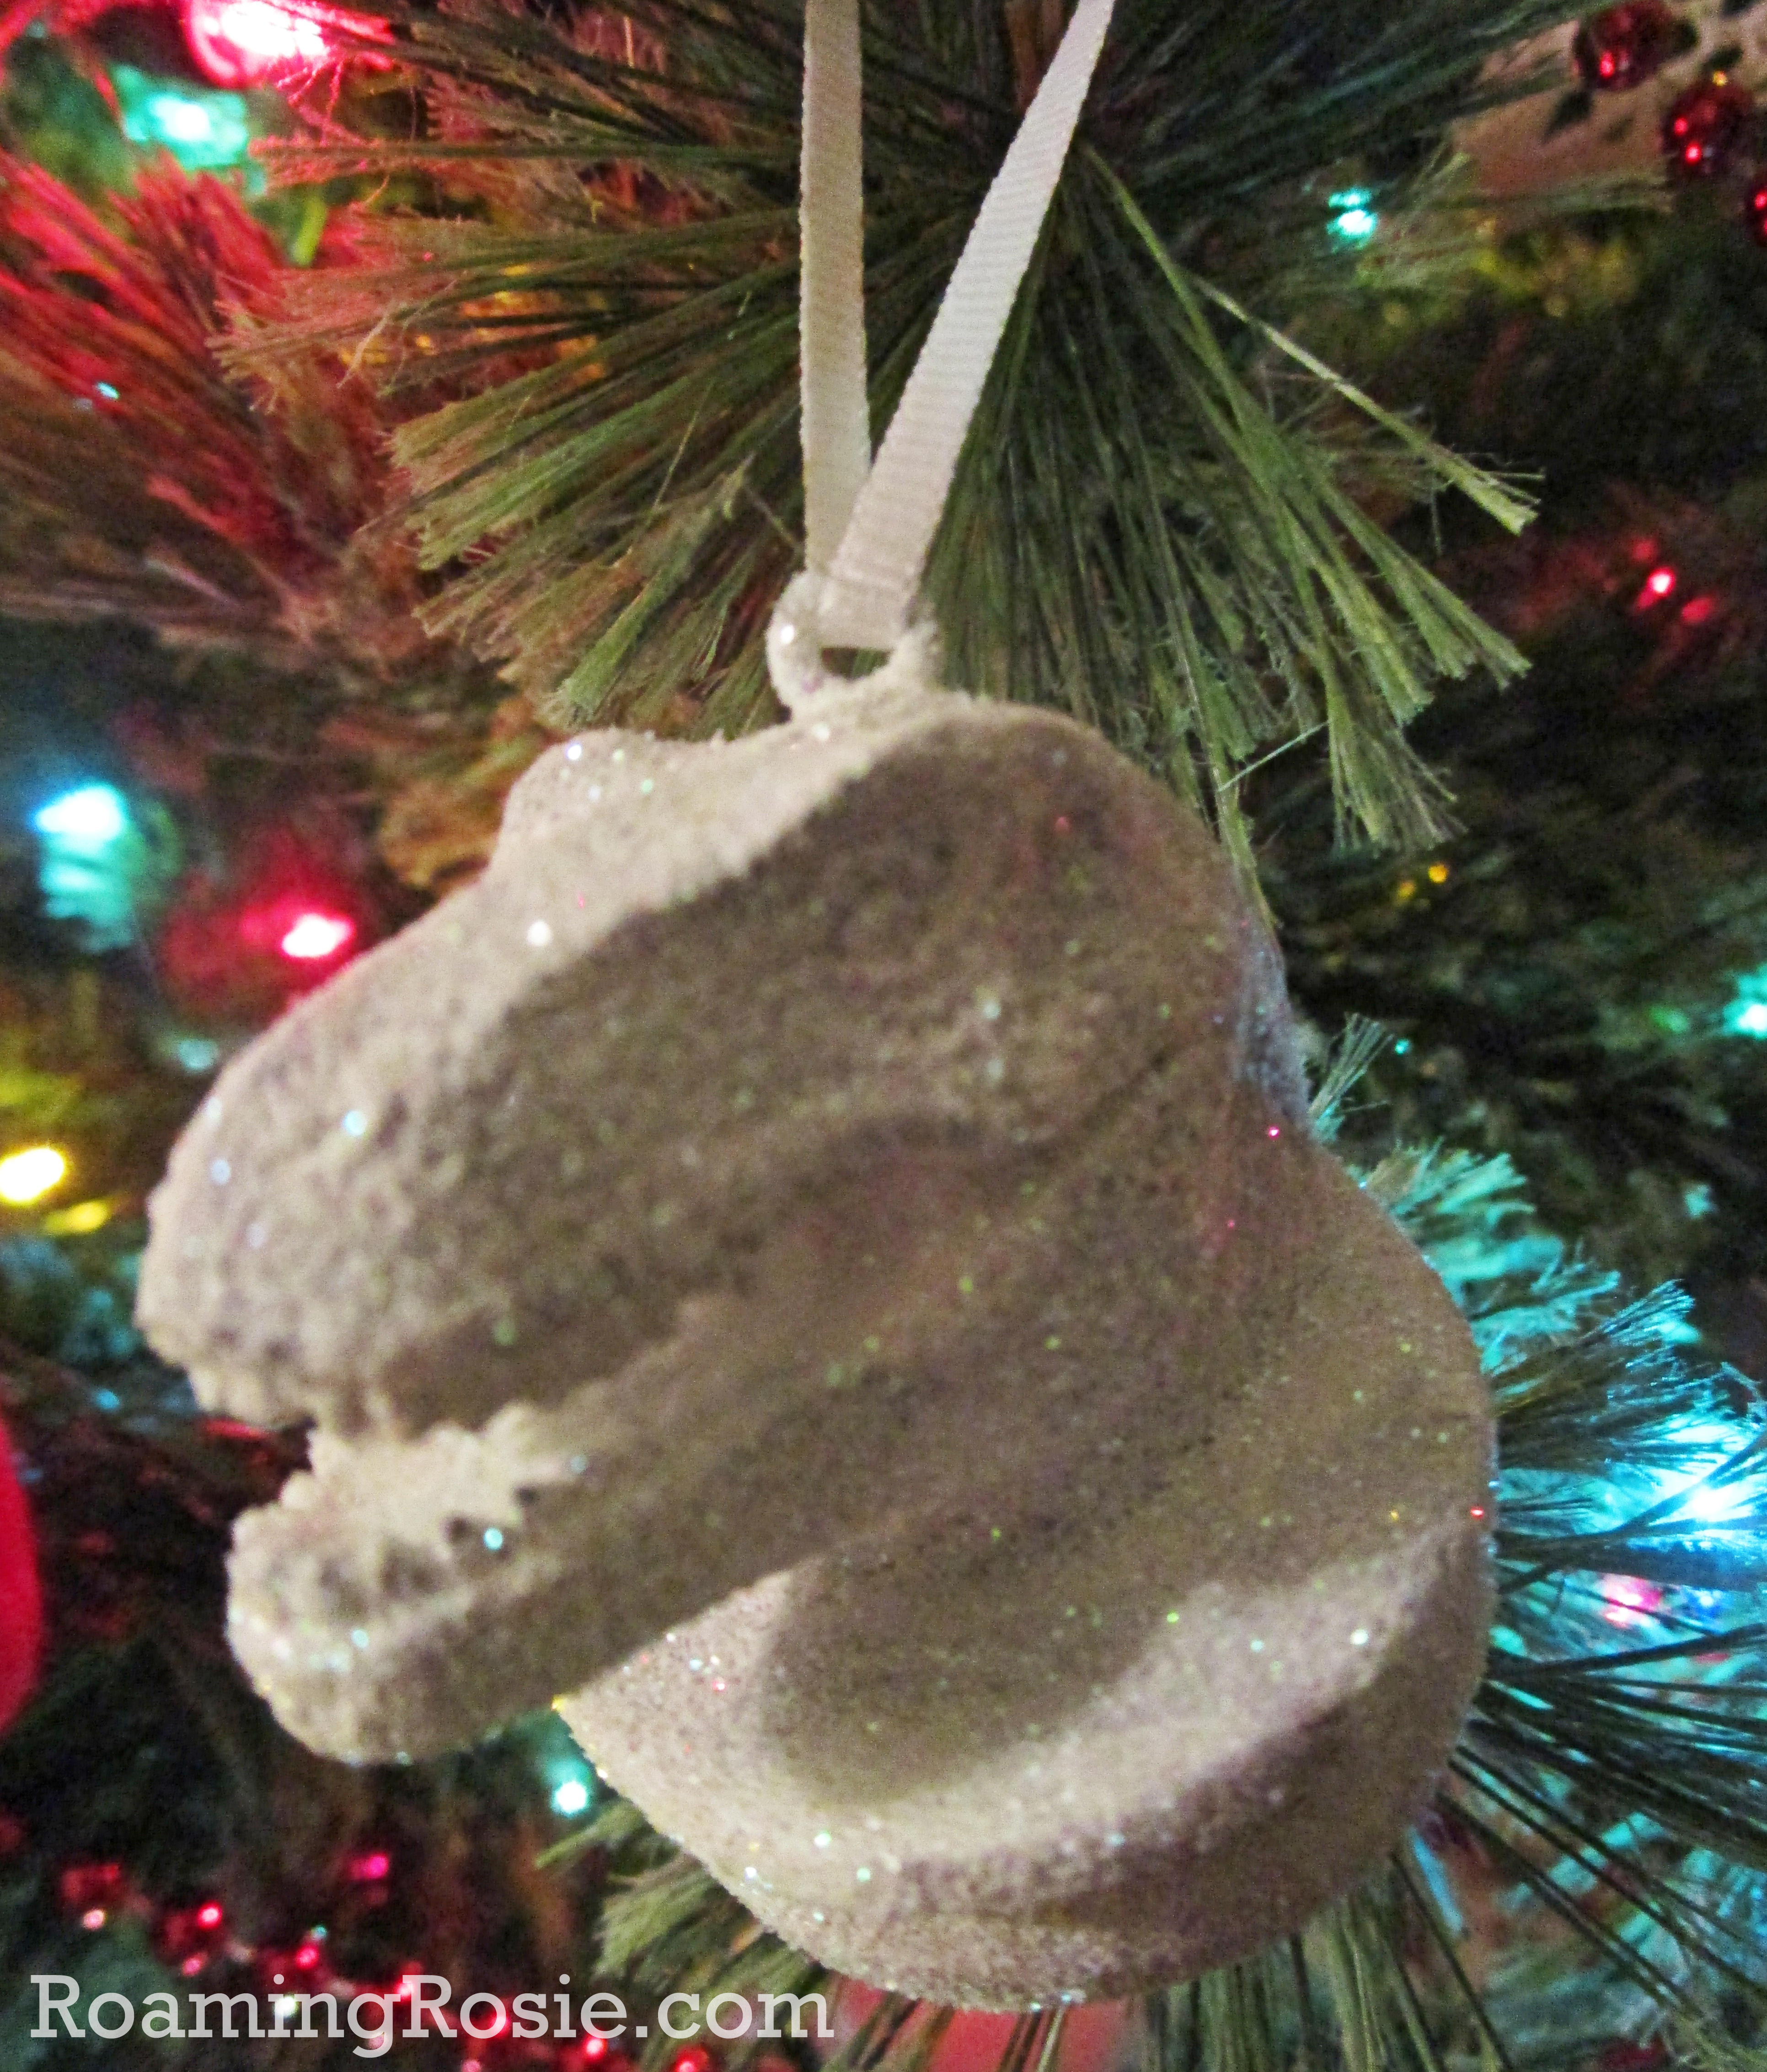
Seriously, though, hanging these Glitter Dinosaur Ornaments on my tree each year is always a joy!
Of course, I didn’t realize until afterwards that most of my photos were blurry, but you get the idea.
Essentially I picked up a tube of dinosaurs, my kids painted them, and we dumped glitter on top.
It was so much fun to do with them.
Mostly here, you’ll see the photos of the ones we painted all white – that was my preference for ultimate sparkle. But my kids did decide to paint a couple blue as well. You can really do whatever suits you.
Before you decorate them, you’ll want to attach tiny hooks.
I used eye hooks like these. The screw right into the toys with just a little elbow grease.
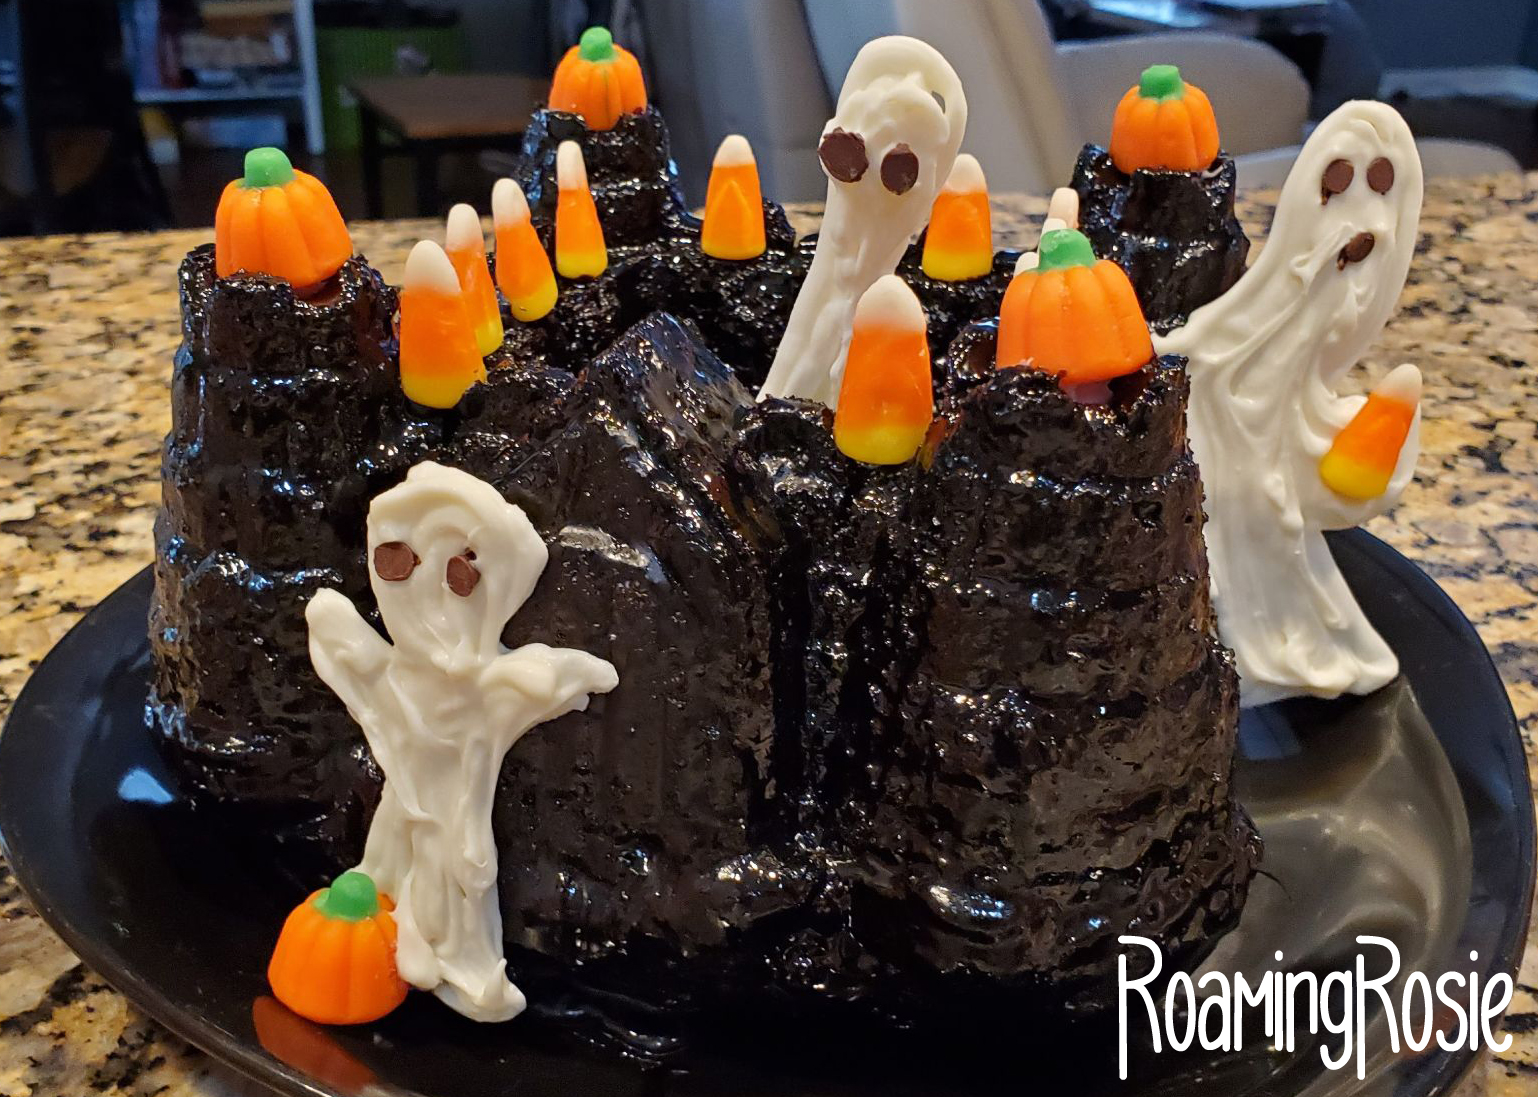
Today I’m sharing the Haunted Castle Halloween Cake we made this year.
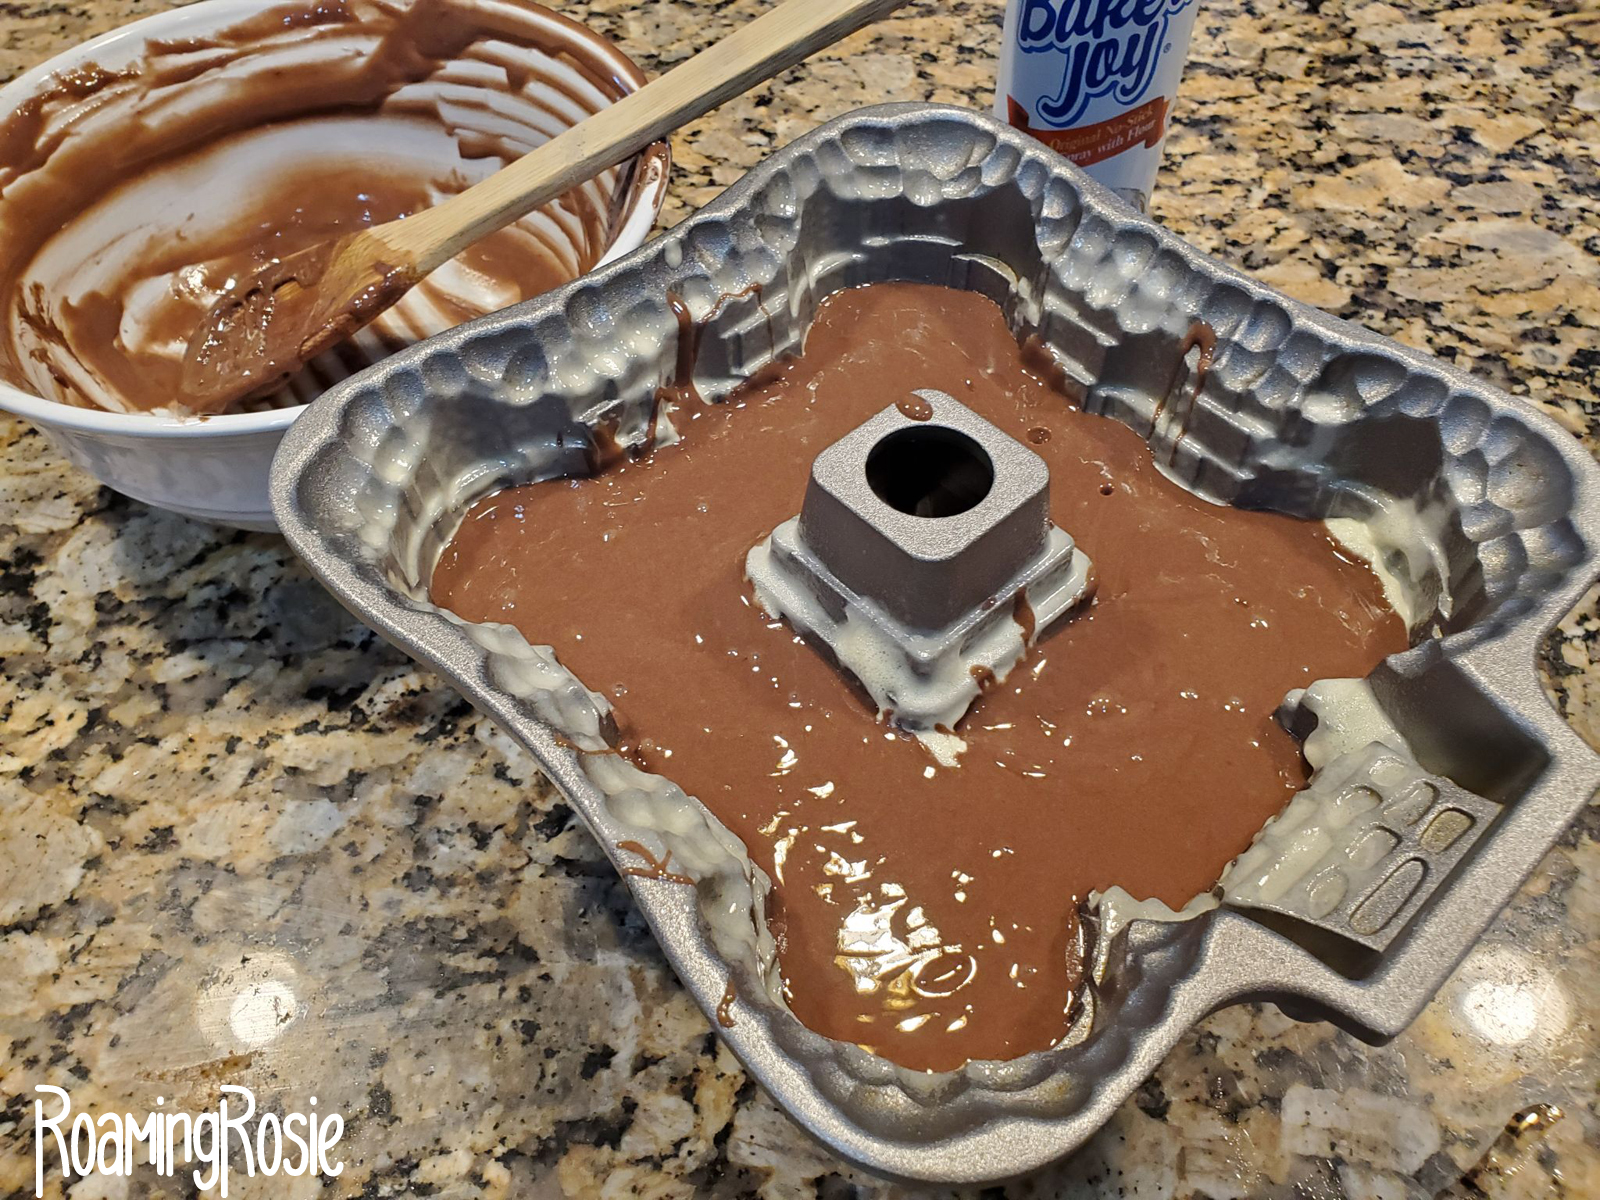
The mold is from the princess party I threw the girls years ago. It’s the Nordic Ware Pro Cast Castle Bundt Pan. I’d kind of forgotten about it and we recently discovered it in the back of a cabinet.
Well, it’s October, right? So now it’s officially no longer a castle cake pan, but a HAUNTED castle cake pan!
But how should we go about it?
I had a hard time covering it with icing last time I used it, and besides, I wanted it spooky this time.
So I did some research and put together a pourable icing with a fudge-like consistency. AND I used Hershey’s Special Dark Cocoa Powder. The dark chocolate adds a great flavor, plus it makes it a darker color – almost black.
For the cake itself, I went with chocolate.
A regular box mix, ’cause hey – I don’t have time to make everything from scratch, amiright?
Just make sure you spray down the cake pan with a non-stick spray first.
Preferably one with flour already in it, like Baker’s Joy.
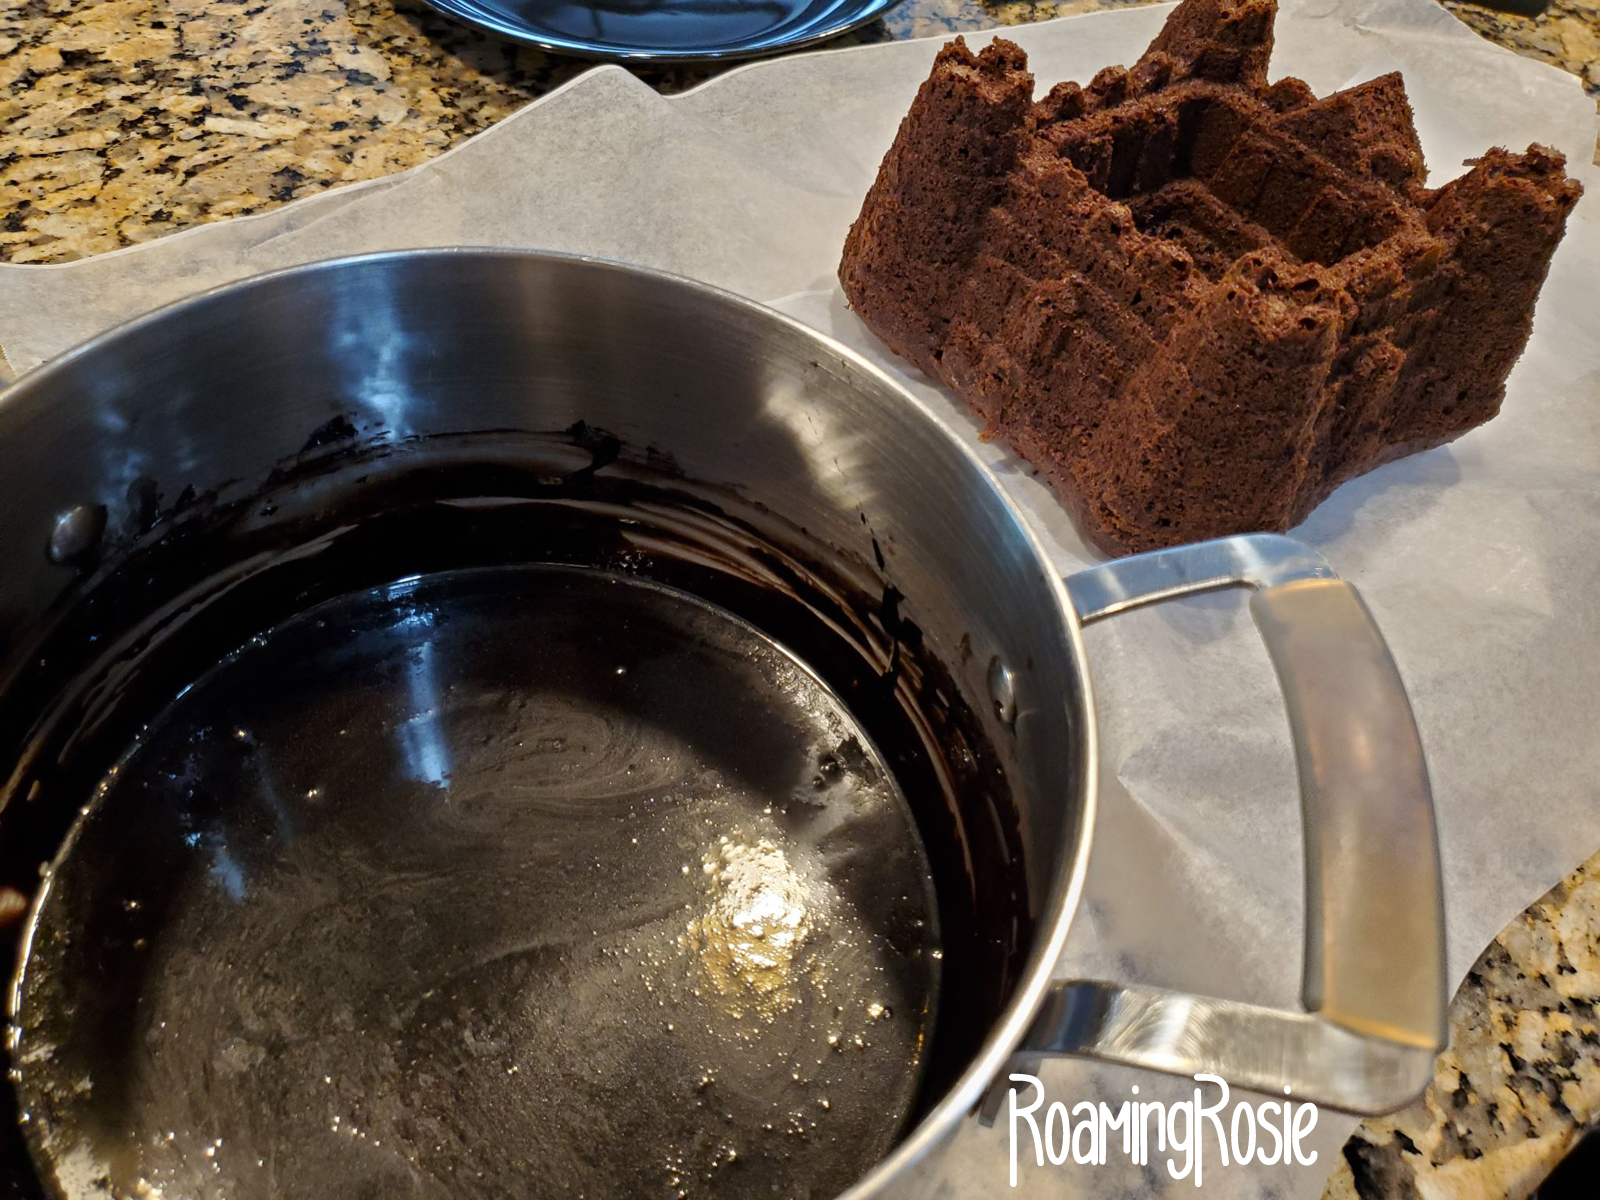
Following the directions on the box, we wound up with just enough from one box to almost fill the mold. Two boxes would have been way too much.
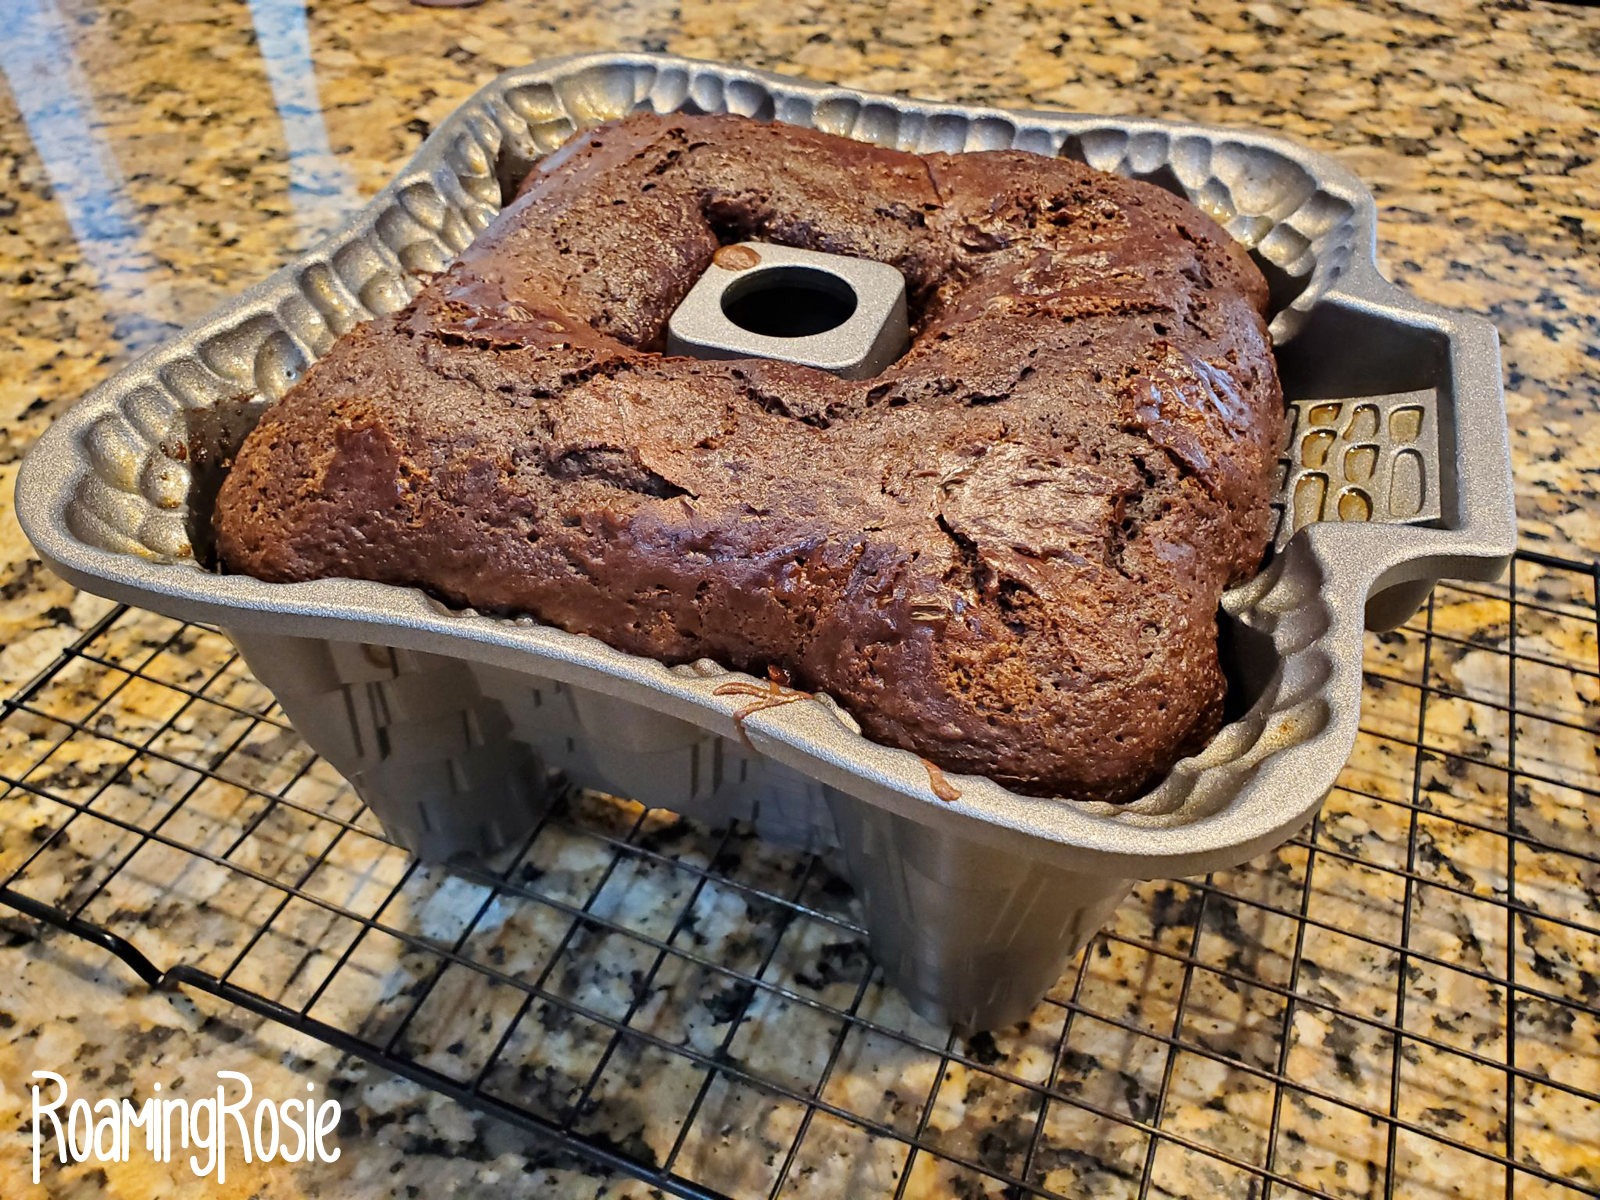
You can see that the cake batter rose plenty high enough.
True, we didn’t get the detail around the bottom, like that ramp up to the gate, but it was honestly not noticeable once the cake was turned upright.
After cooling in the pan for about 5 minutes, if you sprayed it well, it should pop out with minimal effort.
A bit of tapping and poof! Cake.
Sure, a few turrets suffered some damage, but overall it looks pretty darned nice to me.
For the icing, we went with a pourable fudge sauce.
And like I mentioned above, the dark chocolate makes the most amazingly spooky color!
And my pot is pretty big. I made extra so we would have it, but there was a LOT left over. You can just follow the recipe and you’ll have plenty.
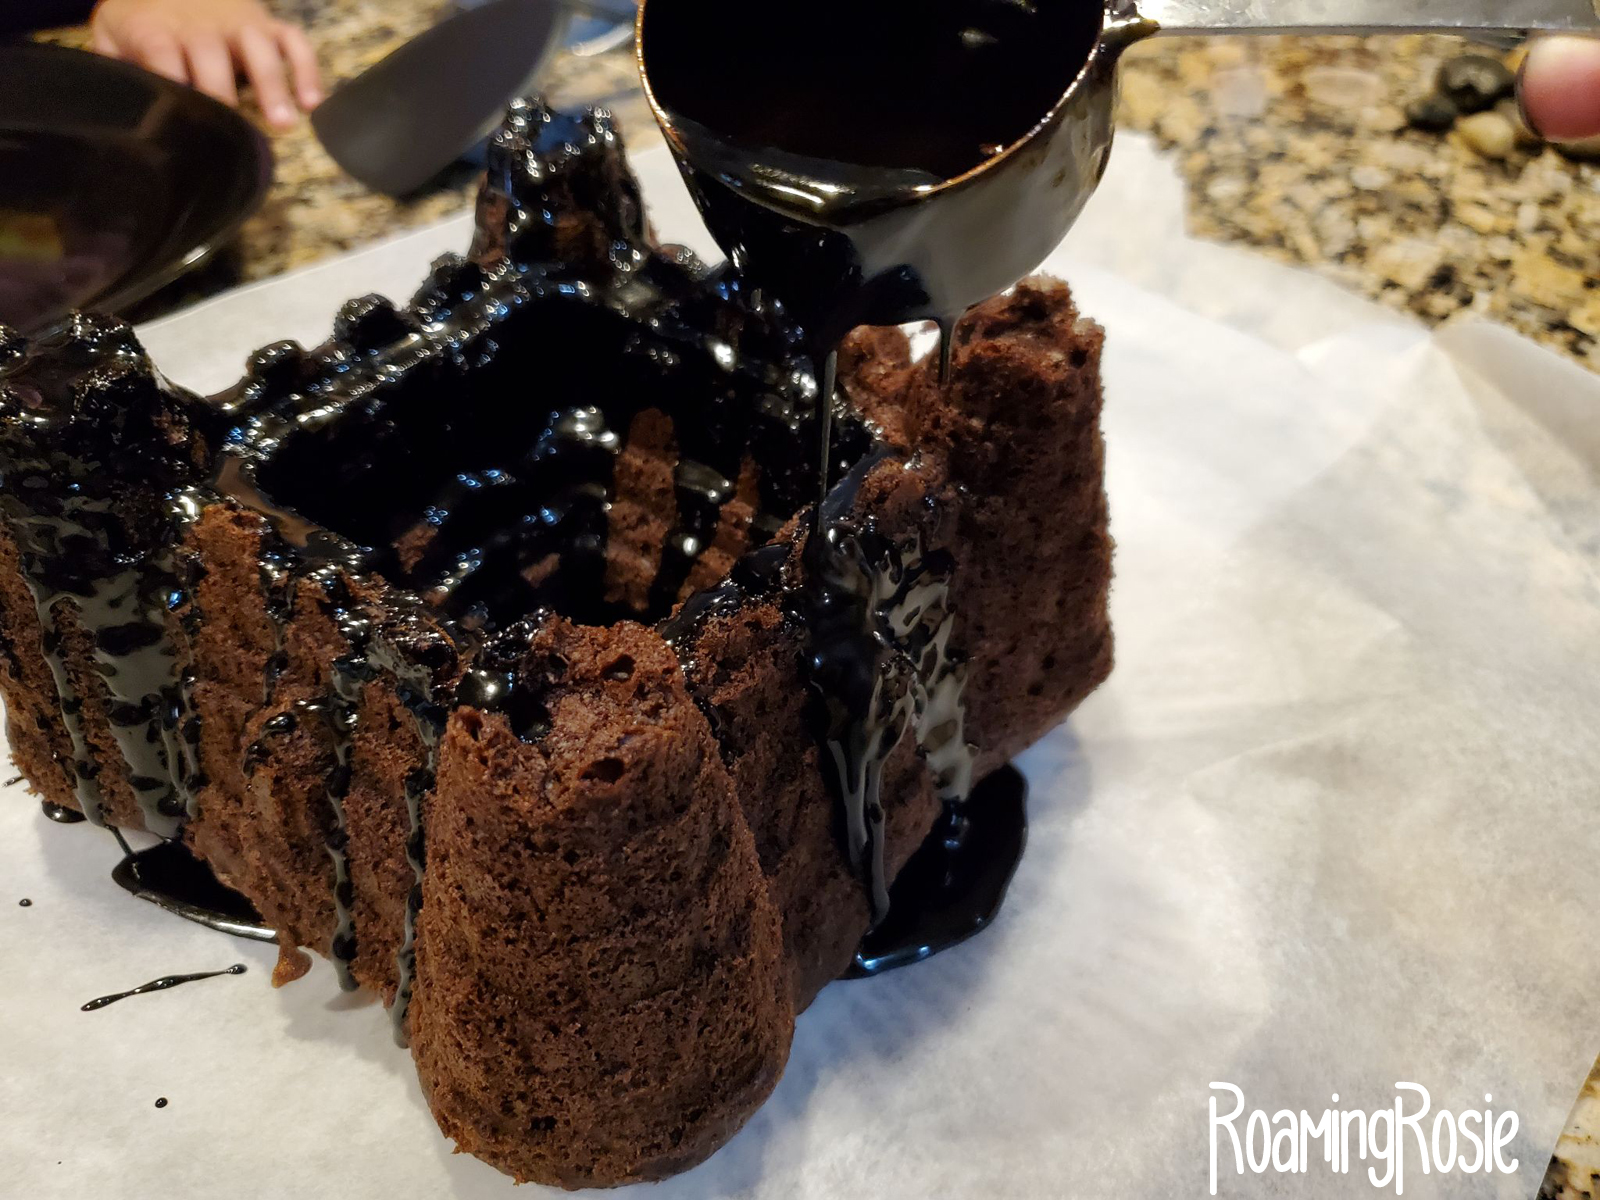
Use a small measuring cup or a spoon to drizzle the icing slowly over your dessert, stirring the icing from time to time. It does harden fairly quickly.
As you go, be sure to scoop the icing out of the center. It will pool there.
It’s best to drizzle it over waxed paper. Then, once the cake is fully coated, you can move it with two spatulas onto your serving platter.
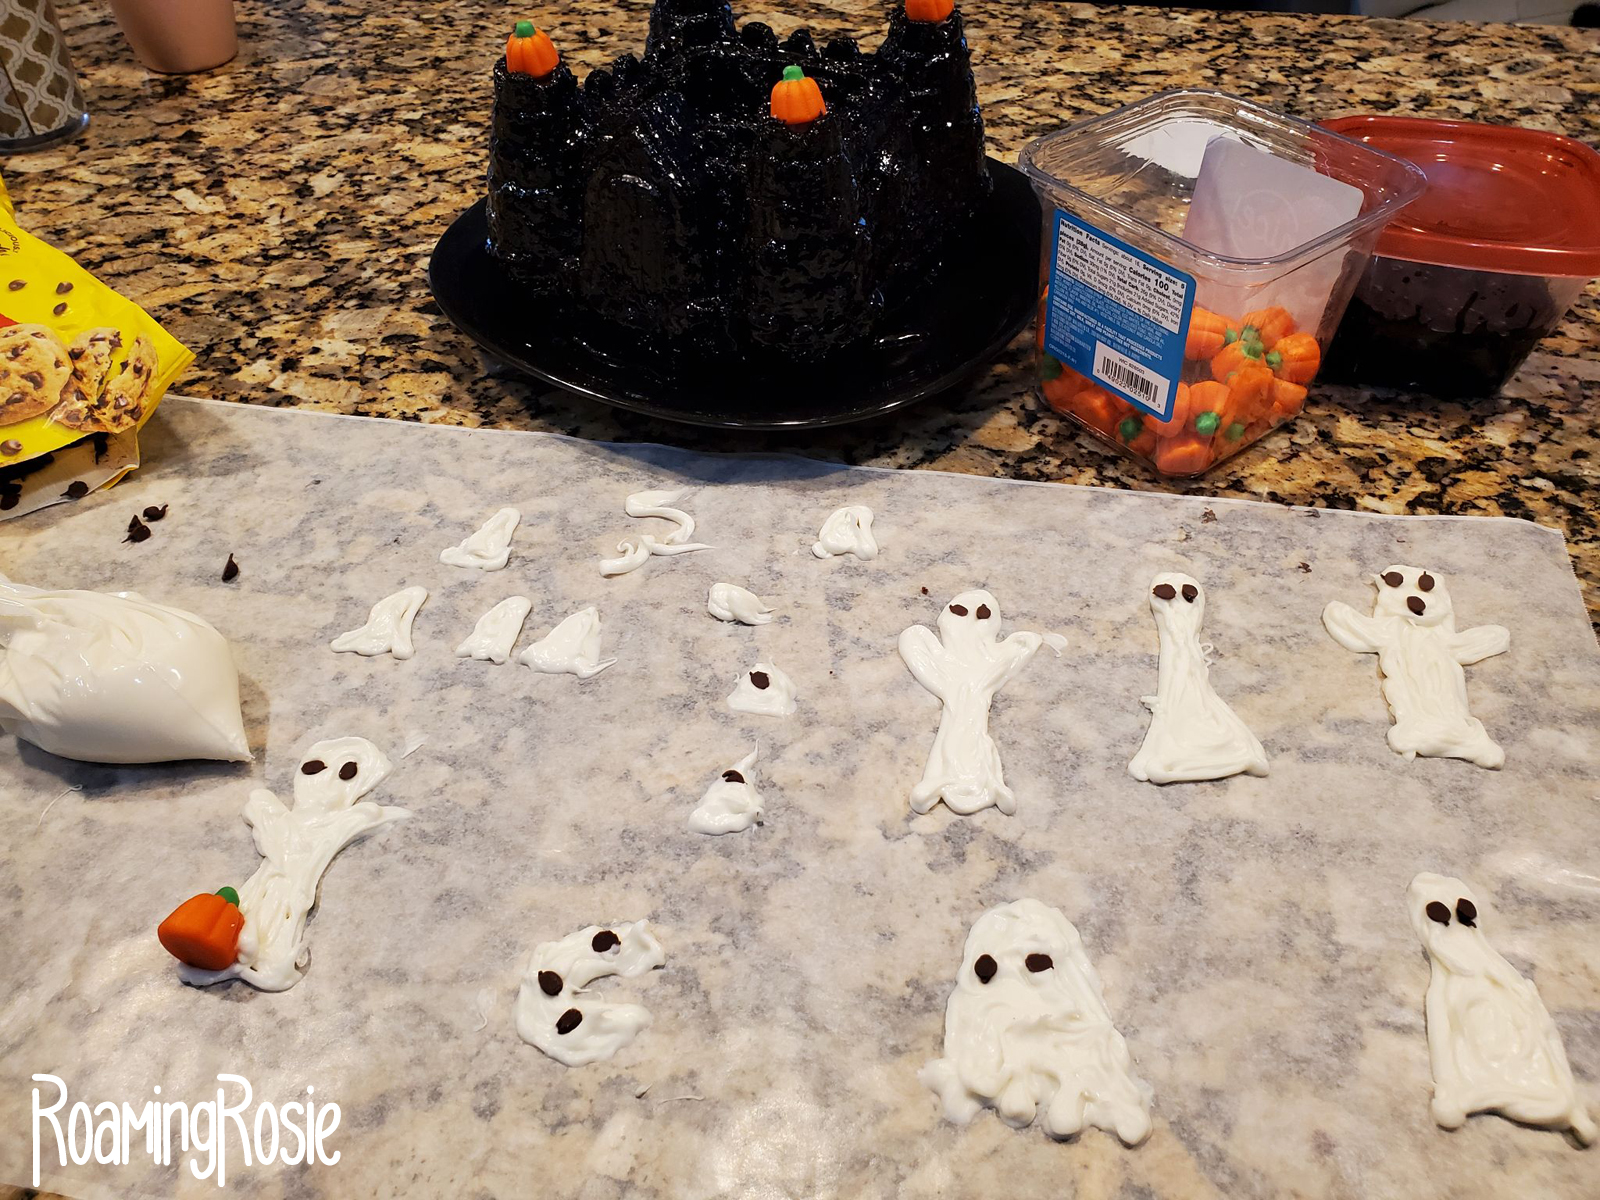
Our final step was decorating!
We drew some ghosts by hand with melted white candy melts and added miniature chocolate chips for eyes and mouths.
Those only take a few minutes to harden, then you can add them to the cake by squeezing some of the melted chocolate onto the cake to act as glue.
Kids may be little, but they have very big emotions.
Sometimes those emotions get SO big they explode into anger. Sometimes they just sizzle at grumpiness. Either way, it helps if they have the words to discuss their feelings, and actionable suggestions for helping them find their way out of a bad mood.
These are some of my favorite picture books on the subject. I love picture books for these kinds of discussions, because they give kids a great visual of the emotions they may be feeling.
Plus, these books are also just great stories – no need to read them ONLY when feeling upset. Sure, they can help kids work through big emotions, but they are also entertaining reads.
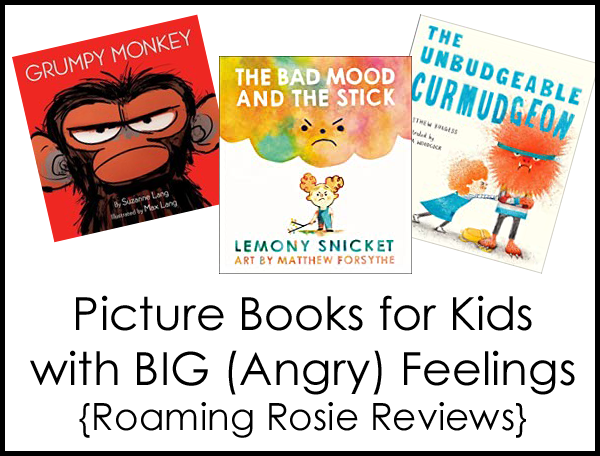
Grumpy Monkey by Suzanne Lang and Max Lang; Random House, 2018
Grumpy Monkey is such a favorite – a classic from the time it was released. This charming story follows Jim Panzee who wakes up in a grumpy mood. He insists that he’s not grumpy but the other animals can see that he clearly is quite grumpy. They offer all kinds of suggestions to cheer him up – rolling like zebras or stomping like elephants – but Jim doesn’t want to do any of these things. In the end, Jim realizes he is indeed grumpy, and he also finds the best solution: quiet acceptance from his friend Norman. We all have different ways of dealing with our moods, after all, and this is one of my favorite stories for discussing emotions with young ones.
Get Grumpy Monkey by Suzanne Lang and Max Lang at your local library, or at AMAZON or INDIEBOUND.
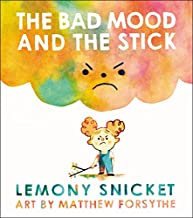
The Bad Mood and the Stick by Lemony Snicket and Matthew Forsythe; Little, Brown and Company, 2017
I like to describe The Bad Mood and the Stick as existential. Not sure that’s the exact correct term, but what we’re doing here is following around a stick and a bad mood, the latter of which is portrayed as a cloud. The stick seems to keep finding itself moving from place to place while the bad mood is transferred to one person after another until it circles the whole world. This is one of those great stories that opens up conversations about what emotions are without being didactic at all. There is no lesson here – no heavy-handed tale of morality. It’s just a fun story that happens to be about a stick, and a bad mood.
Get The Bad Mood and the Stick by Lemony Snicket and Matthew Forsythe at your local library, or at AMAZON or INDIEBOUND.
The Unbudgeable Curmudgeon by Matthew Burgess and Fiona Woodcock; Alfred A. Knopf, 2019
The Unbudgeable Curmudgeon is kind of like a How-To book. It asks, “how do you budge an unbudgeable curmudgeon?” and gives some solutions. Don’t worry – it also defines “curmudgeon” on the first page, so you won’t have to come up with your own explanation for what will probably be a new vocabulary word for your kid. This story is about two siblings who are grumpy in turns. It’s fun to see the kids transform into curmudgeons and back again. It gives some workable examples for how to feel better, like singing songs, so it offers a great way to involve the kiddos by asking things like, “how would you budge the curmudgeon?”
Get The Unbudgeable Curmudgeon by Matthew Burgess and Fiona Woodcock at your local library, or at AMAZON or INDIEBOUND.
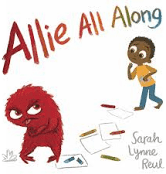
Allie All Along by Sarah Lynne Reul; Union Square Kids, 2018
Allie All Along has similarieties to The Unbudgeable Curmudgeon, but with a more gradual transformation. Here, Allie is the sister of the main character and Allie becomes ANGRY. Her anger turns her into a giant red monster. As her brother helps her calm down, she gets smaller and goes through a rainbow of colors – warm to cool – until she’s back to herself again.
Get Allie All Along by Sarah Lynne Reul at your local library, or atAMAZON or INDIEBOUND.
Grumpy Bird by Jeremy Tankard; Scholastic Press 2016
Grumpy Bird is another classic. Grumpy Bird is grumpy and stomps off through the forest. All the animals, one by one, want to know what he’s up to. He grumpily informs them, and to his surprise, they want to join in! Once Bird realizes he’s being copied, he tries out some new moves. Suddenly he realizes he’s having fun, and forgets all about being grumpy.
Get Grumpy Bird by Jeremy Tankard at your local library, or at AMAZON or INDIEBOUND.
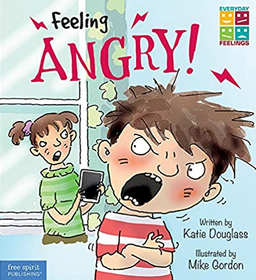
Feeling Angry (Everyday Feelings) by Katie Douglass and Mike Gordon; Free Spirit Publishing, 2017
One last book I want to mention is Feeling Angry. This is a book in a series of books about emotions and it leans more towards non-fiction than the other stories that I’ve listed. In fact, it’s probably shelved in the non-fiction section of your library. This is the type of book that isn’t meant to be a bedtime story or the sort you read over and over again for entertainment. But it’s a well-written, straightforward approach to discussing feeling angry and the different ways in which you might defuse that anger. It does have an underlying story in which the kid gives advice to everyone around him – until suddenly he needs some reminders himself.
Get Feeling Angry by Katie Douglass and Mike Gordon at your local library, or at AMAZON or INDIEBOUND.
I’d love to hear about your favorite books on discussing big emotions with kids – please share in the comments!
I originally wrote this essay a few years ago and never published it. At the time I felt like maybe I was being a bit melodramatic.
My kids are older now (the one in the pic is twelve and in middle school!!) but I now feel that this kind of thing is timeless. I still cherish these kinds of quiet nature moments that are strikingly beautiful, and in this loud world, I sometimes still need the reminder to center myself in the moment.
Enjoy :)
How to Watch a Sunset with Your Kids
1. Find a Spot With a Nice View
A sprawling forested mountainside or the sparkling shore of a vast ocean would be ideal, but a small yard decorated with those, ahem, artistically placed brown dirt patches and a rusting grill {that you’ve been promising yourself for over a year now that you would clean} will suffice.
Work with what you’ve got.
2. Relax
Sit down. Lean on a railing. Lay out on a towel. Chill.
This one actually may take some preparation. For example, if you don’t want to find yourself trying to run through the house with a child in tow after nearly choking on your soda when you heard the shriek of, “Mommy, I have to go potty RIGHT NOW!” then be sure to do a potty break {or diaper check} before you settle in.
3. Turn Off Your Cell Phone
Or at least turn off the ringer. If you’re like me you’ll probably want to snap a few photos with your phone, but don’t take any calls. Don’t surf the web. Wordle can wait.
Trust me, Facebook doesn’t need your attention. In fact, it probably won’t even miss you.
4. Take Off Your Shoes
It helps with the relaxing. It removes literal and figurative pressures.
And your kids probably won’t argue, if they still have their shoes on. My kids, for example, are constantly trying to take their shoes off. At church, at Target, at the library … everywhere except our house, when they suddenly want to model every pair they own.
But running around outdoors without your shoes on helps you to live in the experience.
5. Laugh
This one’s important.
6. Let Them Get Dirty
Let them crawl around in the sand, the surf, the dirt. Let them run though the grass in their bare feet and dance in your neatly raked piles of leaves. Let them explore.
True, that grass stain may never come out of that shirt, but from here on out it will now function as a happy reminder of this magical moment. If you let it.
7. Never Take Your Eyes Off Them
As the pastels soften the horizon and transform the world around you, never take your eyes off of your children. Because the sun will set tomorrow, just as it always has, and just as it always will. But the sunset of your child’s youth will happen while you blink, and their innocence will disappear overnight. So never take your eyes off of what is most precious in this world; more precious than jewels.
Watch the sunset in the crimson and coral glint on the hair of your child. Watch the sunset in your child’s shifting shadow as it dances across the sand or the dirt or the grass at their feet.
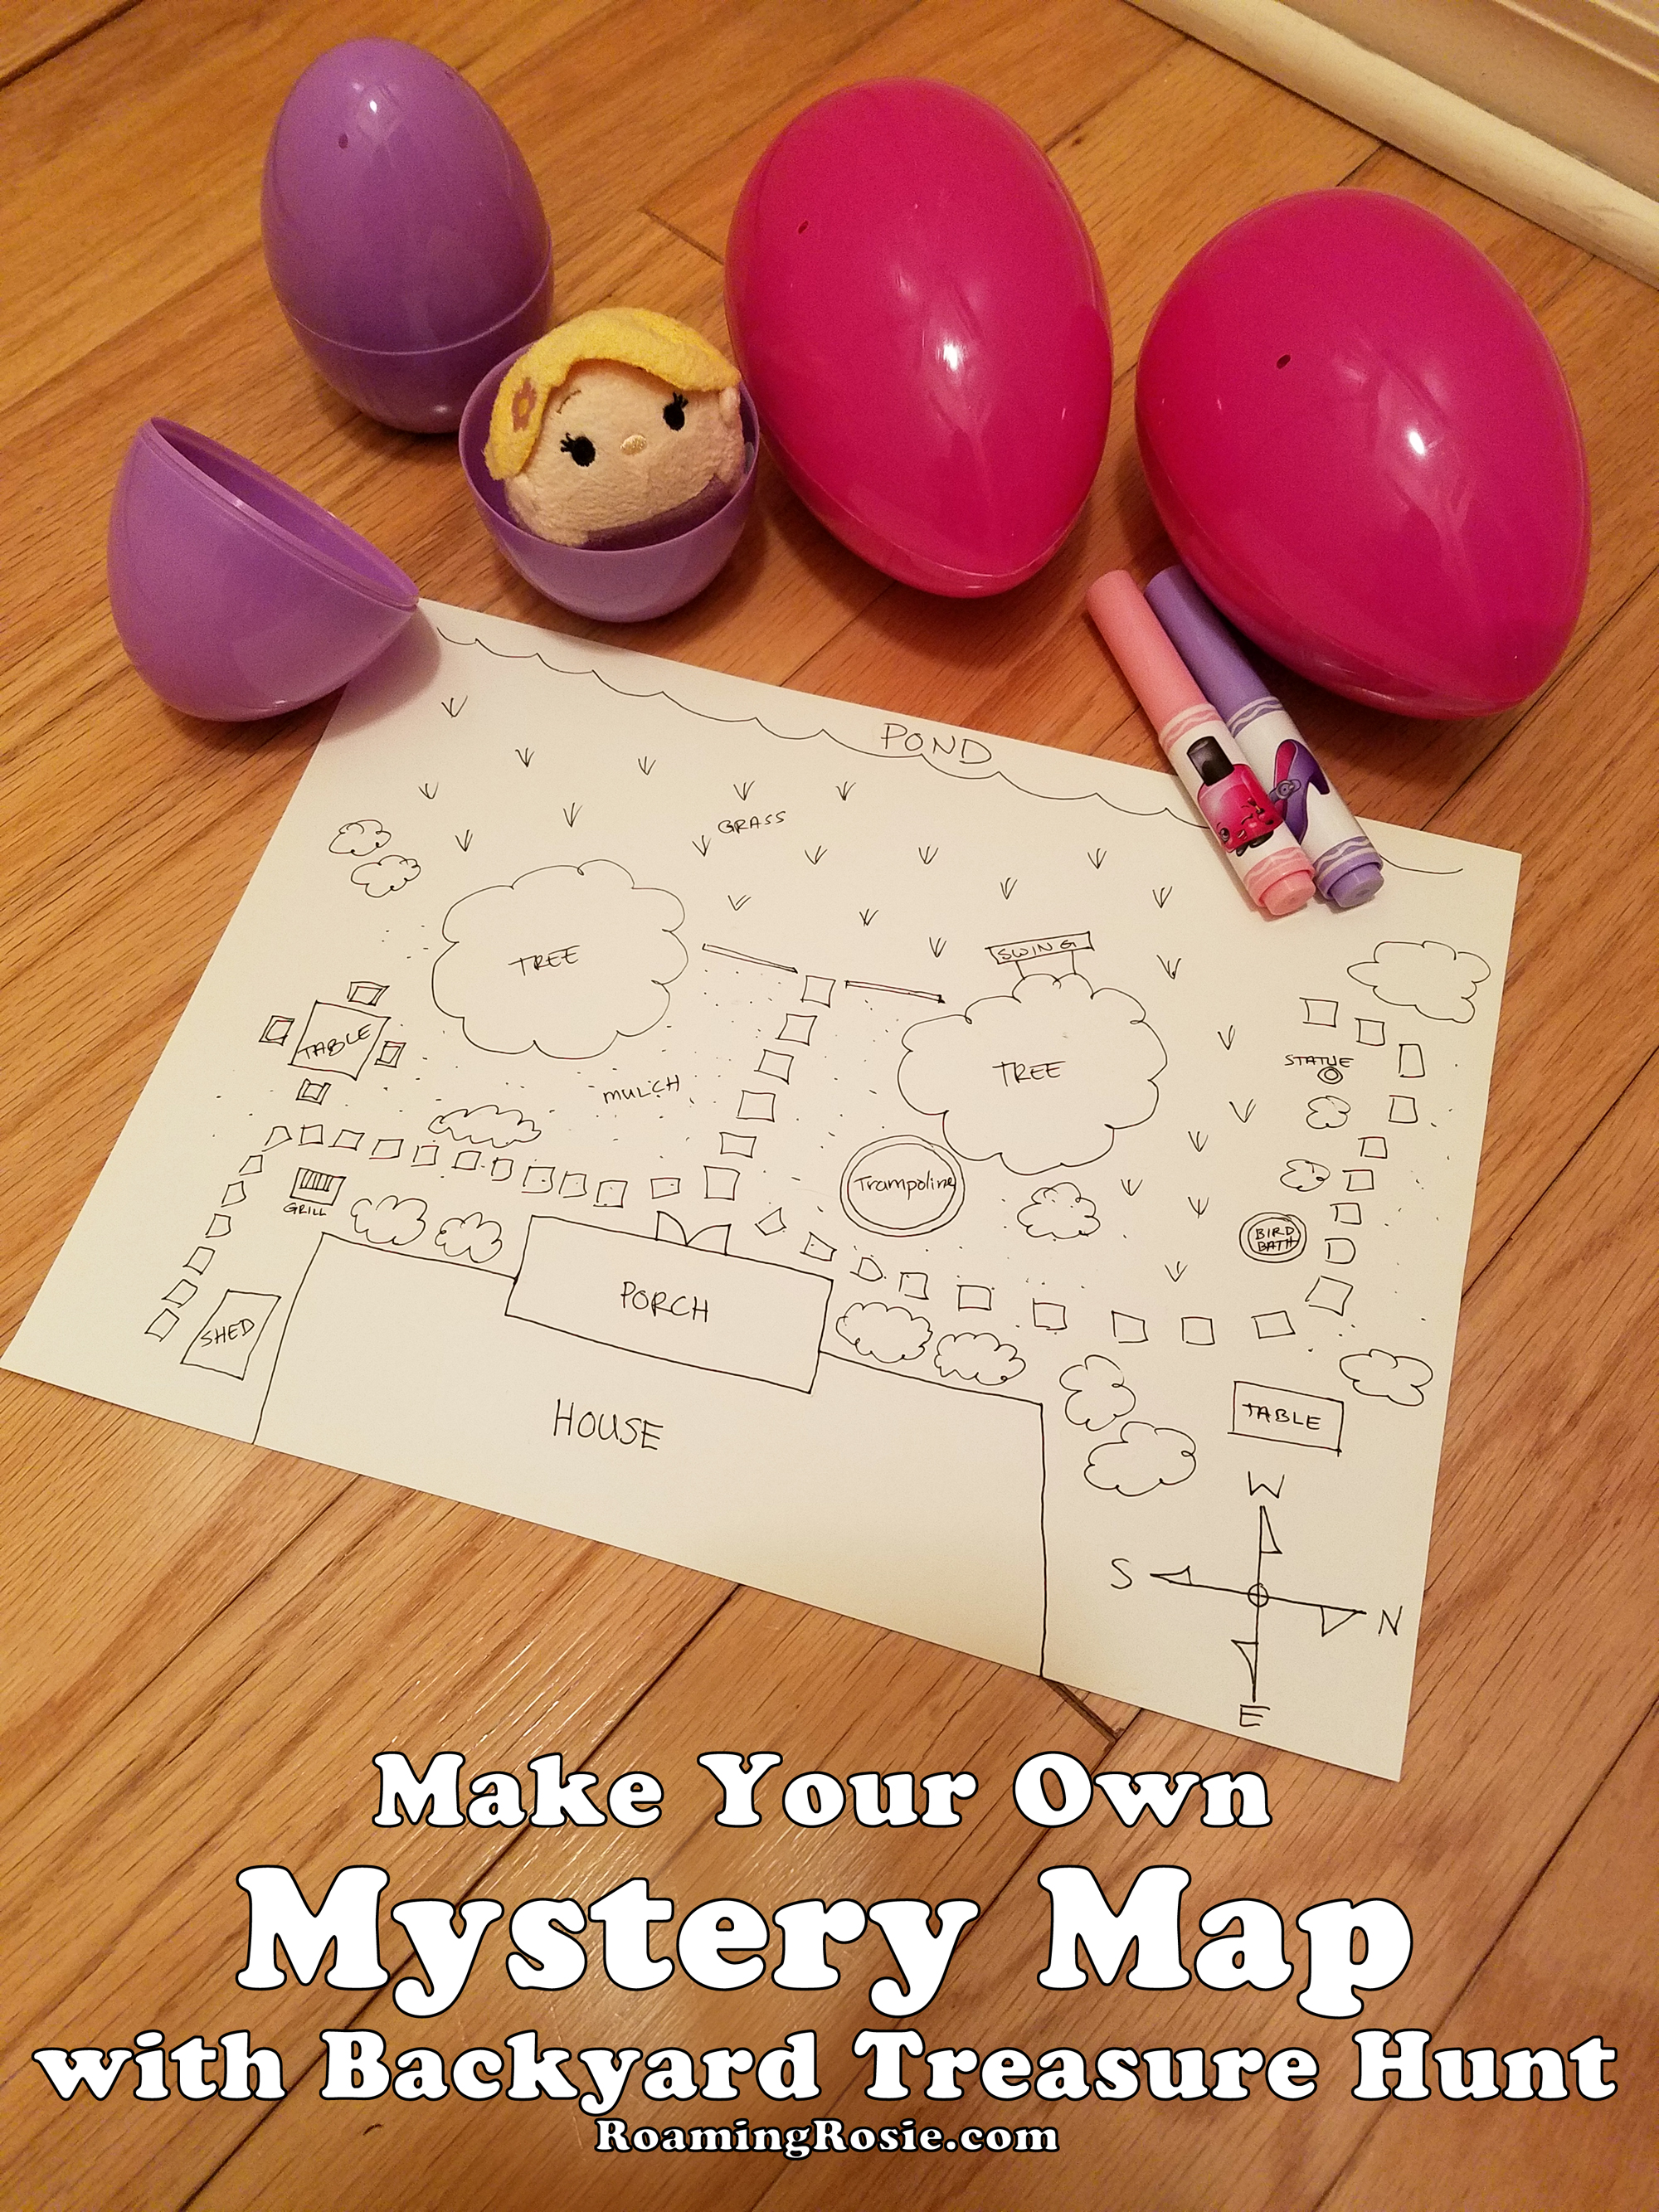
Our Mystery Map and Backyard Treasure Hunt was so much fun!
This is a great outdoor activity, and while it’s still quite hot outside as I write this, fall is coming. (Please hurry!!)
When I did this with my girls, I actually drew the map. I love maps, and I love floor plans, so for me it was astounding fun to create a layout of the backyard. Another option, however, is letting your kids make the map. Or make it a collaborate effort. It really depend on the ages of your children.
My main goal here, however, was the treasure hunt, as opposed to the map making. The latter, of course, is a great activity too, but instead of making the map, I had my kids navigate the one I made. With the goal of finding treasure!
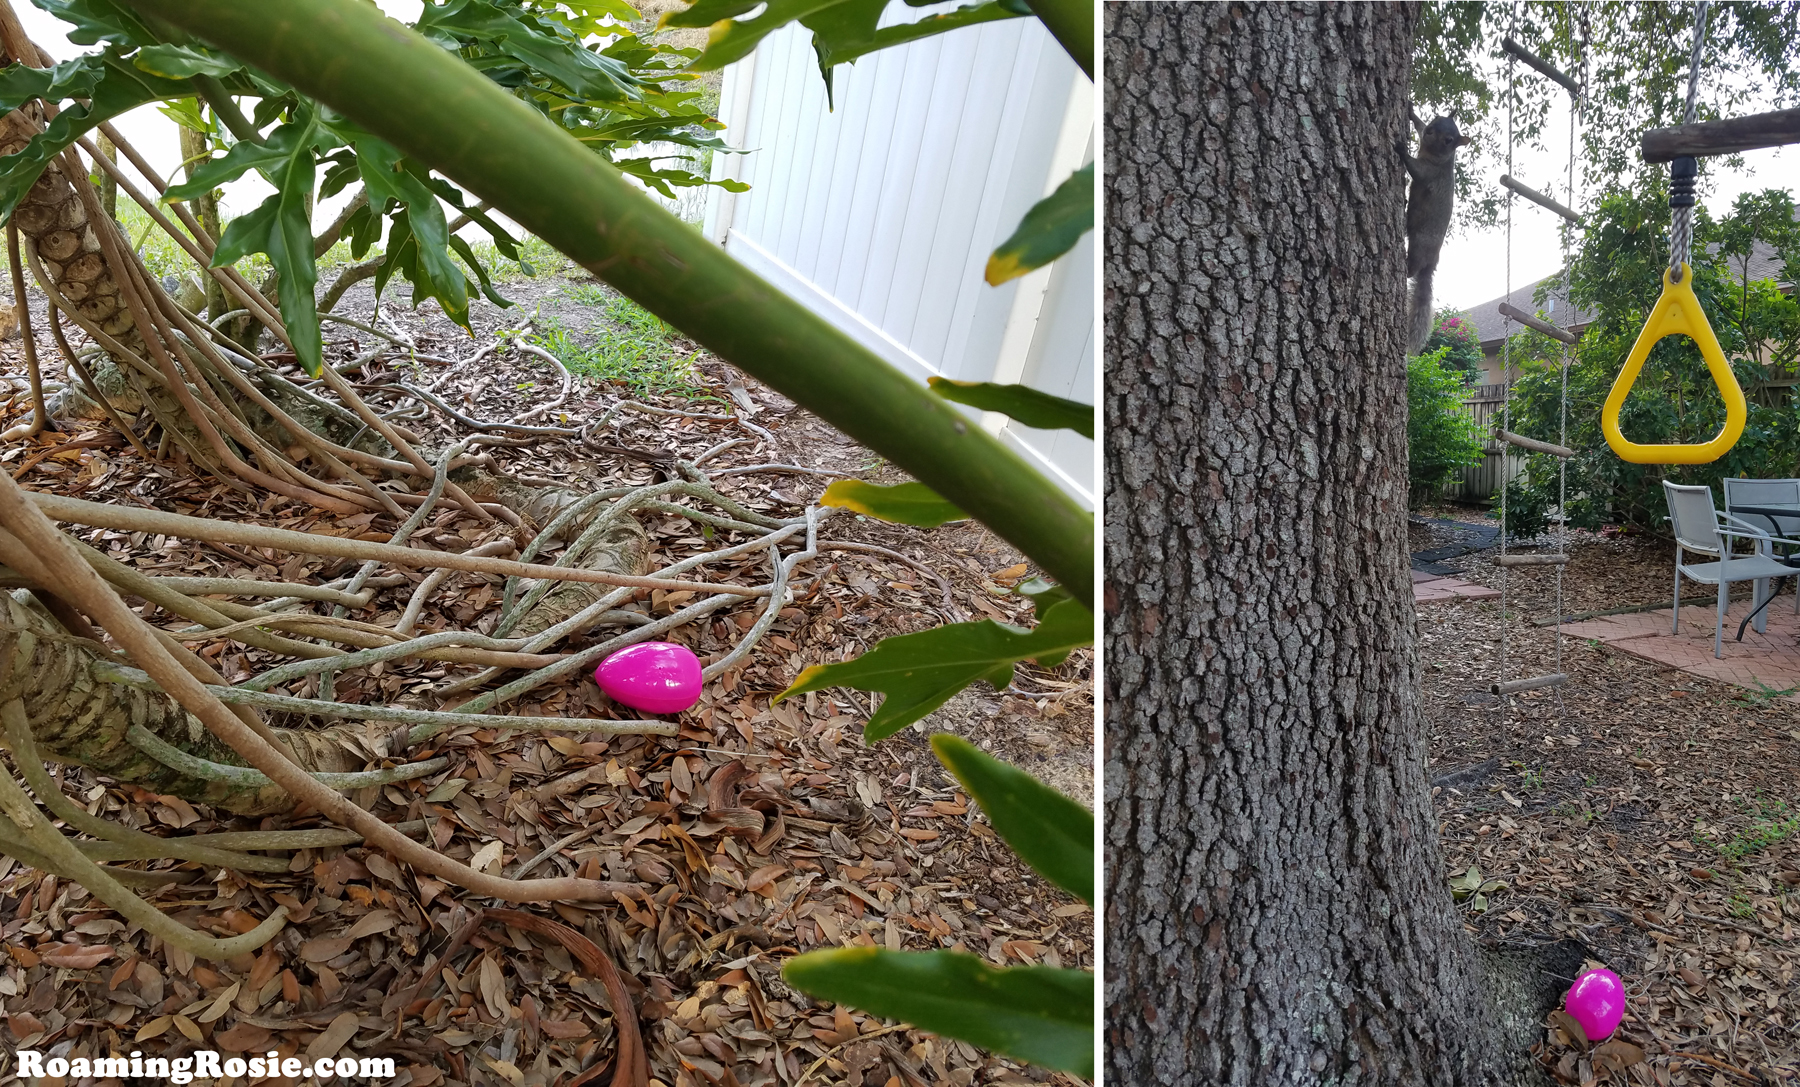
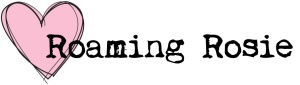
I got some new small toys (in this case, Tsum Tsums mini plush) and hid them inside some large-sized Easter eggs. Then I hid the eggs outside, handed the kids the map, and let them loose.
The instructions I had given them were to search the yard and make marks on the map to assist in the search.
Essentially, their mission was to mark off on the map each time they found an egg, and to cross off sections they searched which did not contain eggs.
As you can see below, I included everything from a bird bath to the tree swing on my map, but it doesn’t have to be that detailed. Unless you’re obsessive like me – then go all out!
My kids decided to use the two colors of markers for different purposes. They chose purple to circle the places where they found eggs, and pink to cross off the places they looked that were egg-less. I’d let them know there were four eggs, so they also knew when to stop.
Then they got to open their treasure eggs. So the hunt was fun, the treasure was exciting, and I was happy because they were outside in the fresh air. Wins all around.
No backyard? No worries! This can also be done inside (drawing couches and tables instead of trees), or you can head to your local park. If you’re planning a treasure hunt in a public place, however, you may want to hide vouchers of a sort that they can trade in for eggs, so that your kid can still find something but you don’t have to worry about someone else walking off with the treasure.
And, of course, y’all know I’m gonna talk about books if I get the change, right??
This was a project we did awhile ago (what can I say – it’s been a weird few years *shrugs*), but I got excited when I found a recent picture book that goes along with nicely with this type of activity.
Publisher: Anne Schwartz Books (2022)
The Boy Who Loved Maps by Kari Allen and G. Brian Karas is such a fun exploration of map making! It follows two children through the process of making a map of their neighborhood – and also exploring different places around the neighborhood – so if you’re already making a map of your backyard like we did here, this book makes a great visual for kids.
It has some educational backmatter to help you describe map making to kids, and it can give them ideas for drawing their own. Plus, it’s also an adorable story! The language used to describe their environment is nothing short of magical. I definitely recommend reading it.