Welcome to Letter G Day!
If you haven’t read the Introduction to the Alphabet Activities, you should start there.
Don’t forget to check out the Letter G: Free Alphabet Worksheets for Kids, too!
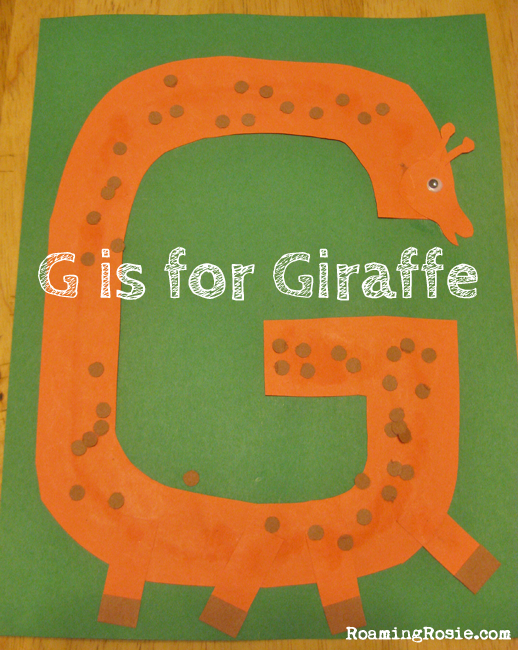
For our construction paper letter, we made a giraffe with a letter G body, four legs with attached feet and a little head I had cut out.
I used a hole punch to make a bunch of “spots” out of brown paper, which was a lot of fun to attach. One of these days I may even remember to buy and easier-to-use hole punch so my daughter can help me out with things like this!
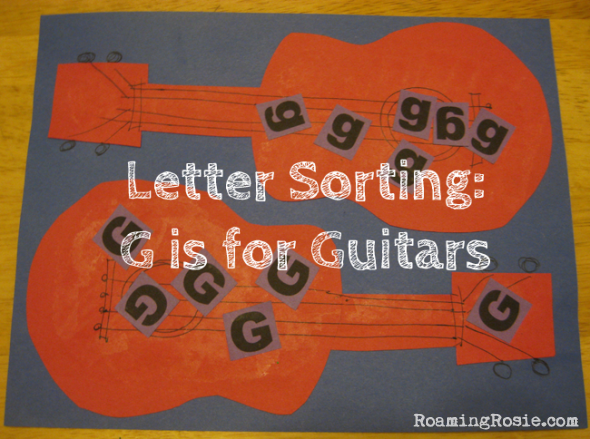
For our letter sorting, I made two guitars, and my daughter placed the lowercase Gs on one and the uppercase on the other.
I later realized this would have looked better if I’d cut out the Gs as little music notes. Next time.
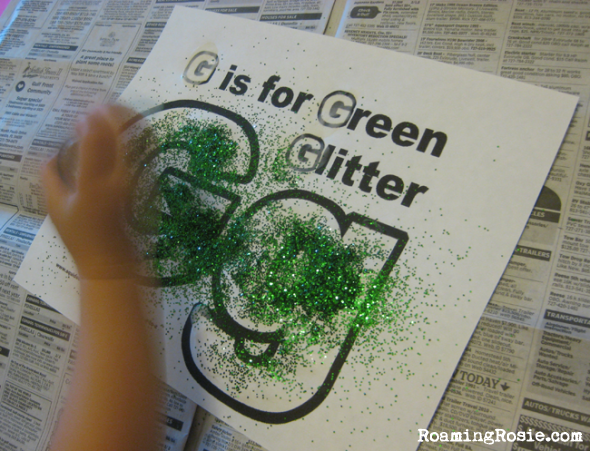
Is there anything better than glitter?
Not if you’re a toddler/preschooler/anybody!
The supplies for this included glue and green glitter. Easy + fun = awesome!
You can print the worksheet from my post Letter G: Free Alphabet Worksheets for Kids.

For this I cut a bunch of small pieces of “grass” out of construction paper ahead of time, that my daughter attached with glue.
But later, I let her use her little scissors to practice cutting grass, which we used for a different project.
You can print the worksheet from my post Letter G: Free Alphabet Worksheets for Kids.
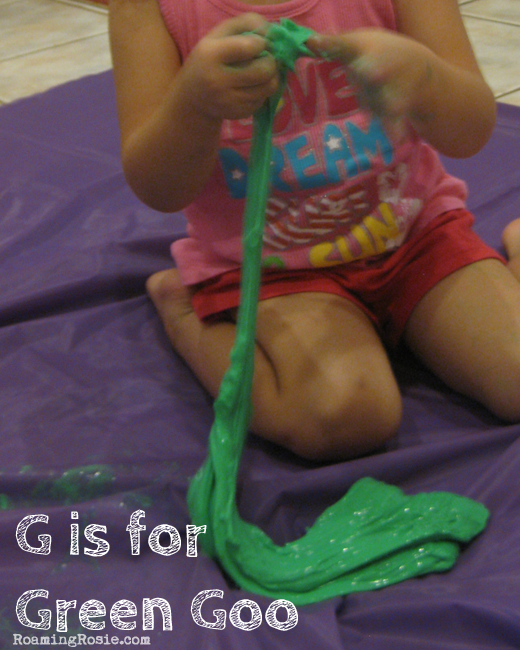
It’s GOOOOOOOOO!
This stuff is great. And boy, did my girls love playing with it!
It’s a little wet at first, but it dries out pretty quickly. Either way, I don’t advise playing with it on carpet.
And you can store it in a closed container for awhile. Depending on how much time they spend playing with it each time you take it out of the container, it might last a few weeks.

The recipe is easy, although you may have to help your Little Ones squeeze out ALL of the glue.
You’ll need:
1. 8 oz. white glue {we used 2-4 oz. bottles of Elmer’s}
2. 1 teaspoon Borax {found in the laundry detergent aisle}
3. food coloring {optional}
4. water
First, empty the glue into a large bowl. Add a tablespoon or so of water to the glue bottle and shake it well to help loosen the rest of the glue. Pour that into the bowl, too. Stir in some food coloring.
Mix the Borax with 1/2 cup warm water until dissolved, then add it into the glue and stir.
This will produce a slimy substance within a puddle of water. Pull the goo out of the water and knead it a bit to squeeze out some of the excess water.
It’s pretty much done at this point. A little more water will probably leak out as the kids start to play with it, so I suggest playing on a mat or plastic tablecloth or something similar the first time, to help catch the extra water.
We stored ours for a few weeks, playing with it now and then. After a while, it became stiffer and pieces would break off that we could then knead back into it. But my girls enjoyed both the slimy and stiffer versions.
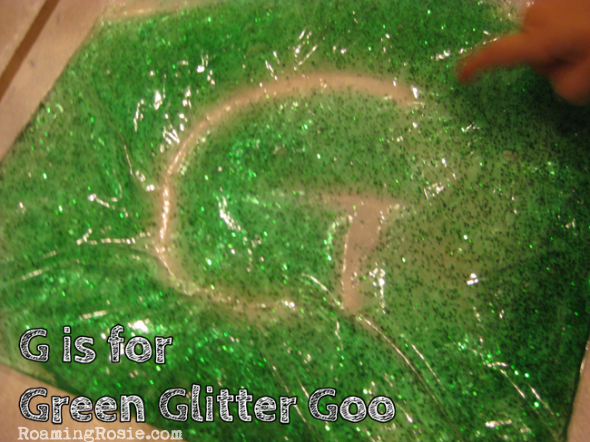
Green Glitter Goo is a combination of
1. clear hair gel {from the dollar store}
2. green glitter {sometimes available at the dollar store}
3. a few drops of green food coloring {optional}
Mix up all that stuff in a plastic gallon-size freezer baggy {freezer bags are sturdier} and let the kids go at it. We traced all kinds of letters and shapes in the goo.
It lasted quite a while, too, before I even worried about it leaking. Just make sure no one jumps on it or anything, and it should last at least a few weeks, if not more.
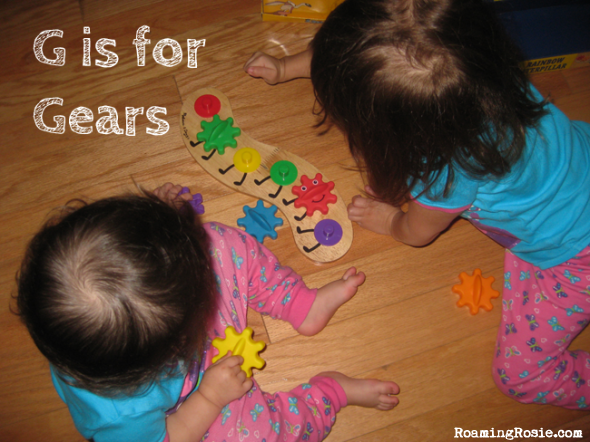
They spent some time playing with their Melissa & Doug Caterpillar Gear Toy.
While they were playing, we talked about how gears starts with the letter G.
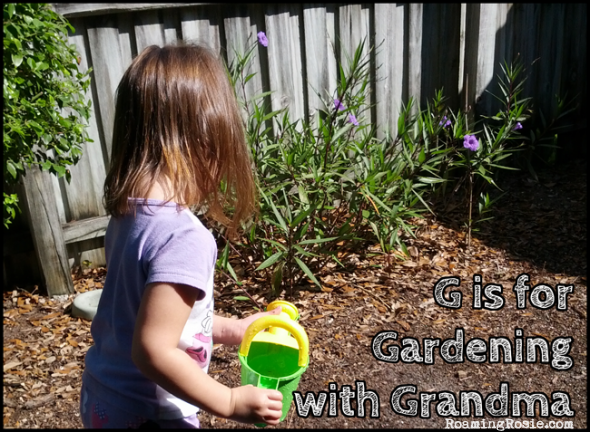
My girls do a LOT of gardening with Grandma.
Today we pointed out how all of those words start with G.

For dinner, we made some Gnocchi. I love me some gnocchi.
Anyway, since it was letter G day, we made it with Gruyere and garlic.
My girls like to help with shredding the cheese – at least for a minute or two – and also with using the garlic press.

Gnocchi with Garlic and Gruyere
Ingredients:
1 lb. gnocchi
6 oz. shredded Gruyere cheese
2 to 4 cloves pressed or diced garlic
2 tablespoons butter
2 tablespoons flour
1 cup milk
In a small saucepan, melt the butter. Add the flour and stir until smooth.
Add the garlic and let cook on low for a few minutes. Don’t let it burn because it will become bitter.
Add the milk and let it come just to a boil over medium to high heat, stirring occasionally. As soon as it starts to bubble, stir in the cheese (except for a handful) and turn to low.
Cook the gnocchi according to directions in a separate pot. Once done, drain and stir into cheese sauce.
Place in a serving bowl and top with reserved cheese.
Note: the garlic taste is strong. If you don’t like garlic, you can reduce the amount or omit it altogether.
Here is the free printable PDF of the recipe:

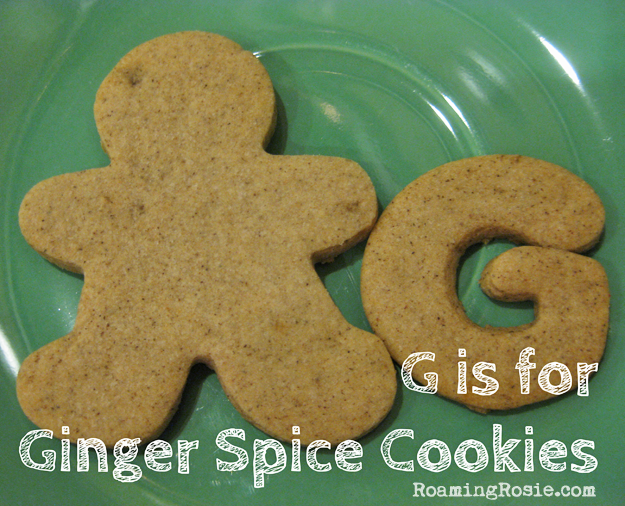
I loooooove spice cookies!
SO much awesome food at one time!
Anyway… we used my Norwegian Spice Cookie recipe, but added in some extra ginger in the form of ginger crystals.
I liked the taste of the extra ginger, although I’ll probably just stick to the normal recipe when I usually make them in the future.
If you want to add in a little crystallized ginger, crush it up a little and throw about a tablespoon or two in when mixing in the other spices.
And, as you can see in the photo below, we not only made traditional gingerbread men, but also some letter Gs with out alphabet cookie cutters.
I’d love for you to share if you’ve done any of these projects with your little ones!
Don’t forget to follow me on Facebook and Pinterest to see all of our latest crafts and recipes!
Have fun!


