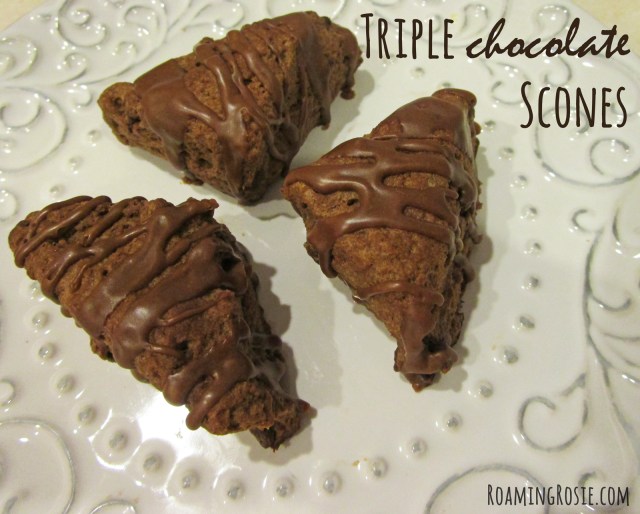
I’ve been wanting to make cinnamon cookies for awhile. And, apparently, my new obsession is dipping things in chocolate.
This particular recipe is a thick, cake-like cookie with a strong hint of cinnamon and an emphasis on brown sugar.
And the chocolate just makes it incredibly amazing.
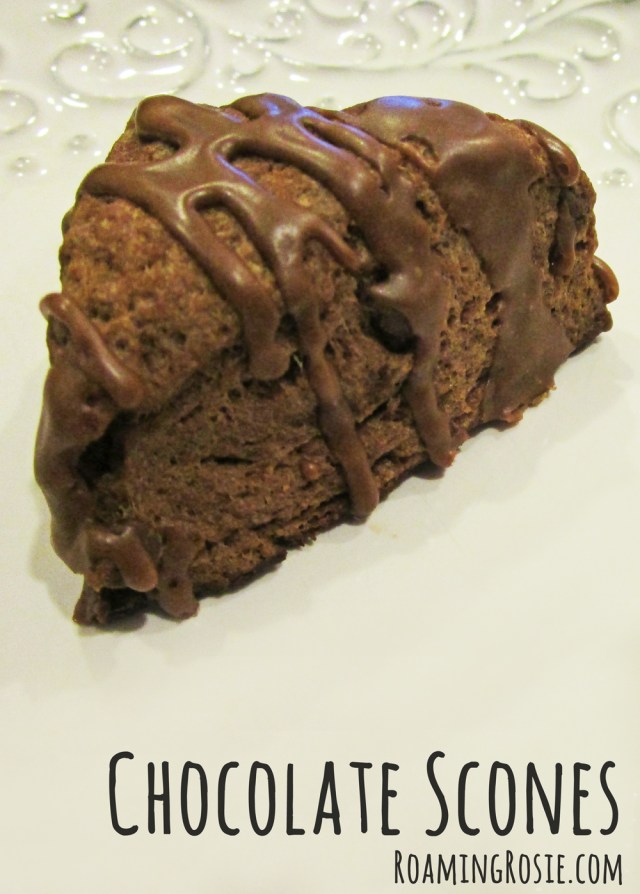
Plus – and this is my favorite part – that thick cookie soaks up warm coffee like it was born for it. It’s like the perfect breakfast. (And dessert. And snack.)

All the good stuff.
Theoretically you could use light brown sugar … but then you’d be missing out on the extra oomph of molasses.

We’re getting there…

Coming together…
(I’m getting excited.)

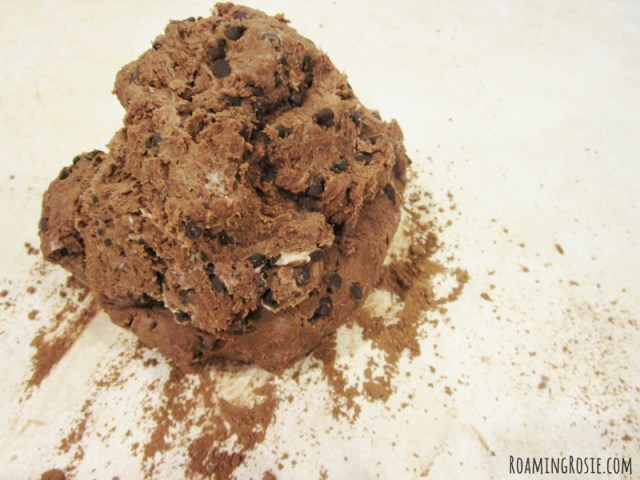
Not that I promote eating raw cookie dough or anything but… ohmygosh this stuff is like a gooey pile of heaven.
But it’s a little sticky too, so use nonstick cooking spray to coat your hands before spreading it in the pan.
It will be thin, but that’s okay – it’s gonna rise. Just make sure there are no holes allowing the pan to show through.

Yum! Good stuff right here.
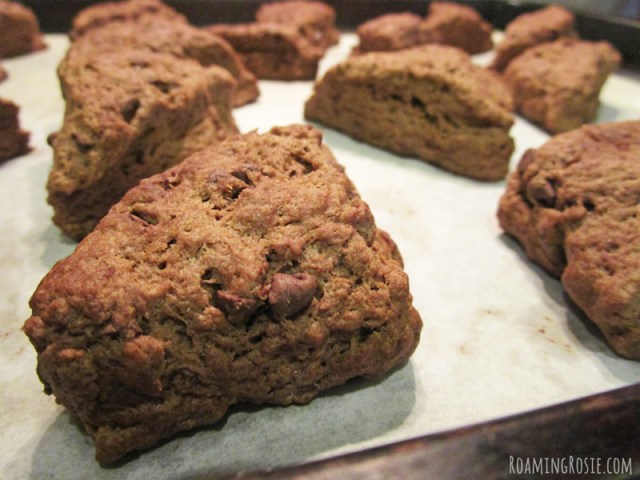
Don’t overbake it, though. I probably could have cooked this one right here about a minute less, since it’s going to keep cooking just a little when you pull it out. The cookie needs to cool completely in the pan.

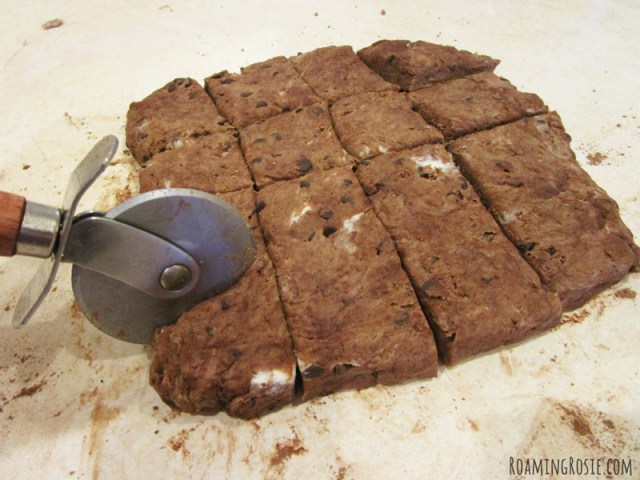
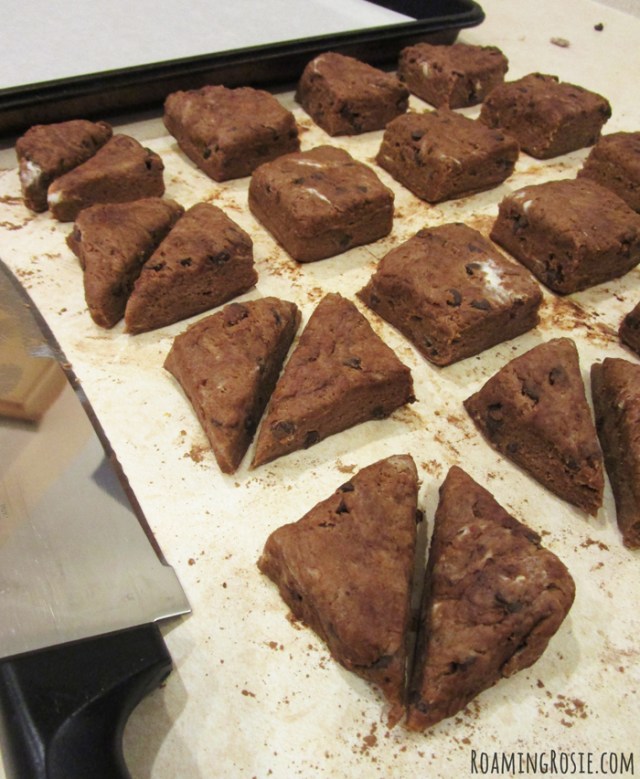
When you cut your cookies, they will present a nicer display if you trim off the crispy edges.
You can see my “edges” in the photo above. They were a little larger than necessary, but, you know, those were the parts that didn’t make it to the pot luck. ;)

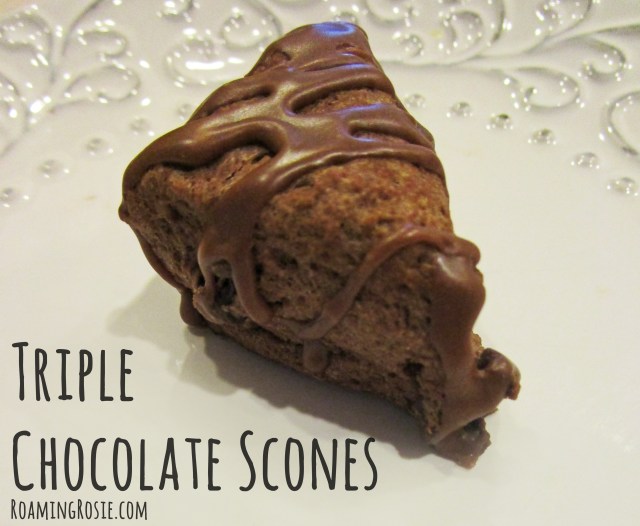
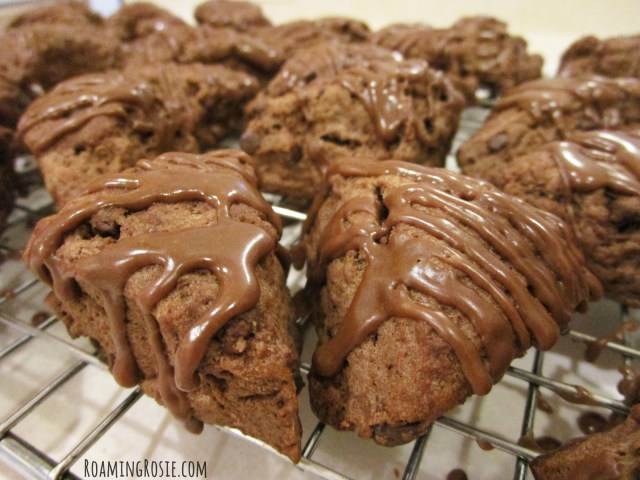
You could dip them into chocolate any way you want, but I certainly recommend using dark chocolate. It has a nice deep flavor that complements the cookie.
I like the way it looks when you dip the corner, but technically you could dip just the bottoms or a full half of the cookie instead.

Or drizzle the chocolate over it.
Were you still thinking about those “edges” I mentioned? Here they are (above). I drizzled the leftover chocolate over them. For parties I think the dipped corners are gorgeous, but the drizzle does the job too.

Did I mention these were amazing with coffee?
Did I only mention it once? ‘Cause these are uh-mazing with coffee.
(Even if you accidentally put too much creamer in your coffee. Still amazing.)

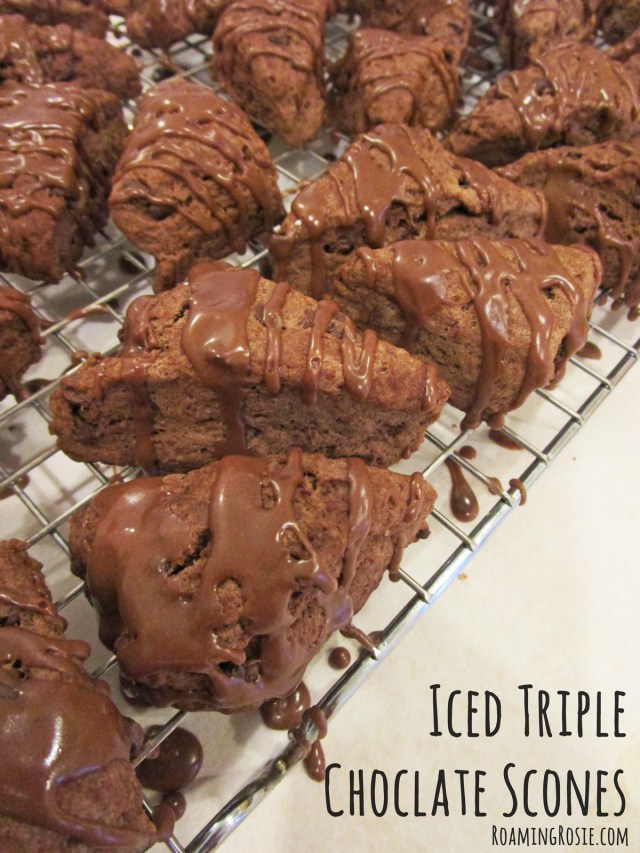
Dark Chocolate Dipped Brown Sugar Cinnamon Cookie Bars
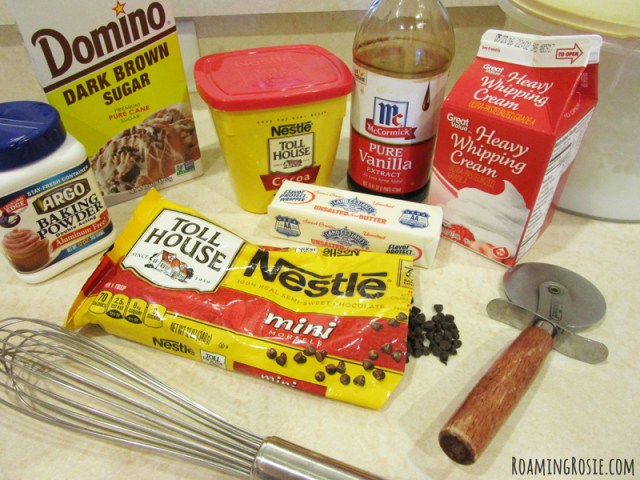
Ingredients:
2 cups flour
2 tablespoons ground cinnamon
1/2 teaspoons baking soda
1/4 teaspoons sea salt
1 cup (2 sticks) butter, softened
1/2 cup granulated sugar
1 cup dark brown sugar, packed
1 teaspoon vanilla extract
2 eggs
10 oz. dark chocolate (I used Ghirardelli Dark Chocolate Melting Wafers)
Preheat the oven to 350°F (180°C). Line a 15 by 10-inch jelly roll pan, or baking sheet with sides, with parchment paper.
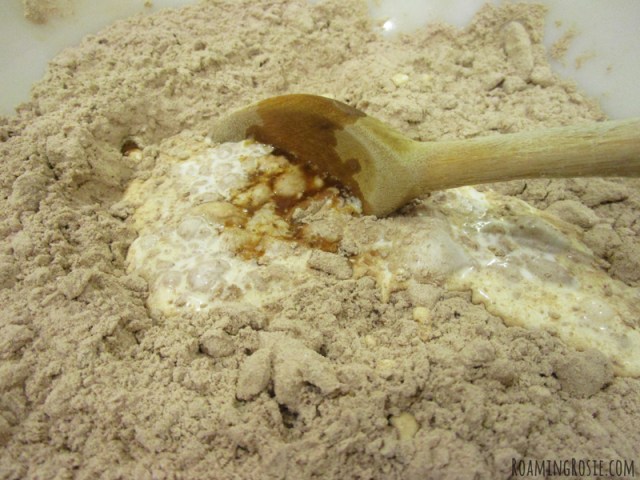
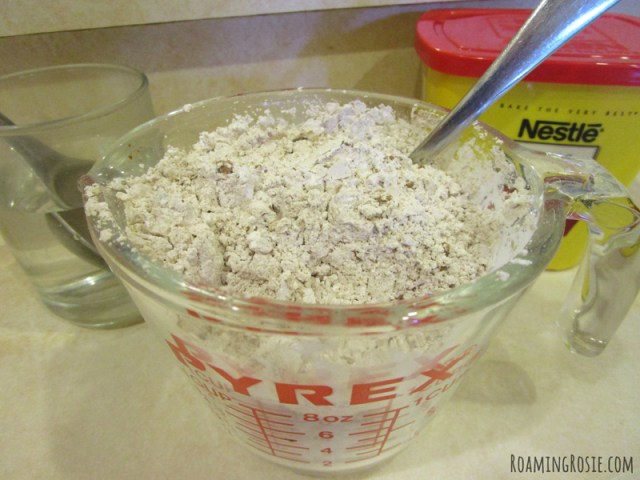
In a small bowl, combine the flour, cinnamon, baking soda, and salt. In a large bowl, cream the butter and sugars. Stir in the vanilla and the eggs, one at a time. Add in the flour mixture, a little at a time, until fully combined.
Spread the dough onto the baking sheet. It is easier to work with if you lightly coat the parchment paper and your hands (or spoon) with nonstick cooking spray. The dough will be a little wet and it will be very thin in the pan.
Bake for 20 to 22 minutes. Place pan on a cooling rack and allow cookies to cool fully in pan.
Slice the cookies into bars by first trimming off the crispy edges. Cut three rows lengthwise, then slice those pieces about an inch thick. You’ll have about 4 dozen cookies that measure about 1 by 3 inches.
Melt the chocolate according to the package directions. Dip each cookie into the chocolate then place the cookie onto parchment or waxed paper to allow chocolate to set. Store covered.
********
Click below for the free printable PDF recipe with photos:
Dark Chocolate Dipped Brown Sugar Cinnamon Cookie Bars
Happy Baking!